Course Content
Setting up your Scheduler
Understand how to filter and add users, assets and crews to your scheduler, including how you can sort them by depot.
Customising the Scheduler
Learn about the different ways in which you can customise the Teamleaf Scheduler to suit your workflow.
Understanding the Scheduler
The scheduler holds a lot of information, so having a good understanding on where to find all the relevant information is highly valuable. Learn more about the Scheduler here
Using the Scheduler
The Scheduler lets you reassign and optimise work in a number of ways depending on what your needs are, learn how to best use the Scheduler here
Finance and Invoicing
Teamleaf offers a number of finance tools. Learn how Teamleaf's earnings system works seamlessly to make your invoicing simple.
Using Shifts
Learn how to add, edit and delete shifts
Using Intracompany Tasks
Intracompany Tasks can be used when you have a task that you want another depot to help out on, when and how to use them here.
Task Sign Off
Signing Off Tasks is used to move a Task through departments on Teamleaf, learn how and why to use Task Sign Off here.
Confirmation
Complete the course by confirming your knowledge of Teamleaf 10
Editing Shifts
There are two main ways of editing a shift in Teamleaf. Through either the Scheduler or the Task Page. Watch the video below for an in-depth tutorial on both methods, or follow the step-by-step guidance below for more information.
Option 1 – Using the Task Page
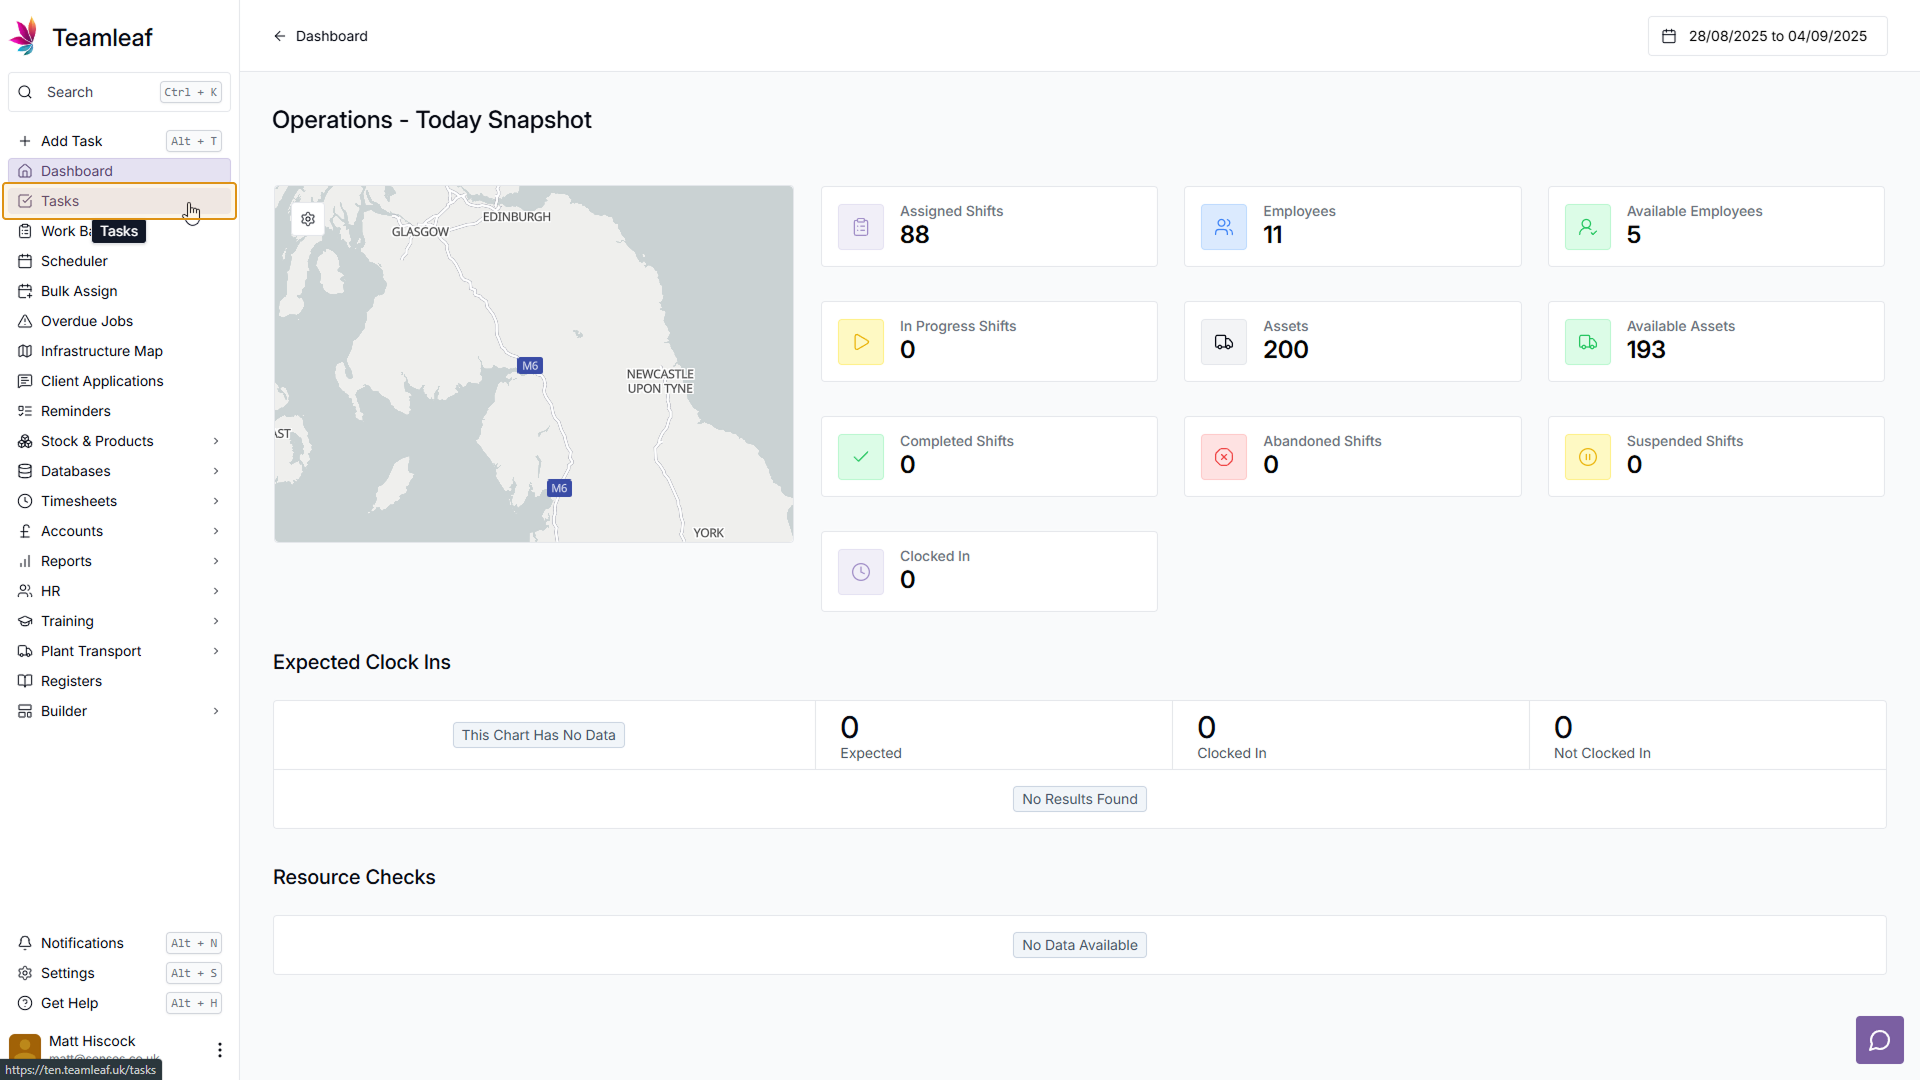
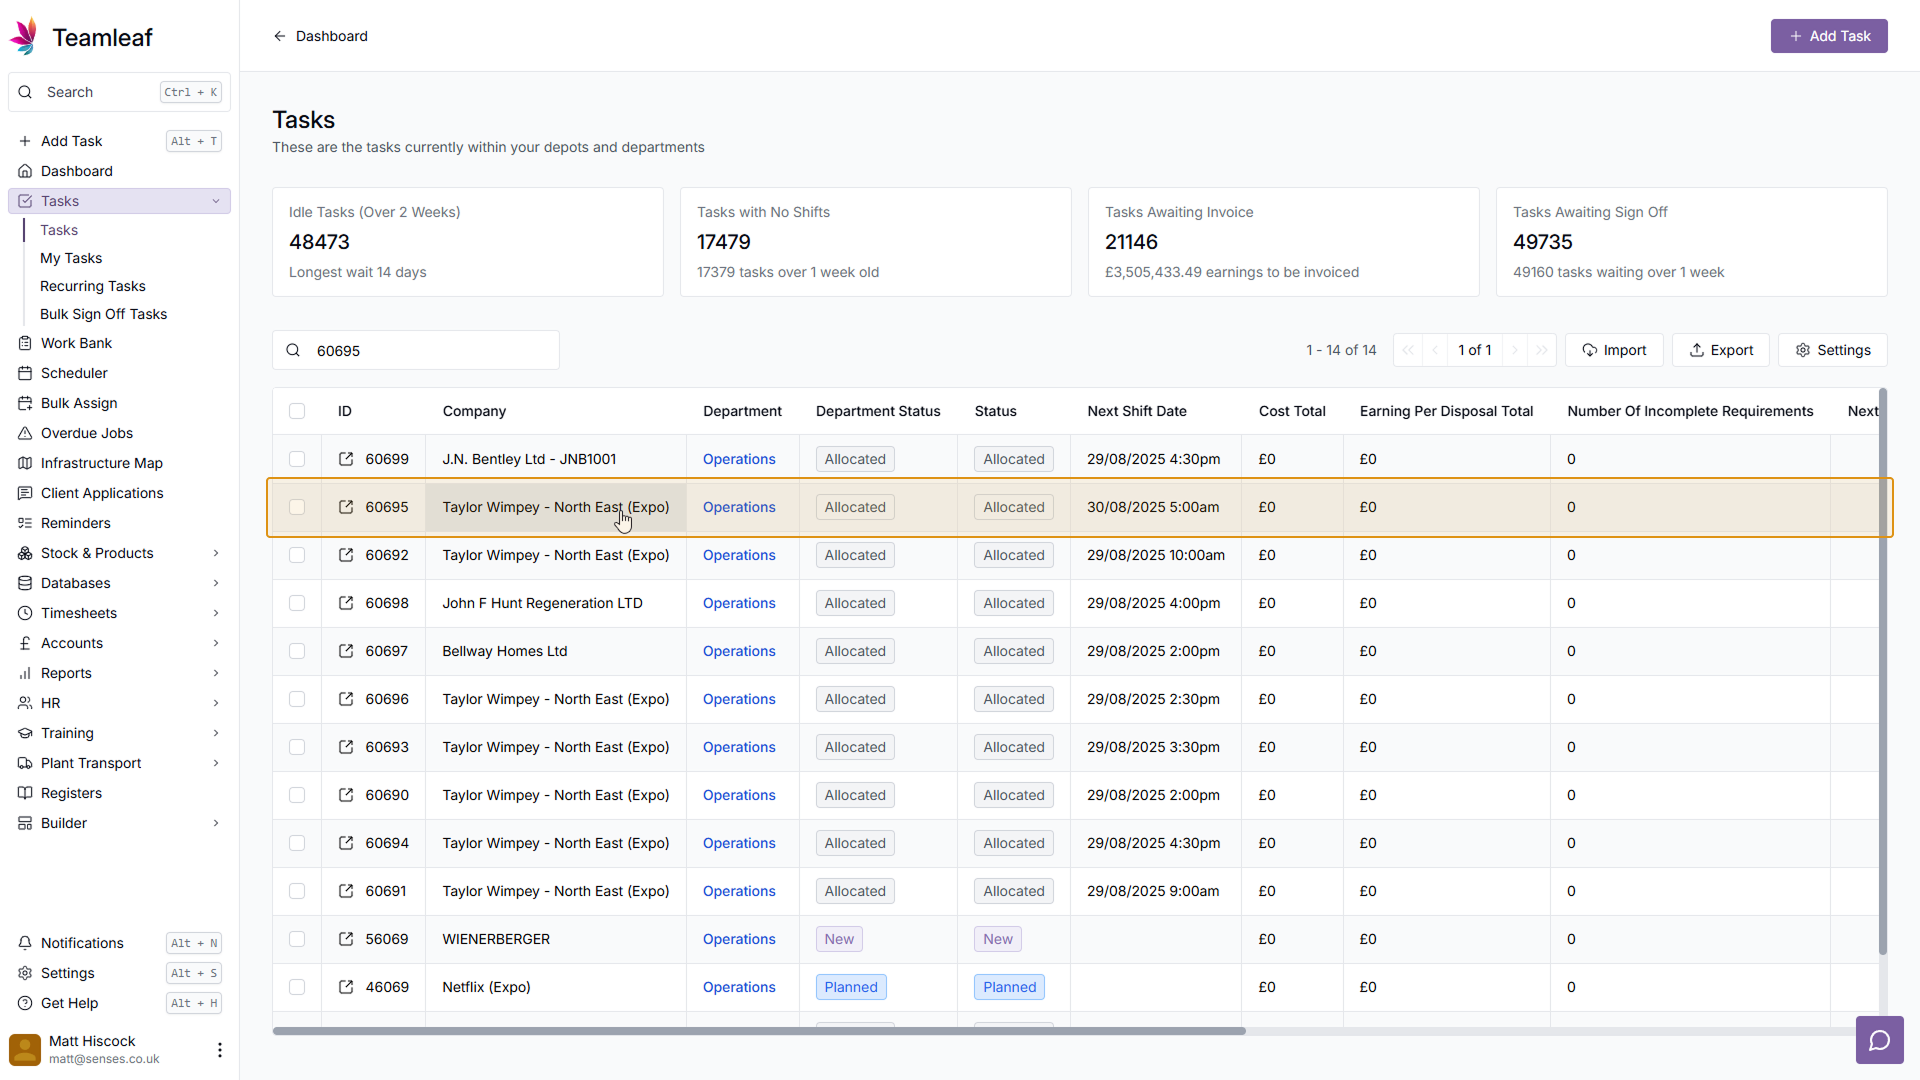
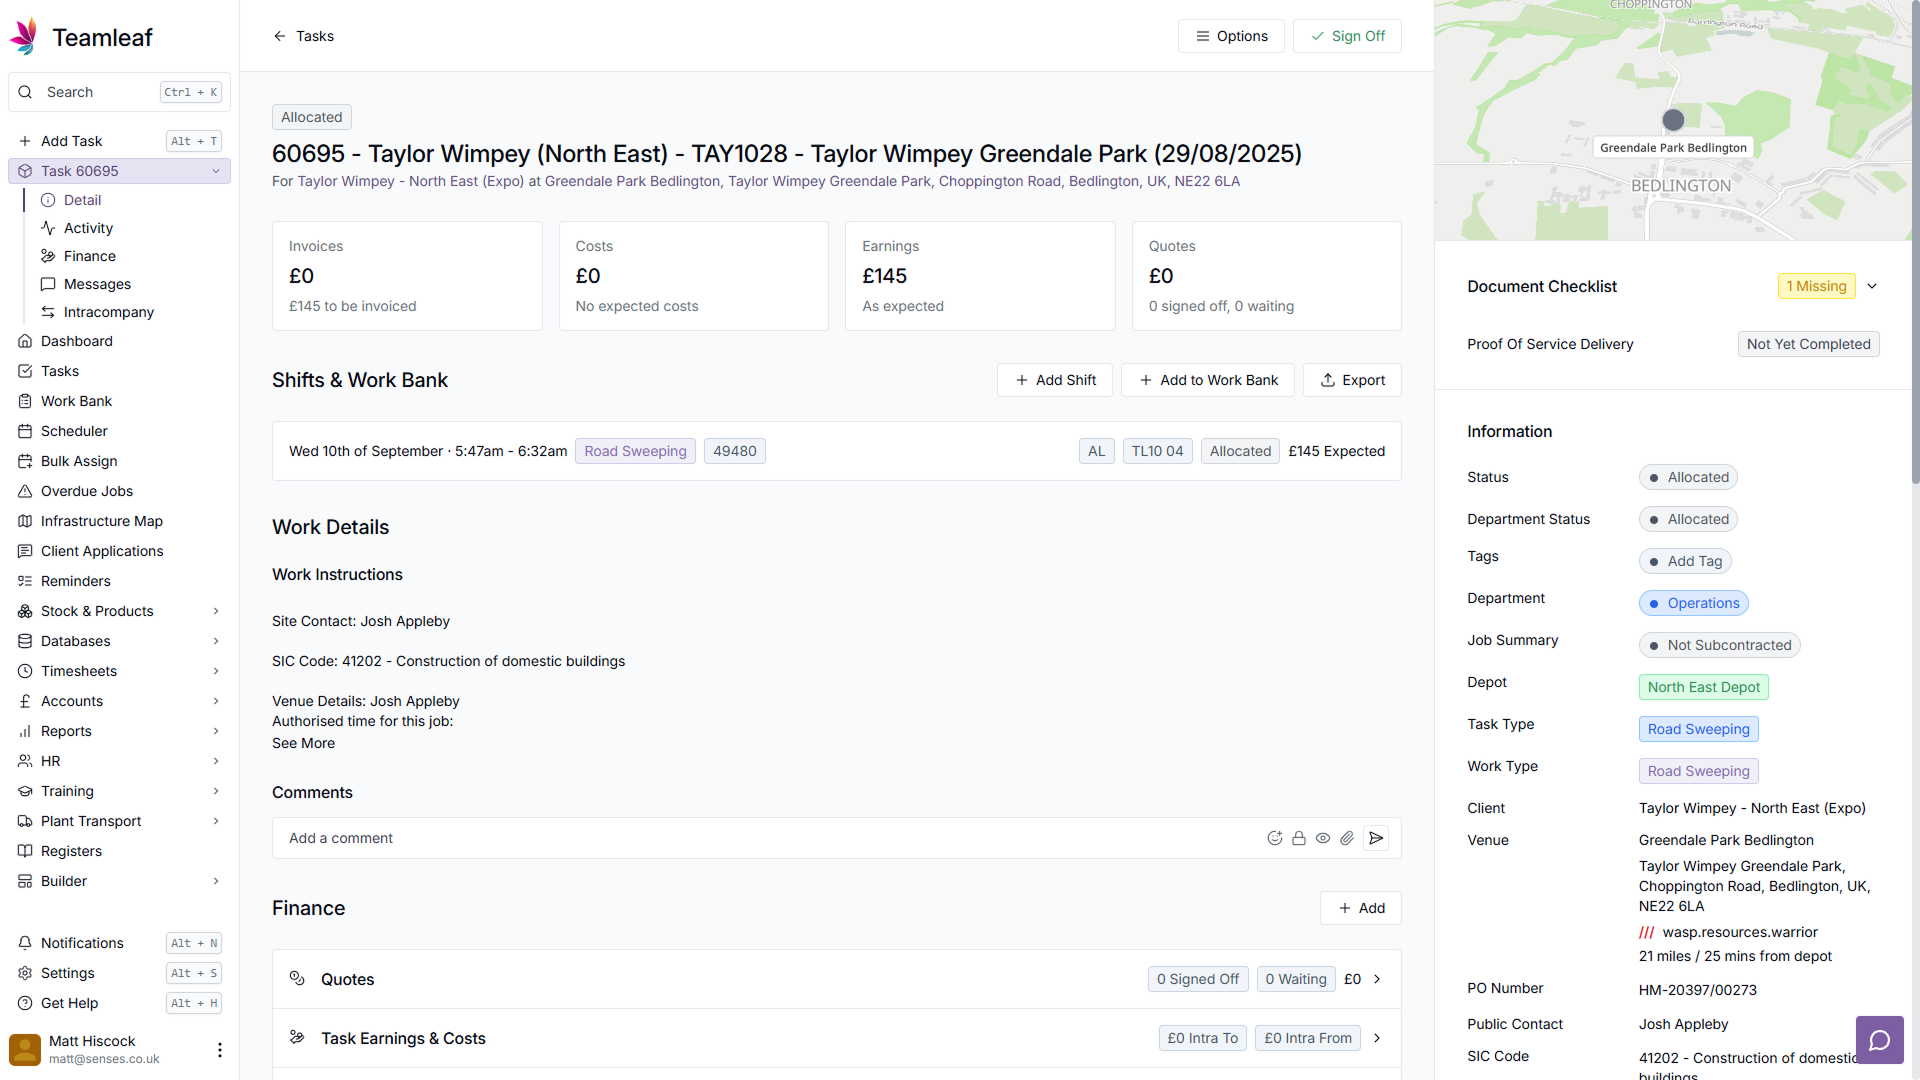
To start, go to ‘Tasks’ on the left sidebar to go to the Task list, then click the Task with a shift you’d like to edit.
Click the Shift you’d like to edit in the ‘Shifts & Work Bank’ section
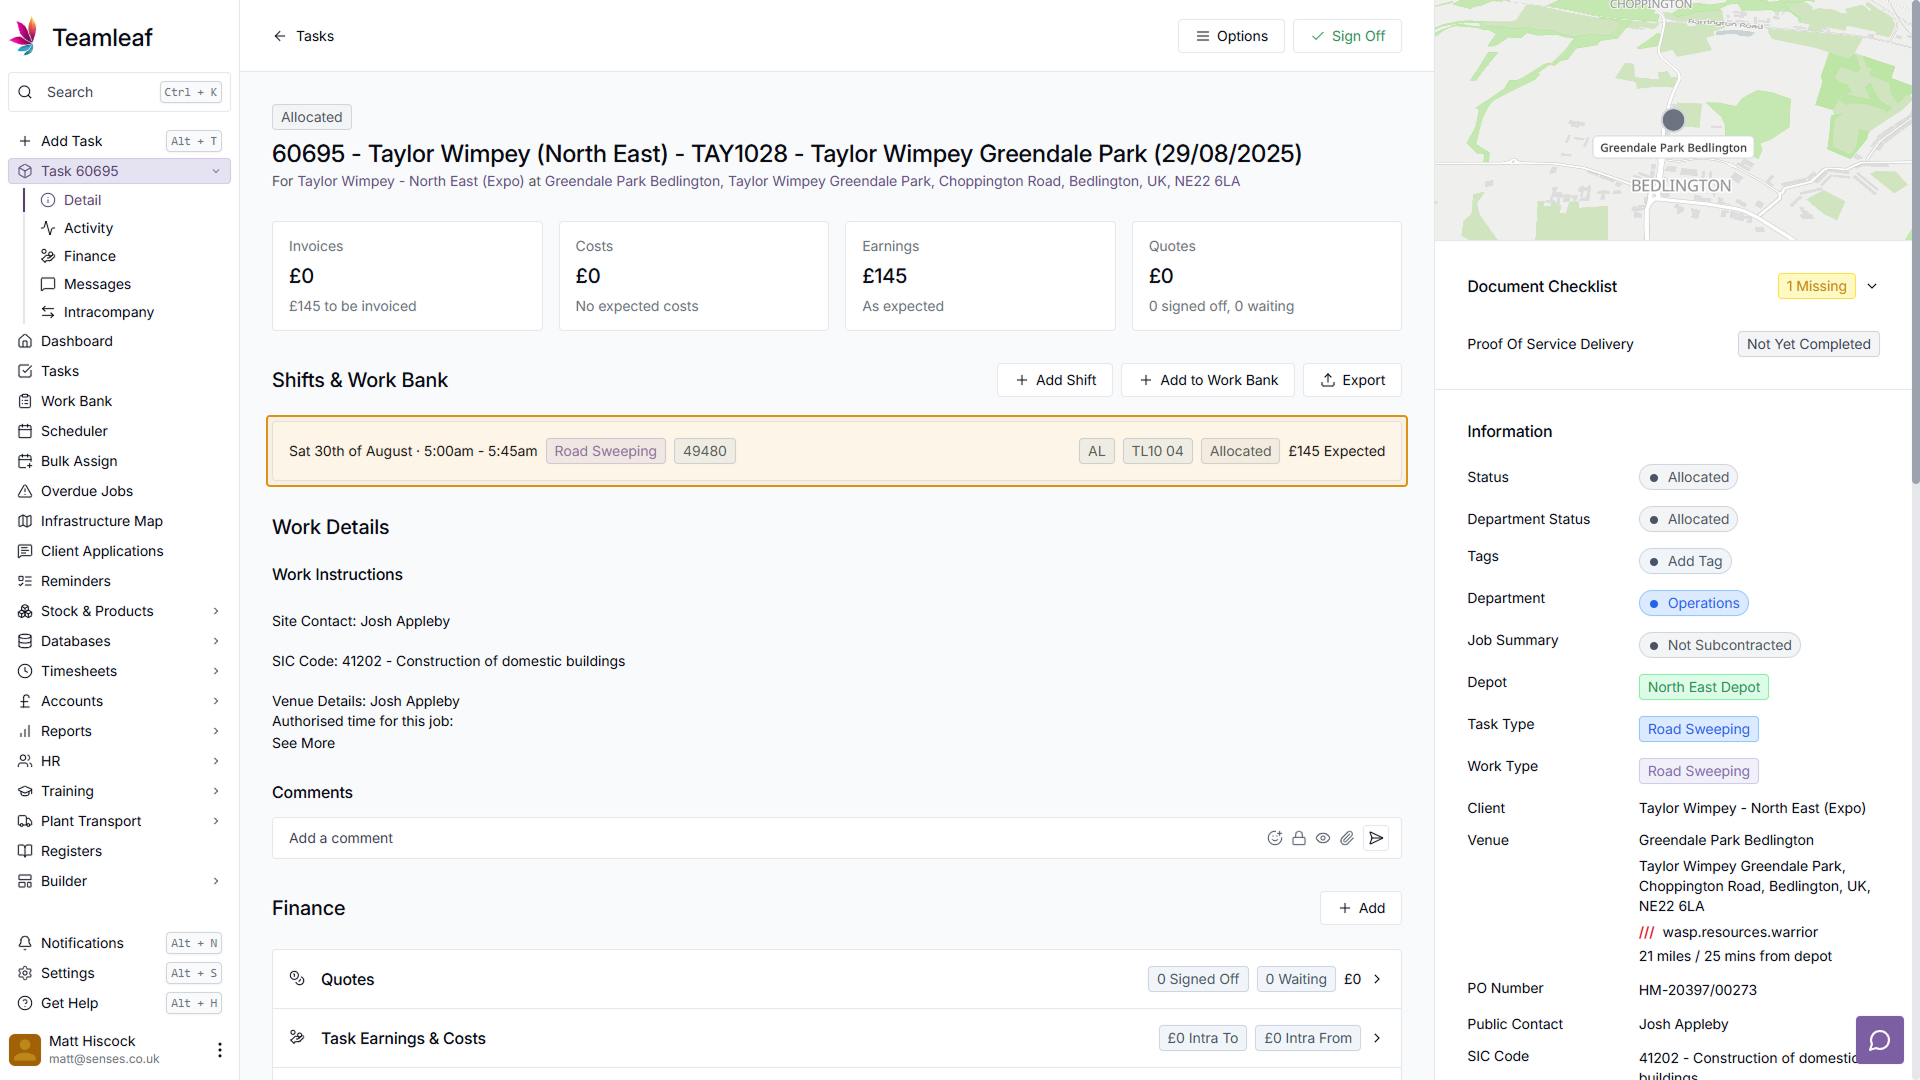
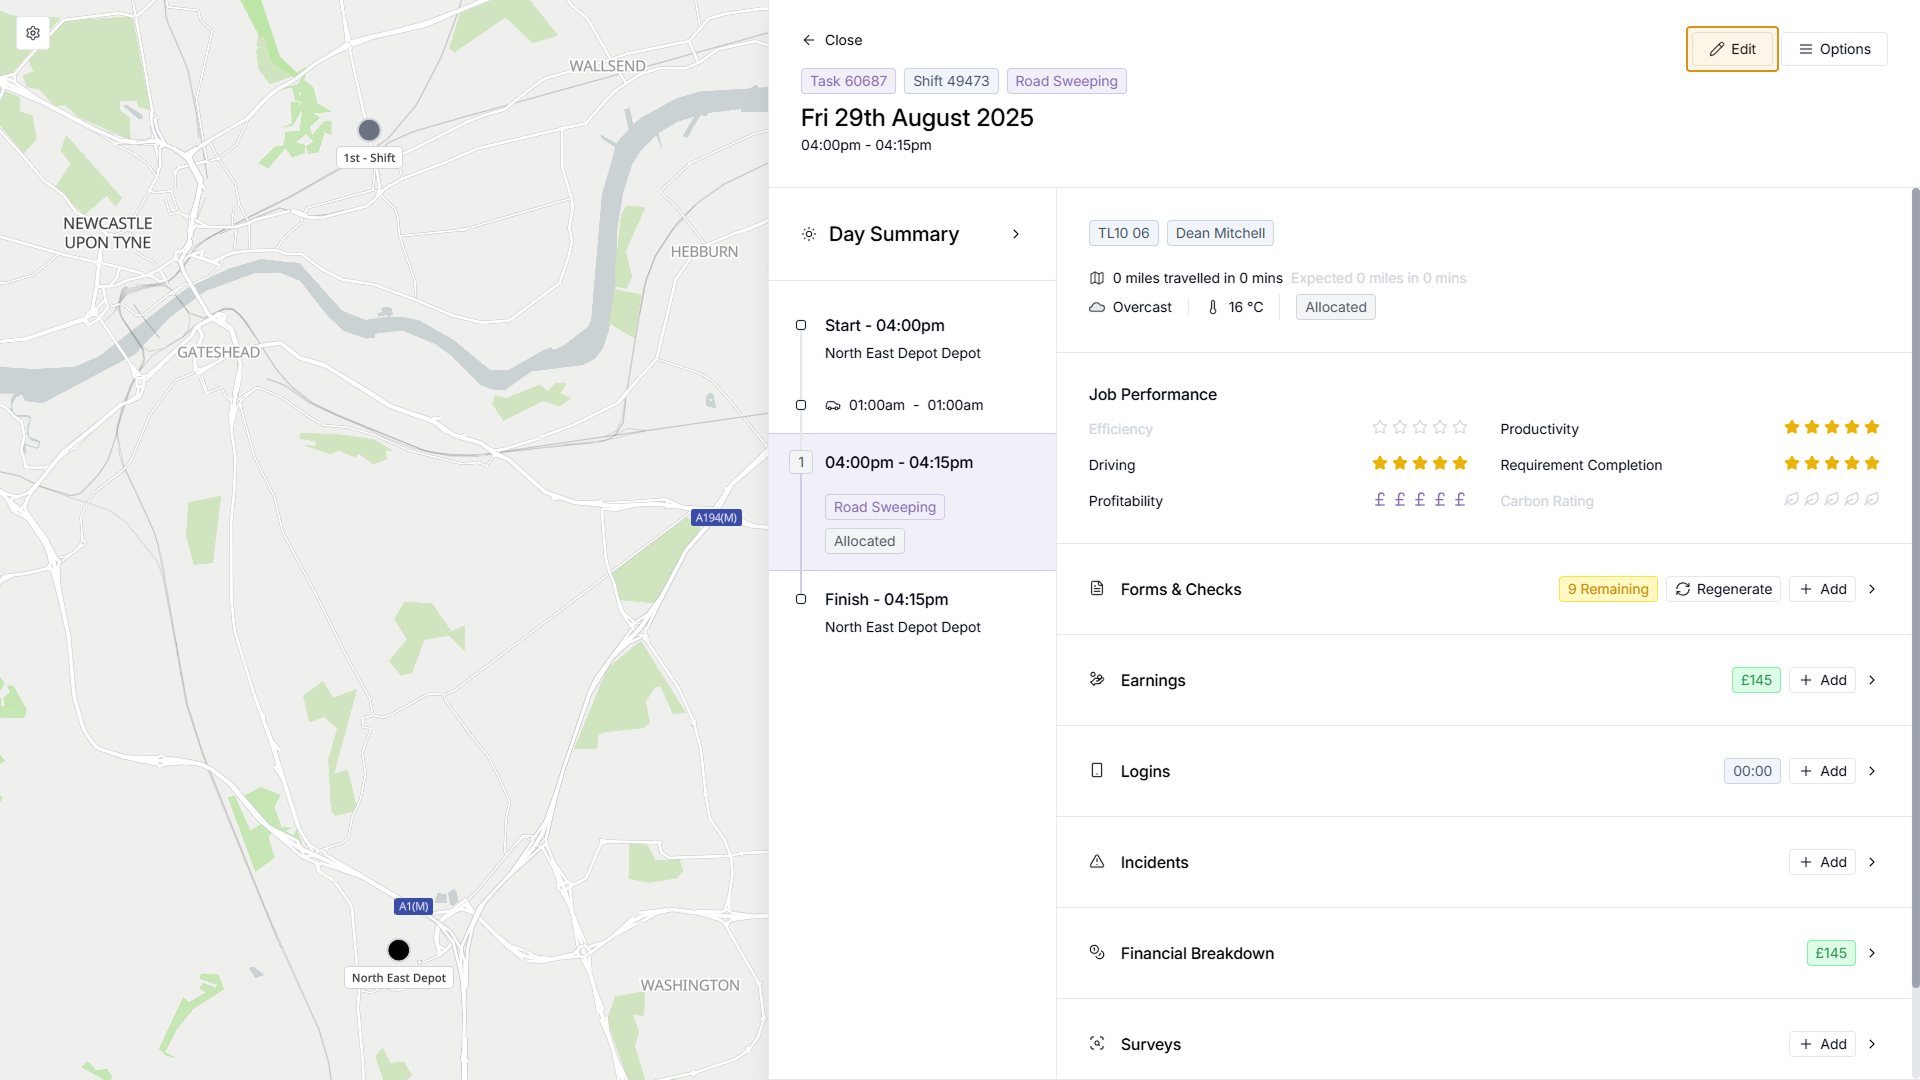
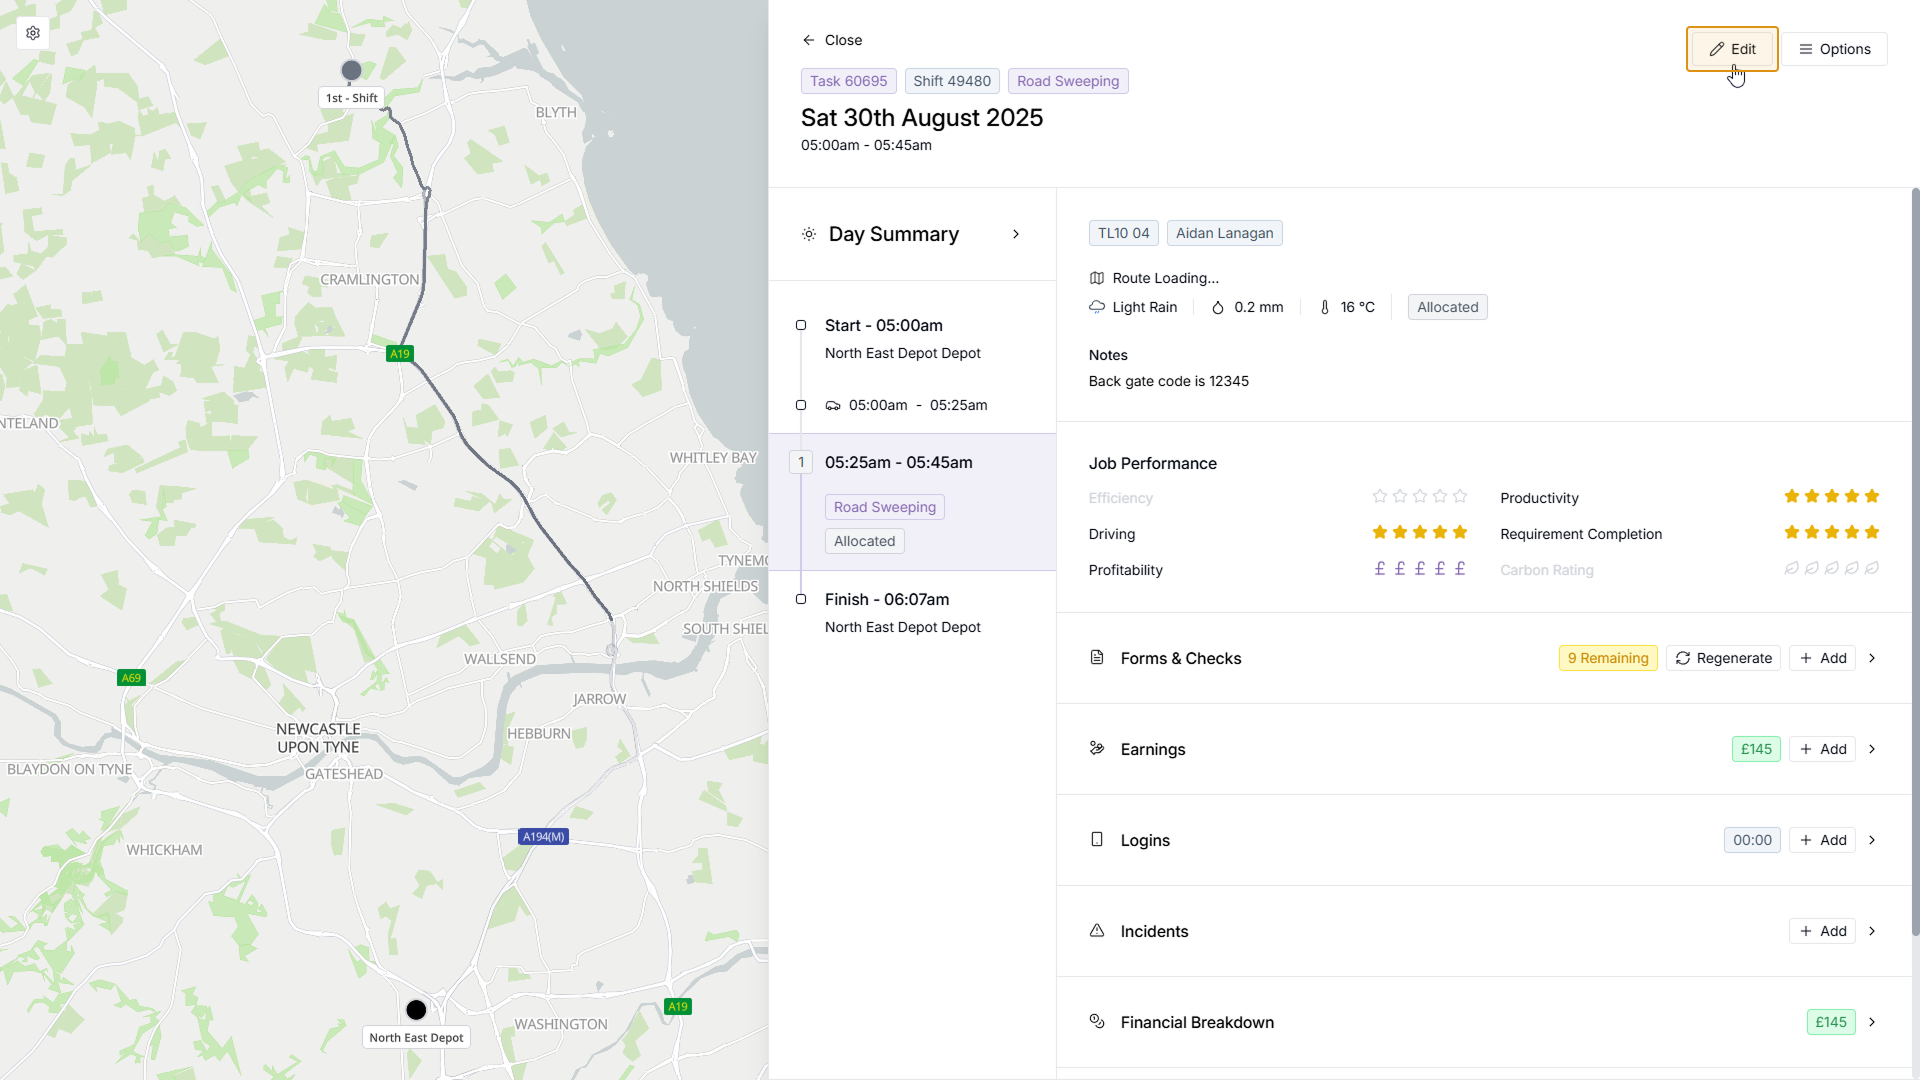
Then on the Shift details page, click the ‘Edit’ button in the top right
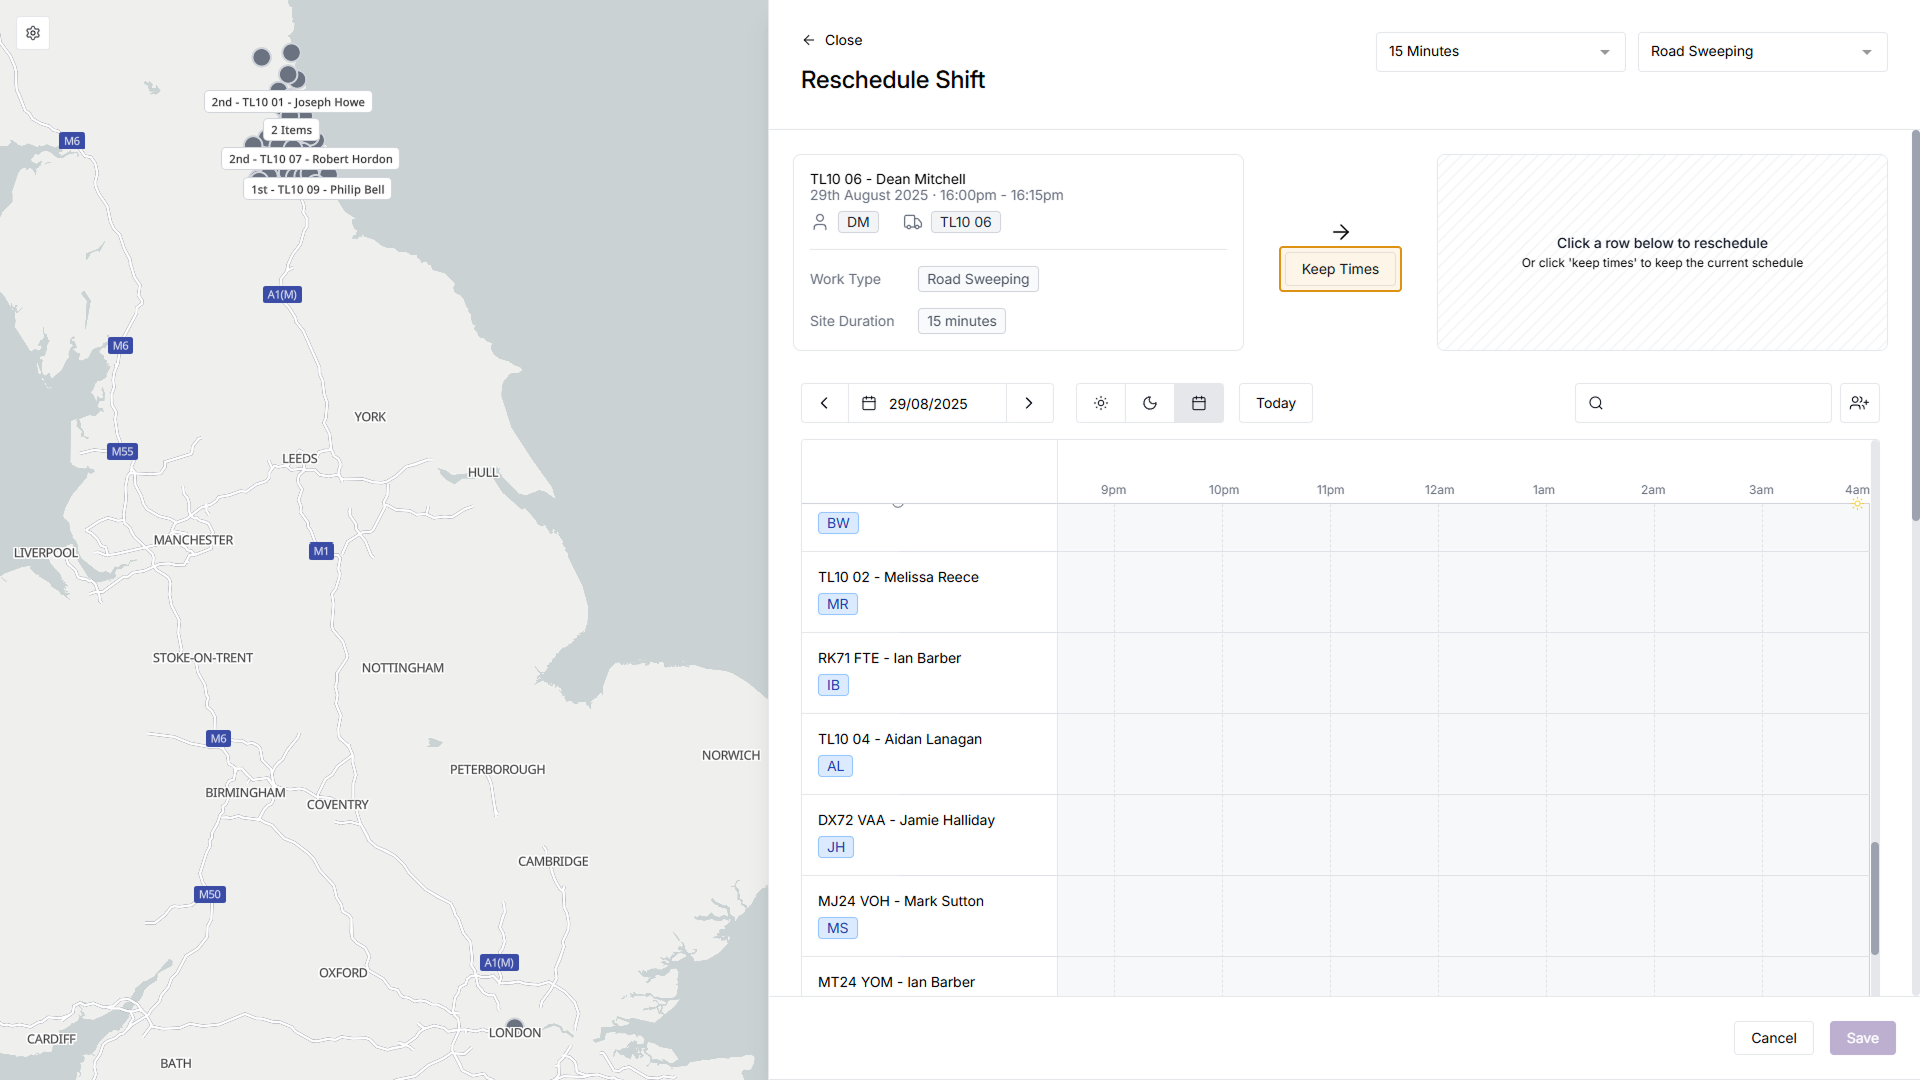
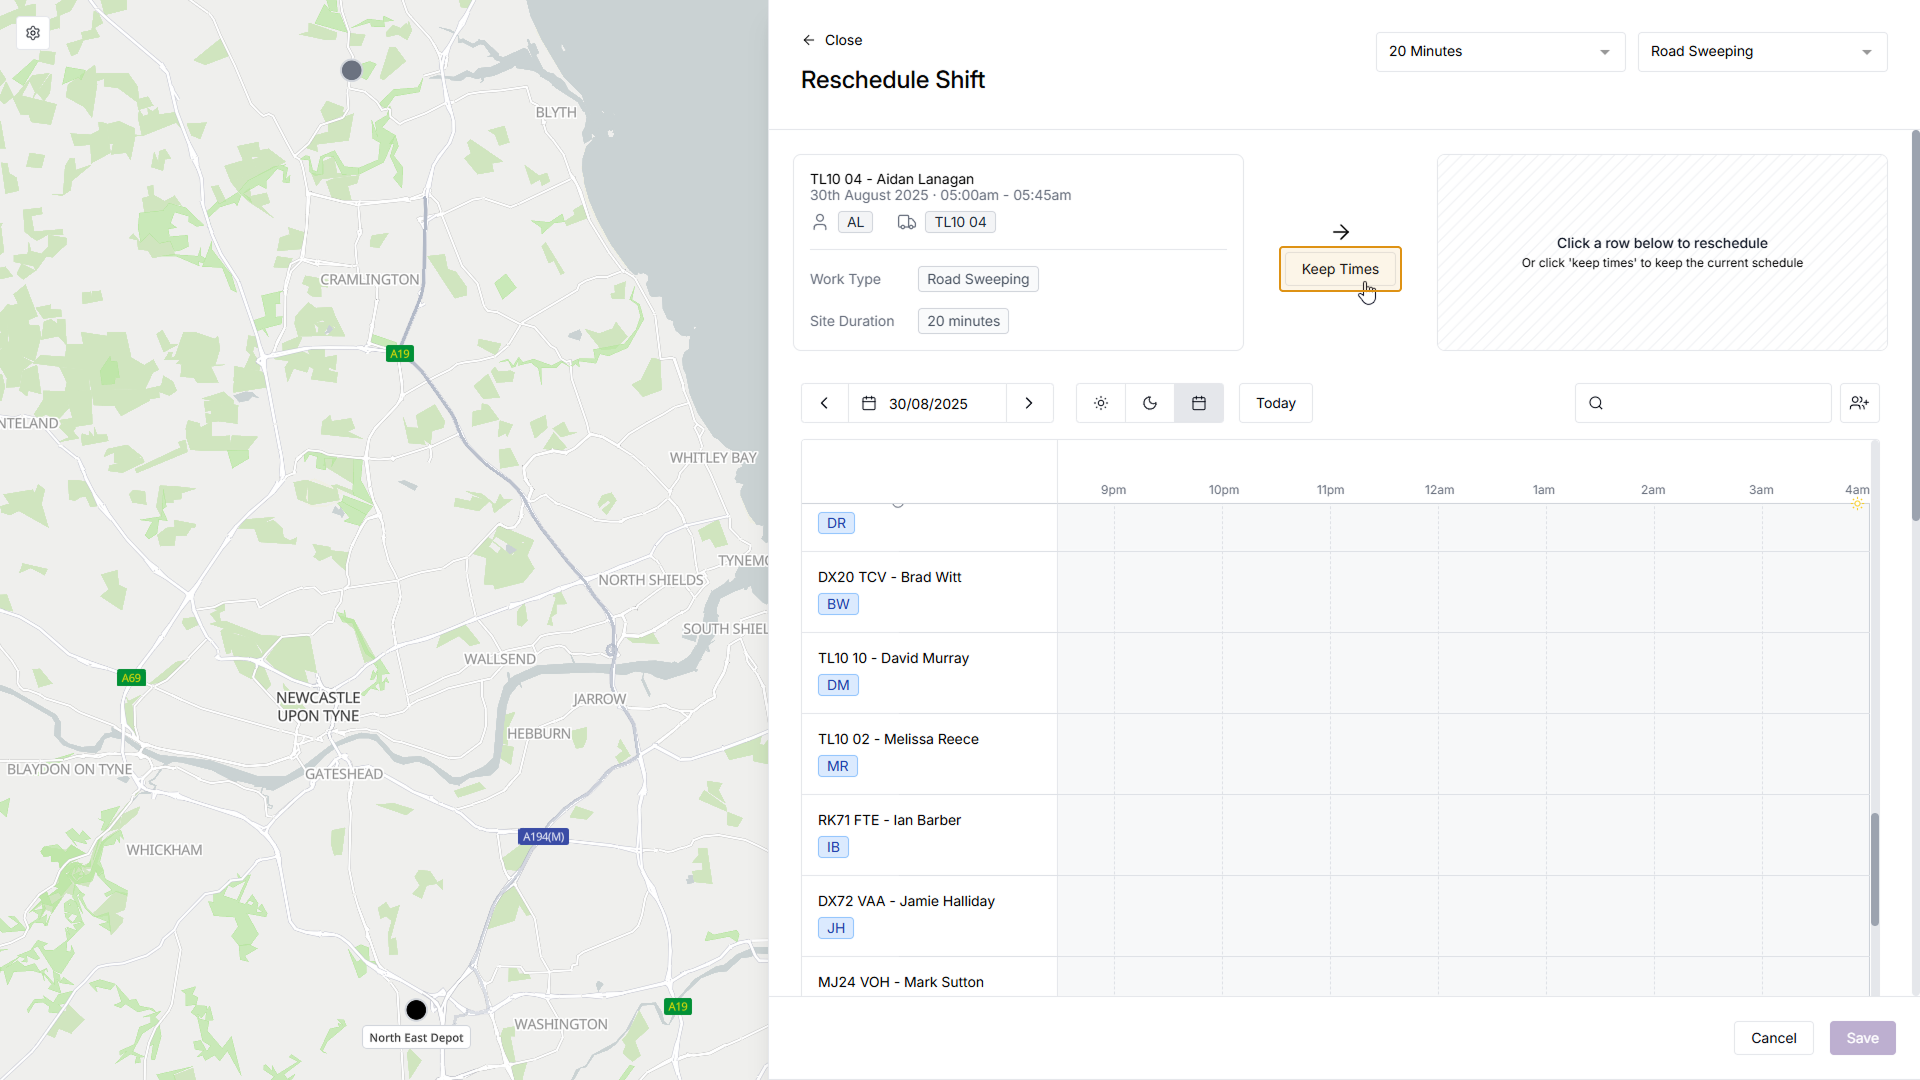
Next, you will select the shift date, time and crew. If you wish to keep the date, time and crew the same, you can click the ‘Keep Times’ button at the top of the screen
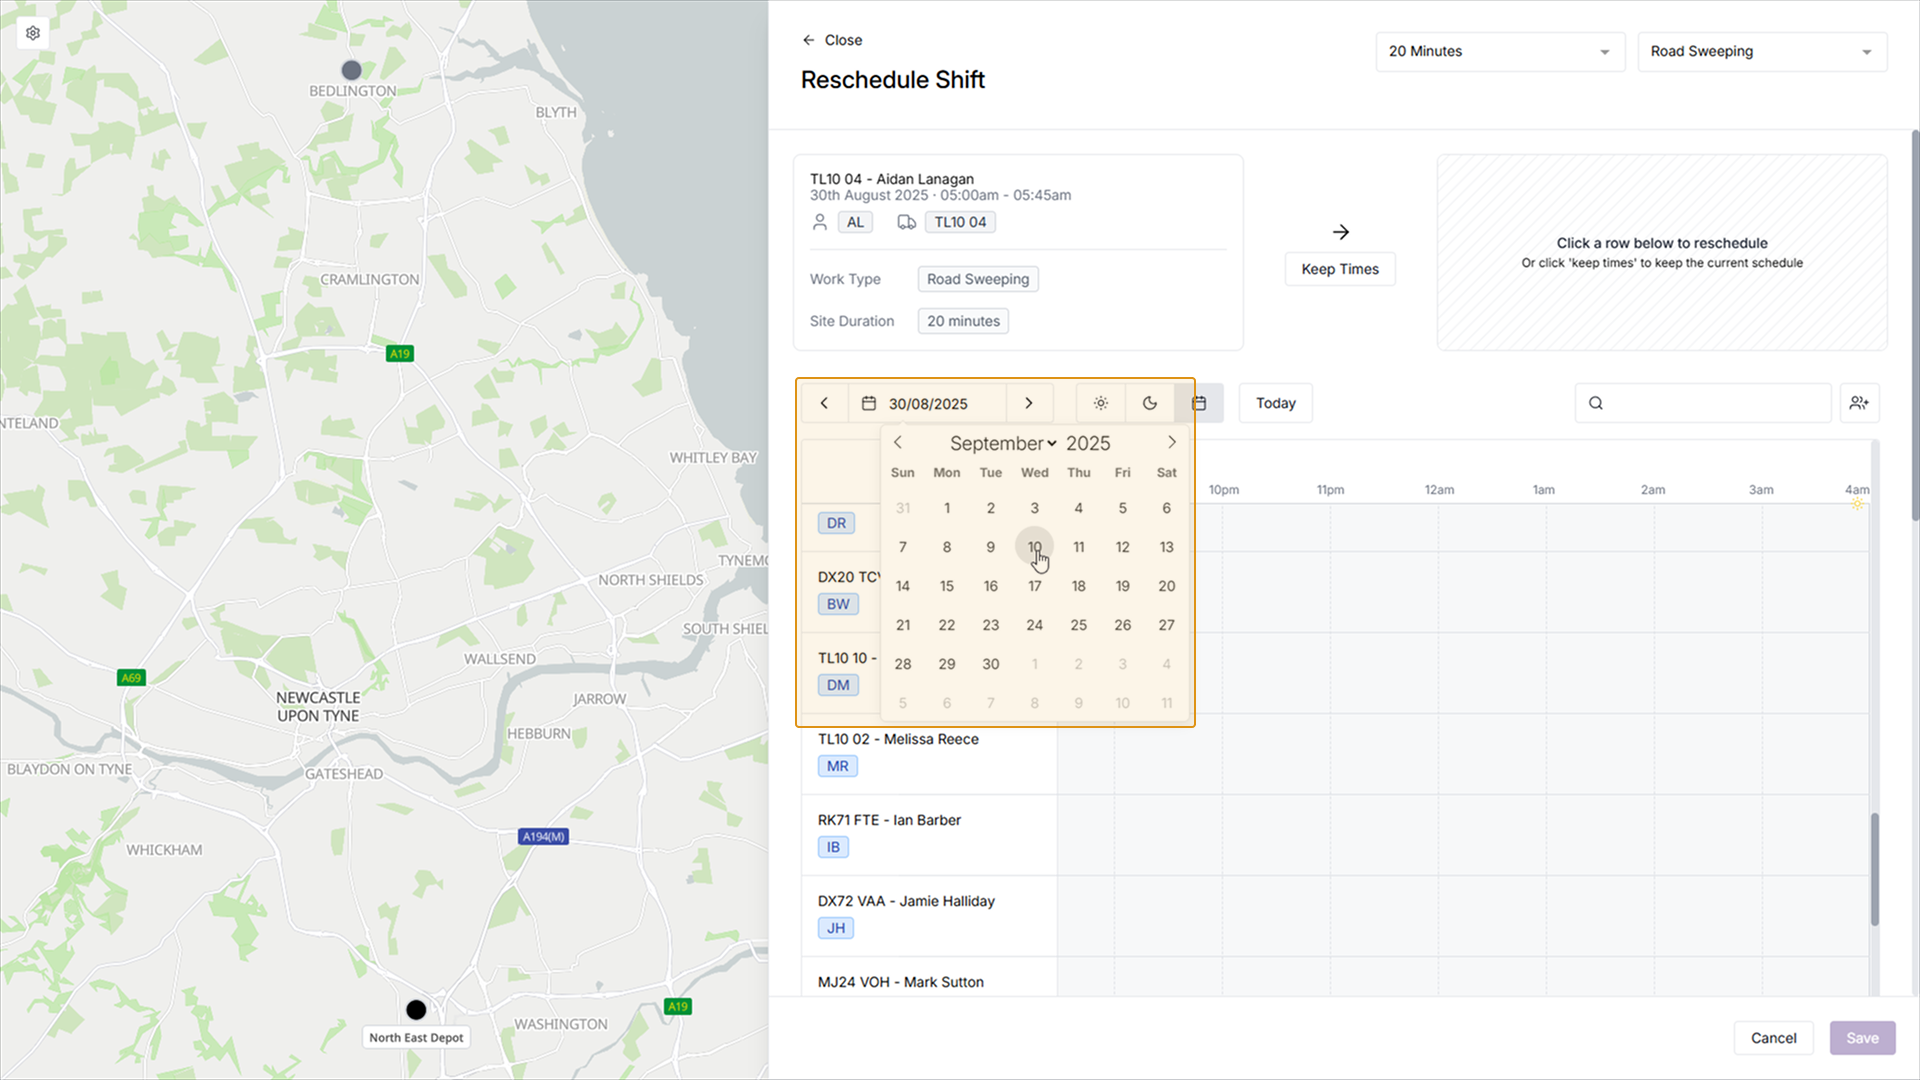
Or, to change the date, time and/or crew, continue by first selecting the date with the date picker
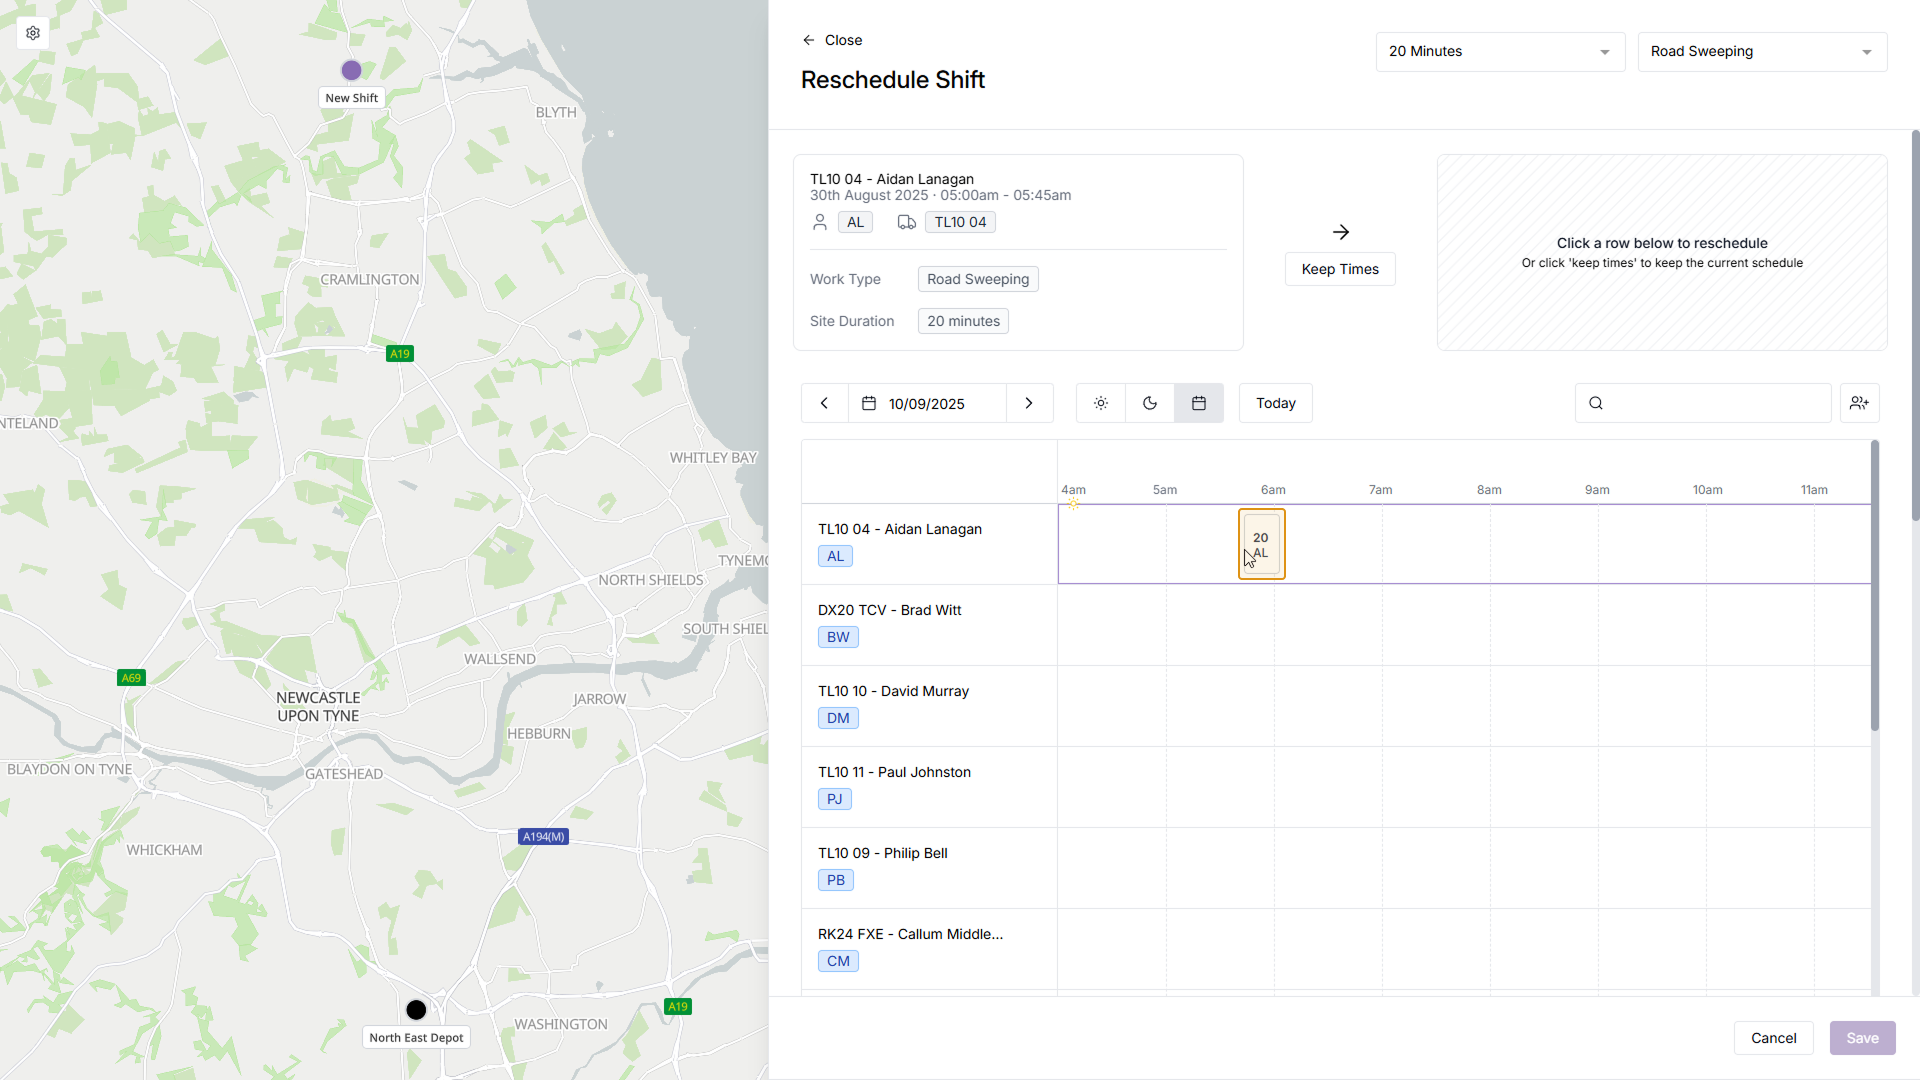
Then clicking the time and crew you’d like to assign the shift to
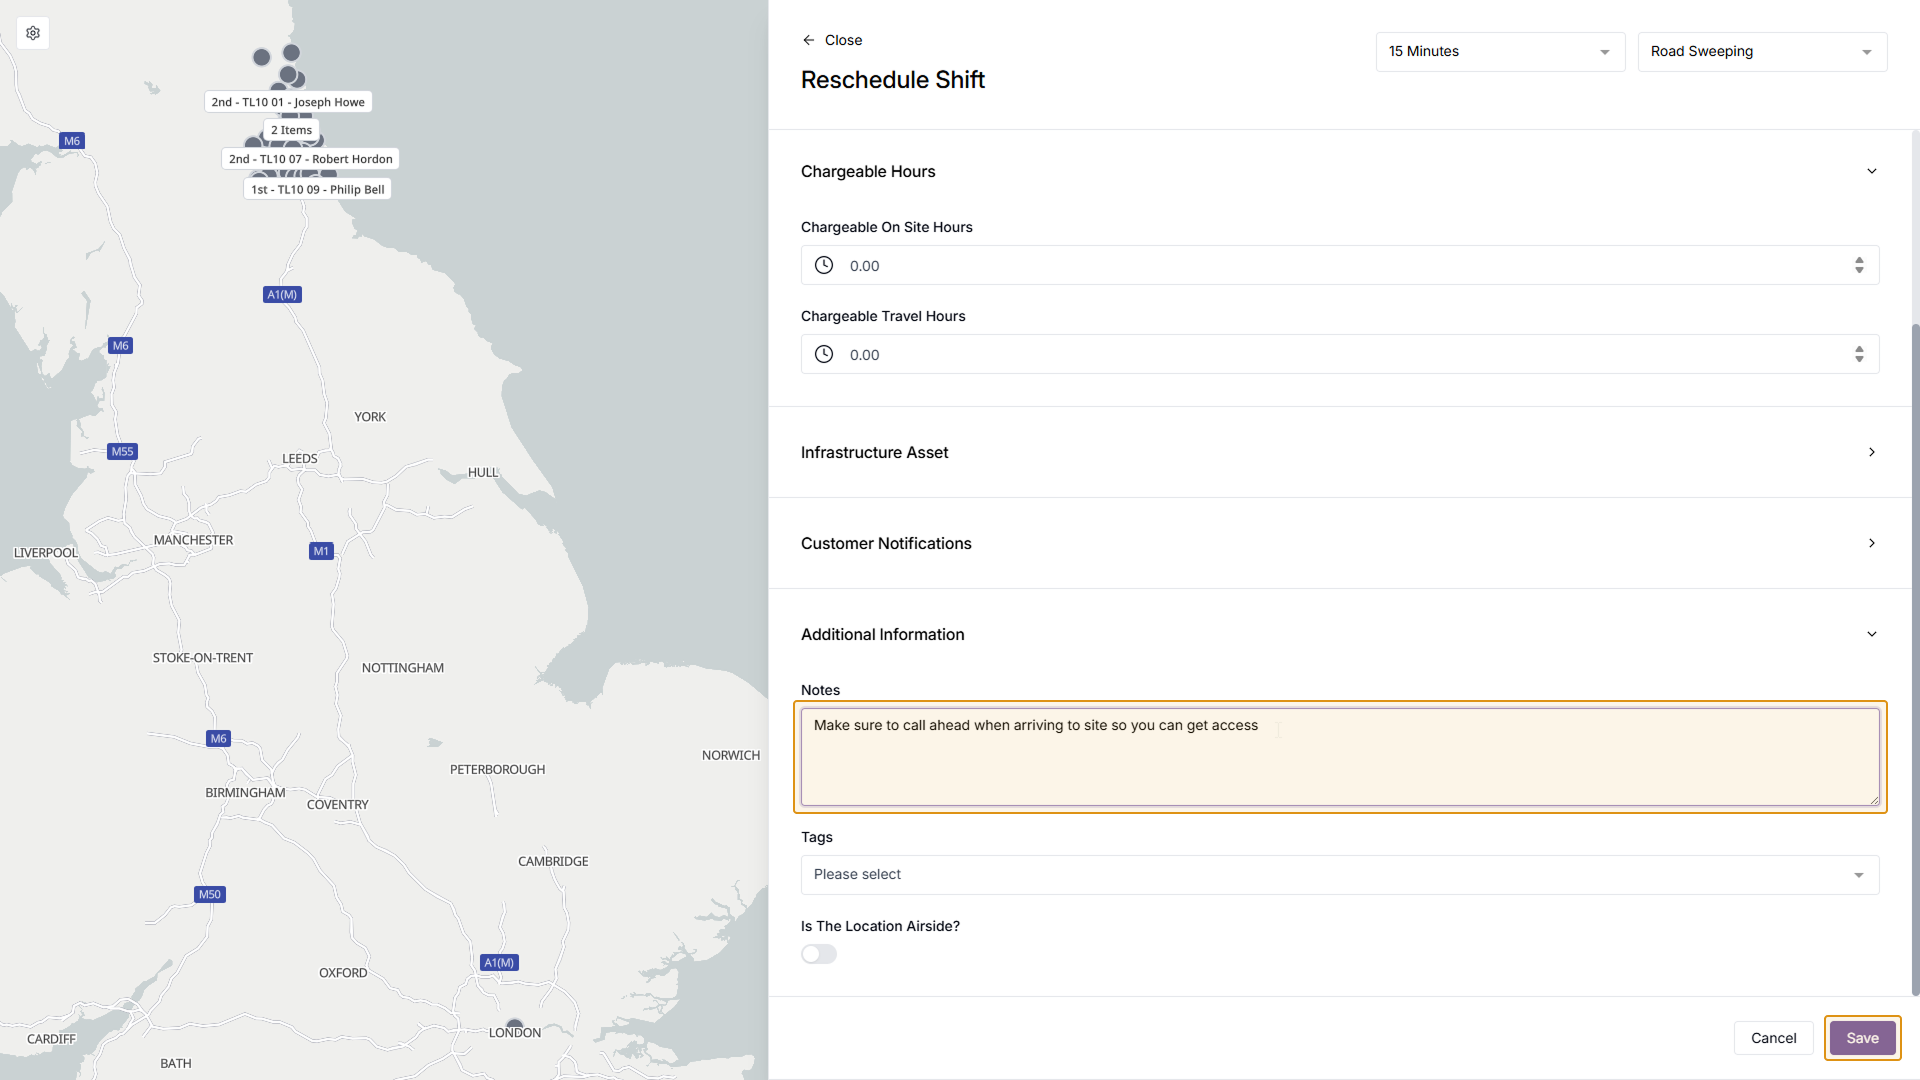
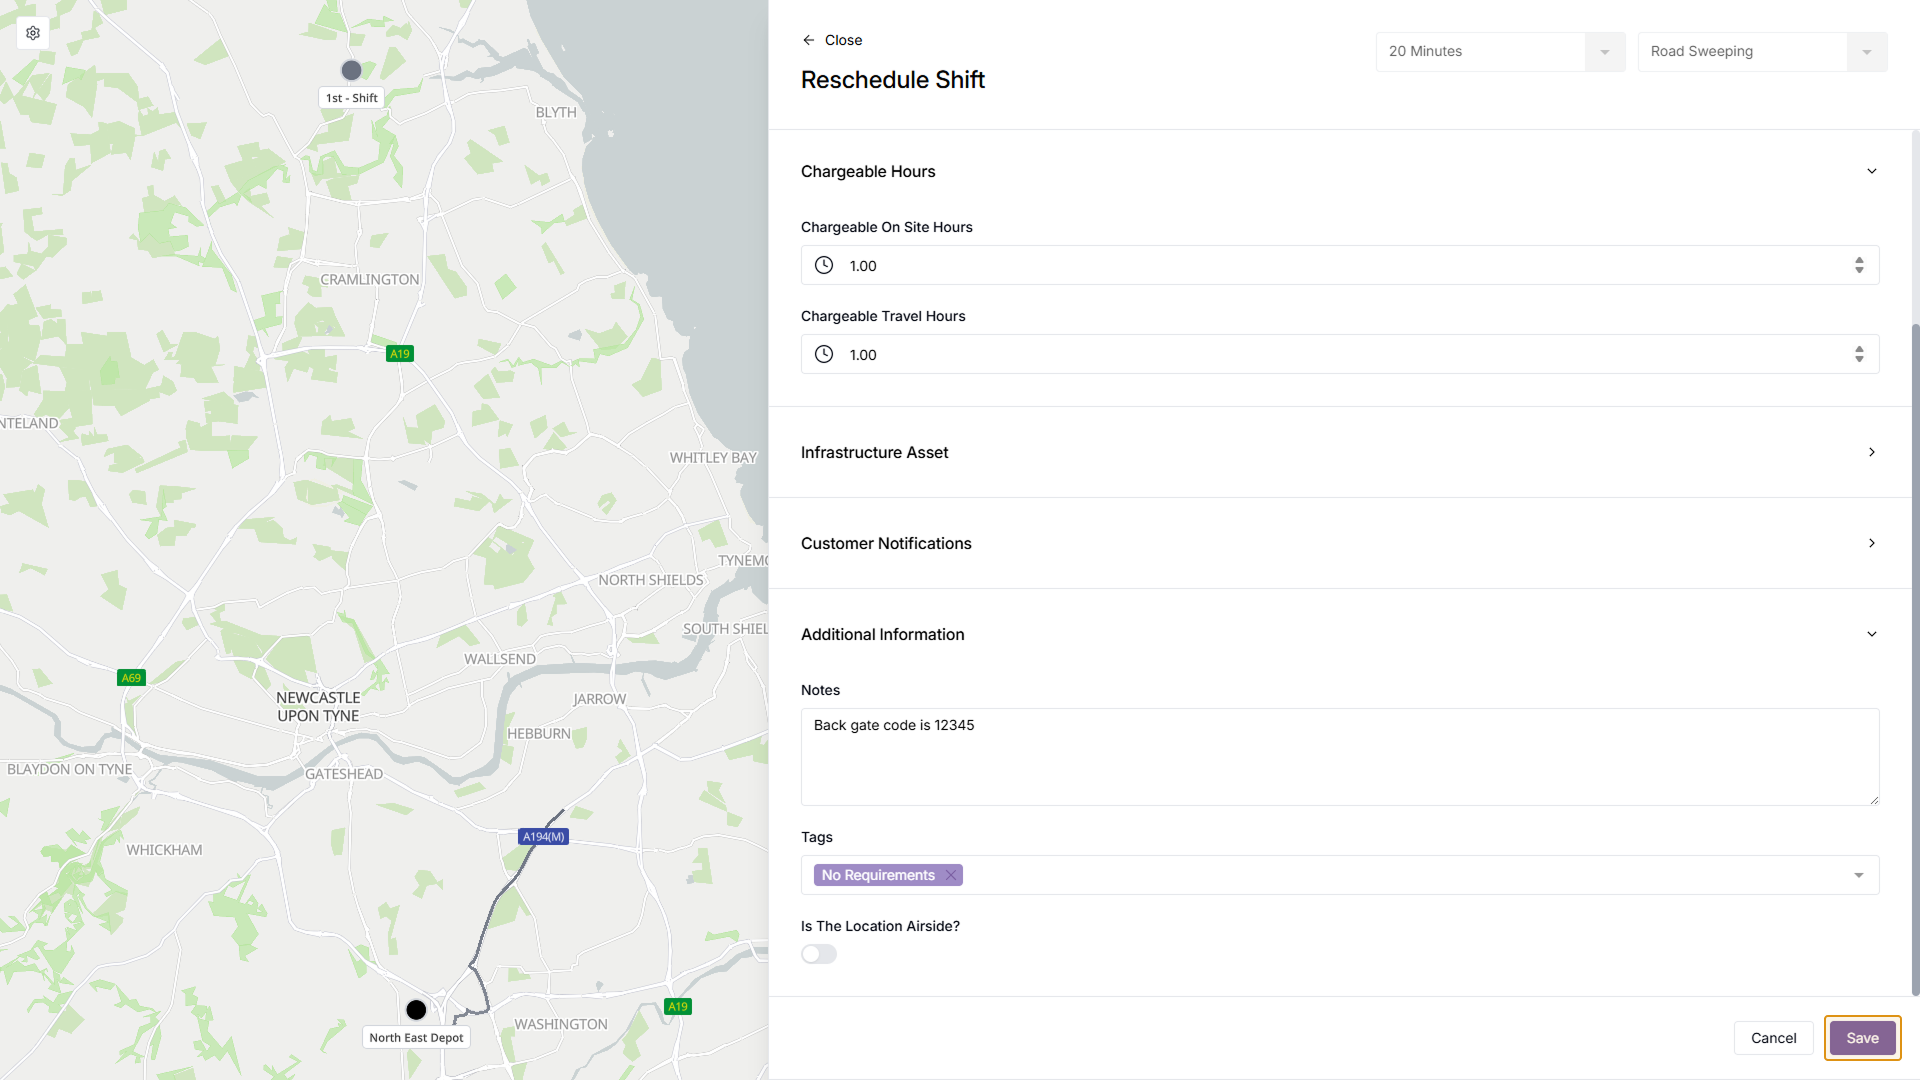
You can then fill in any additional details about the shift, including Chargeable Hours, Infrastructure Assets, Customer Notifications, or Additional Information. Once you’re happy with your Shift details, click the ‘Save’ button in the bottom right
The changes to this shift will now be applied, and this shift can still be seen on the Task Page
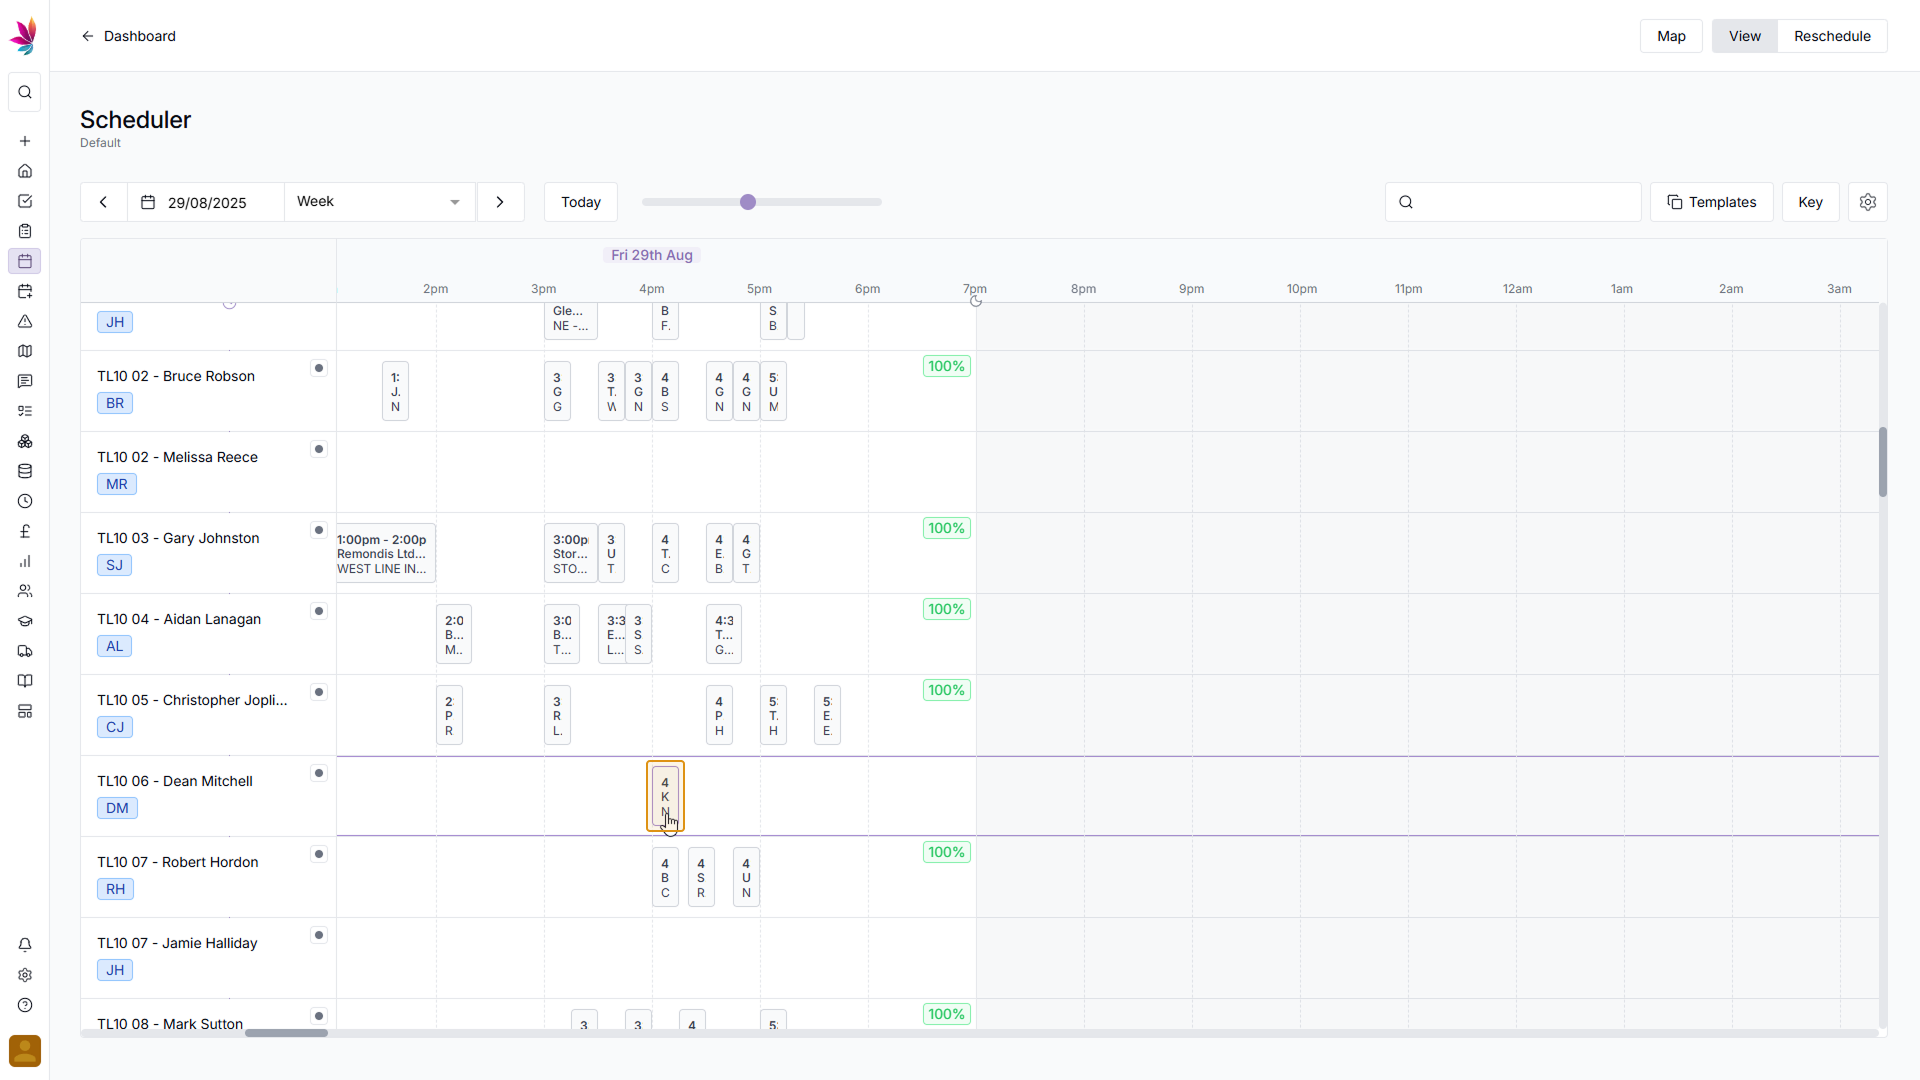
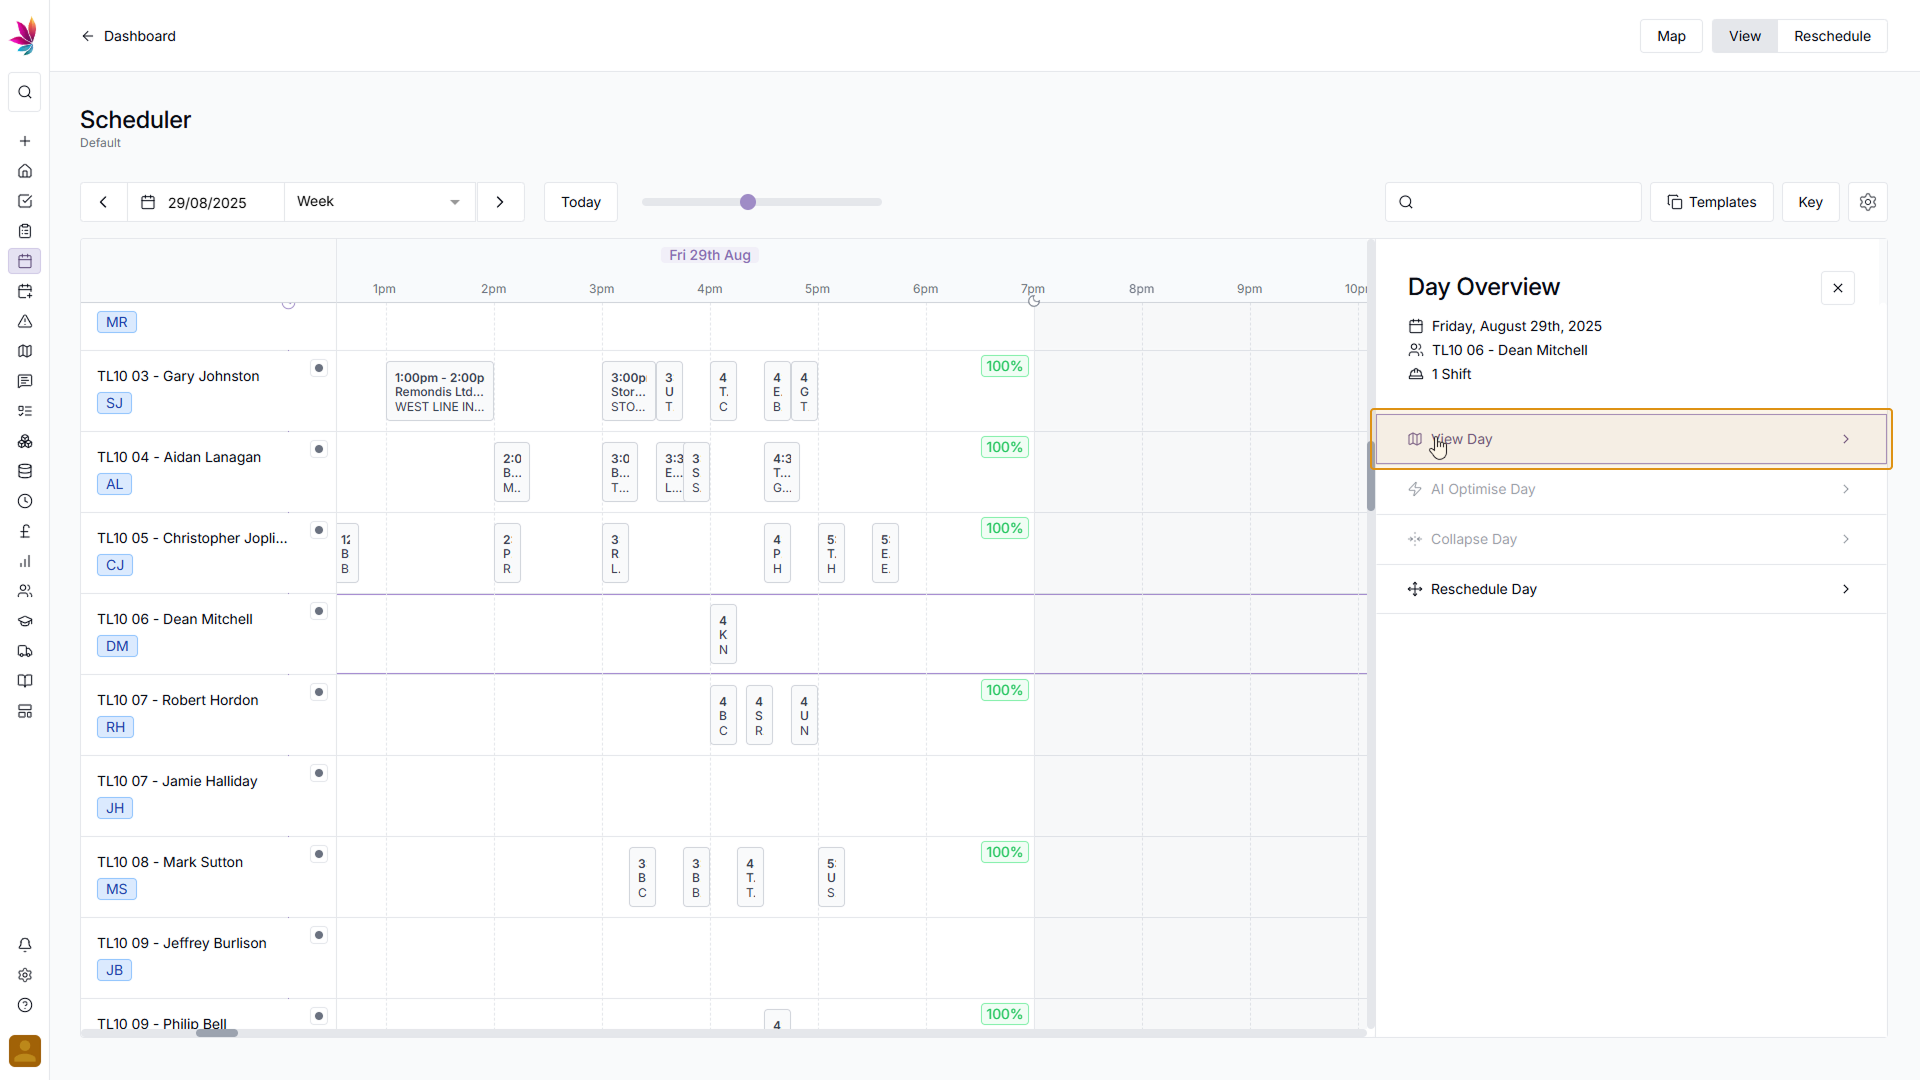
Option 2 – Using the Scheduler
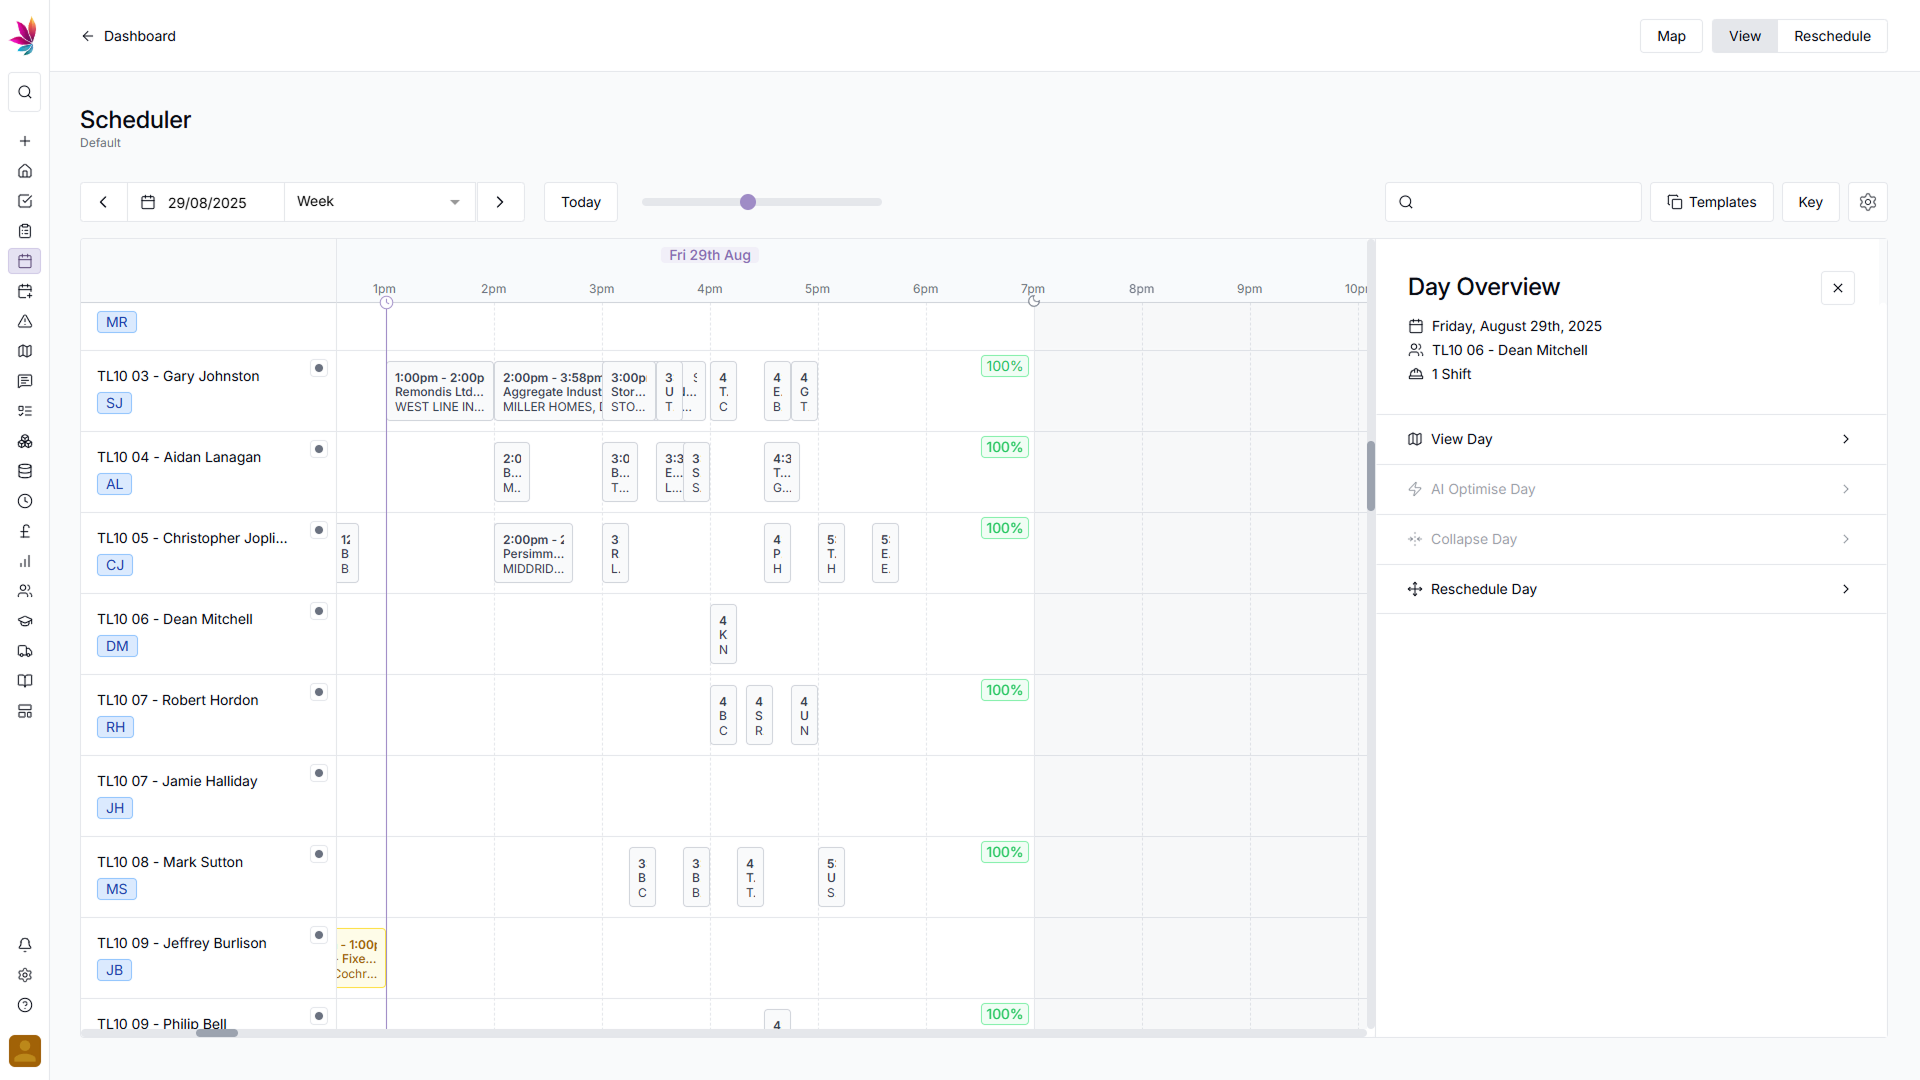
The second option to edit a shift is via the Scheduler. To do this, go to ‘Scheduler’ on the left sidebar, then use the date picker to find the shift you’d like to edit. Click the shift, and click ‘View Day’ in the menu that pops up to the right
Once you’re on the Shift details screen, the process is the same as editing a shift via the Task page. Click the Edit button in the top right, fill in your Shift Details, then click the ‘Save’ button in the bottom right, and the updated Shift can be seen on the Scheduler