Adding an Asset Qualification
In this tutorial, you will learn how to create an Asset Qualification in Teamleaf
Step-by-Step Guide
Fleet Management
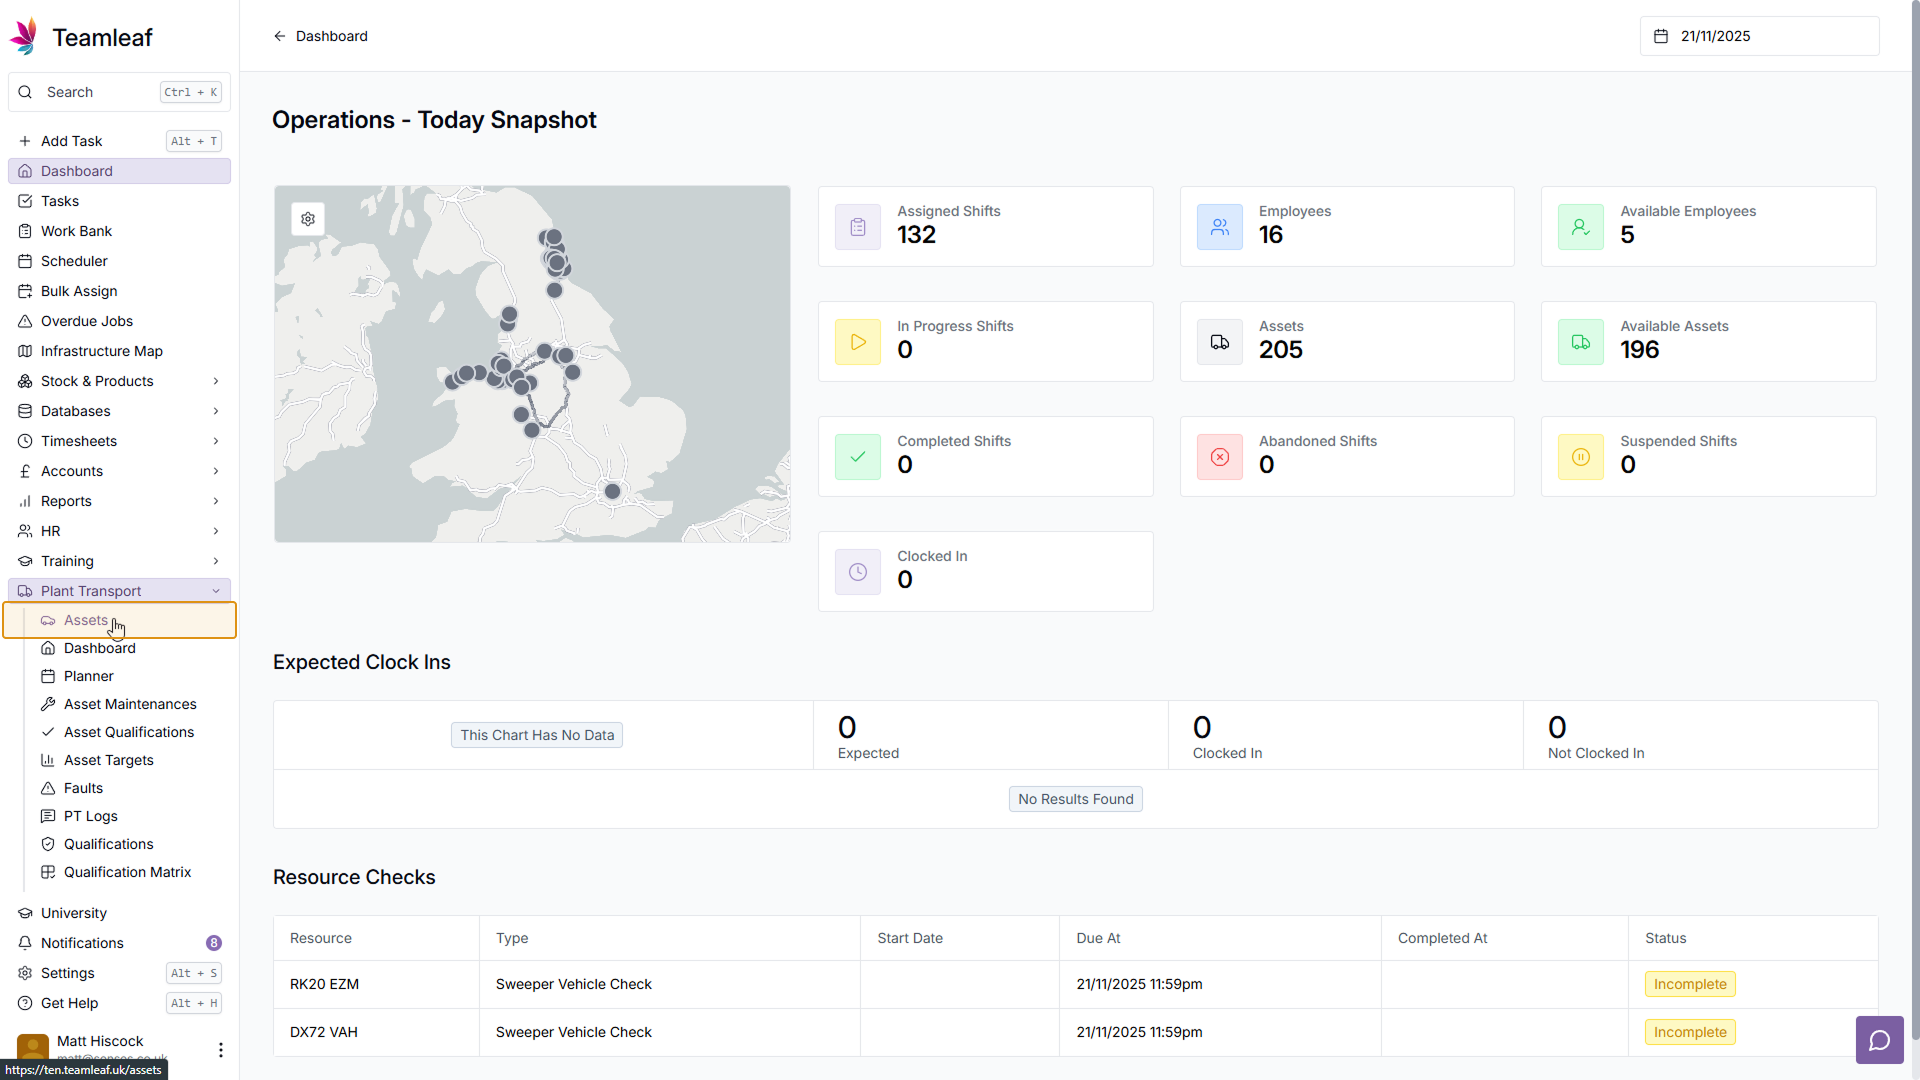
Step 1
Go to 'Assets' Page
To start, click 'Plant Transport' on the left sidebar, then click 'Assets' in the dropdown menu to go to the Assets page
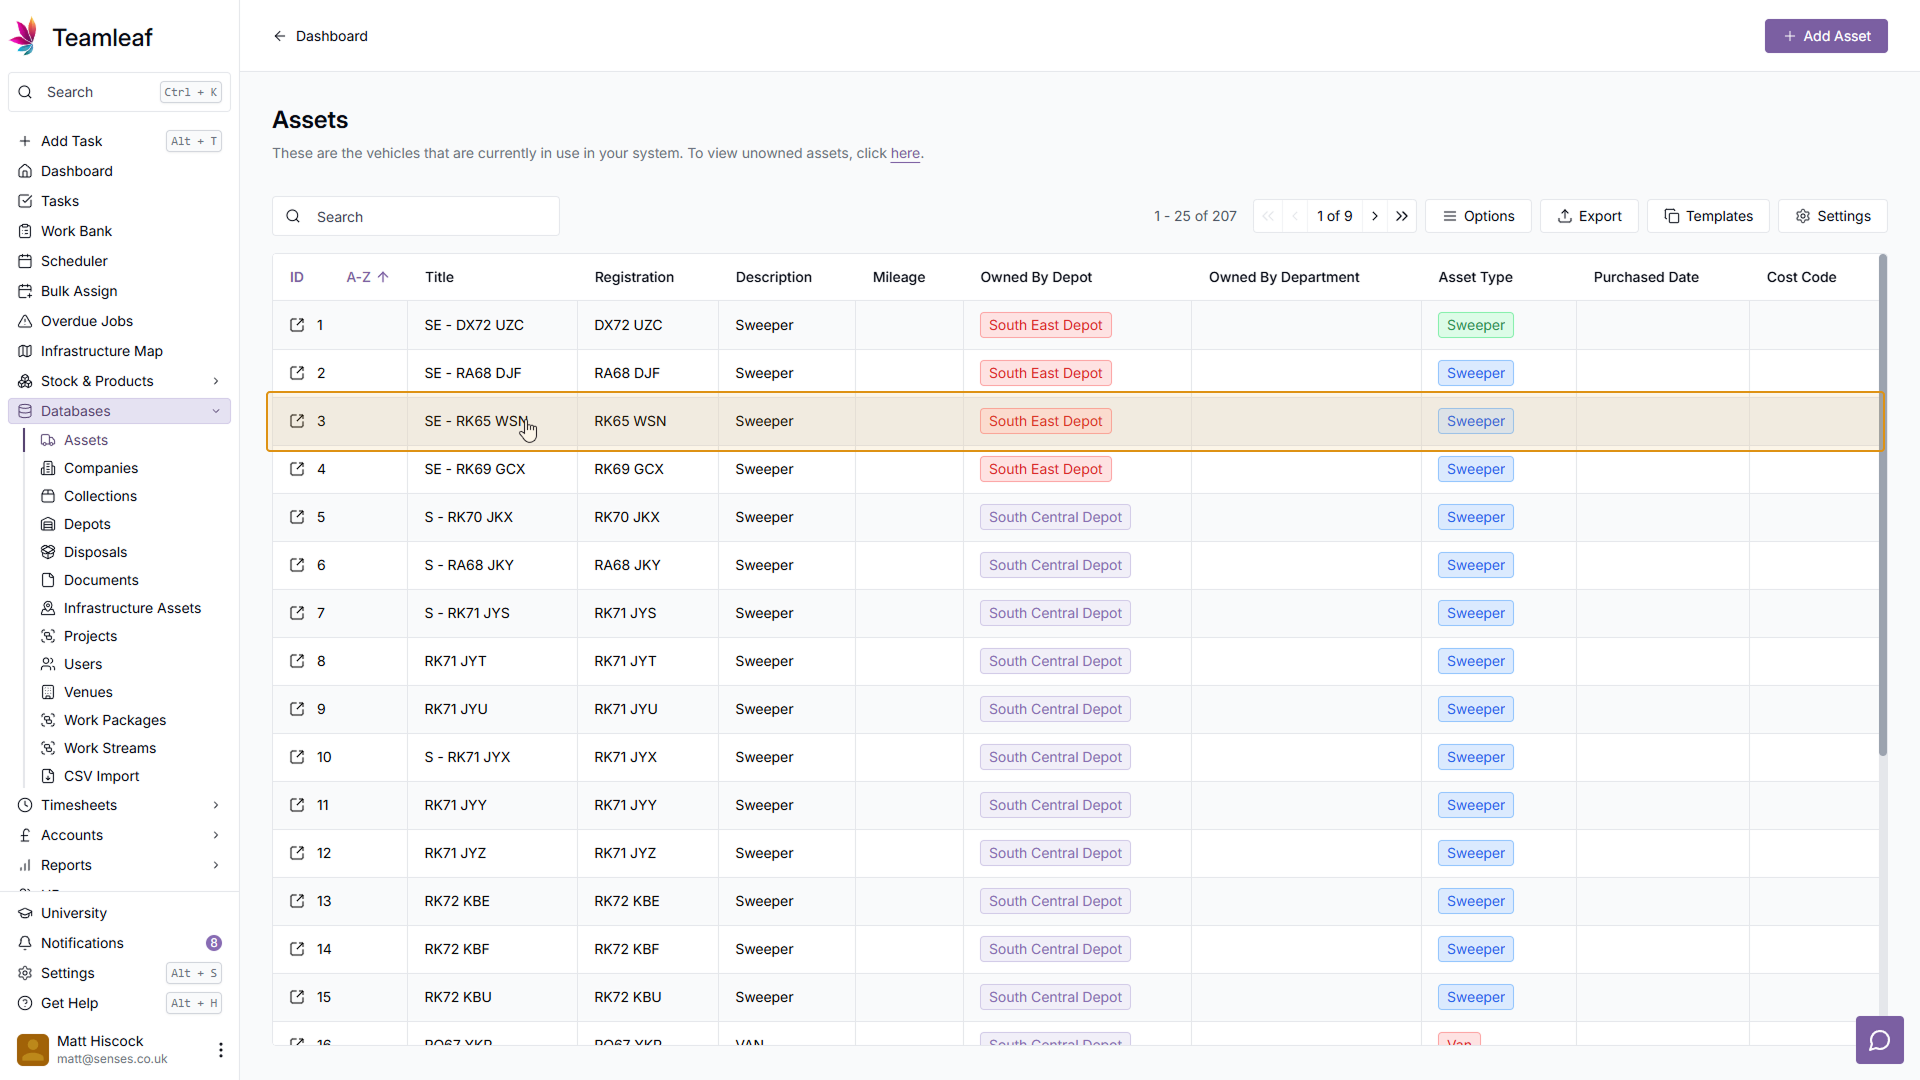
Step 2
Select Asset
Next, click the Asset in the Assets Table that you'd like to add the qualification to
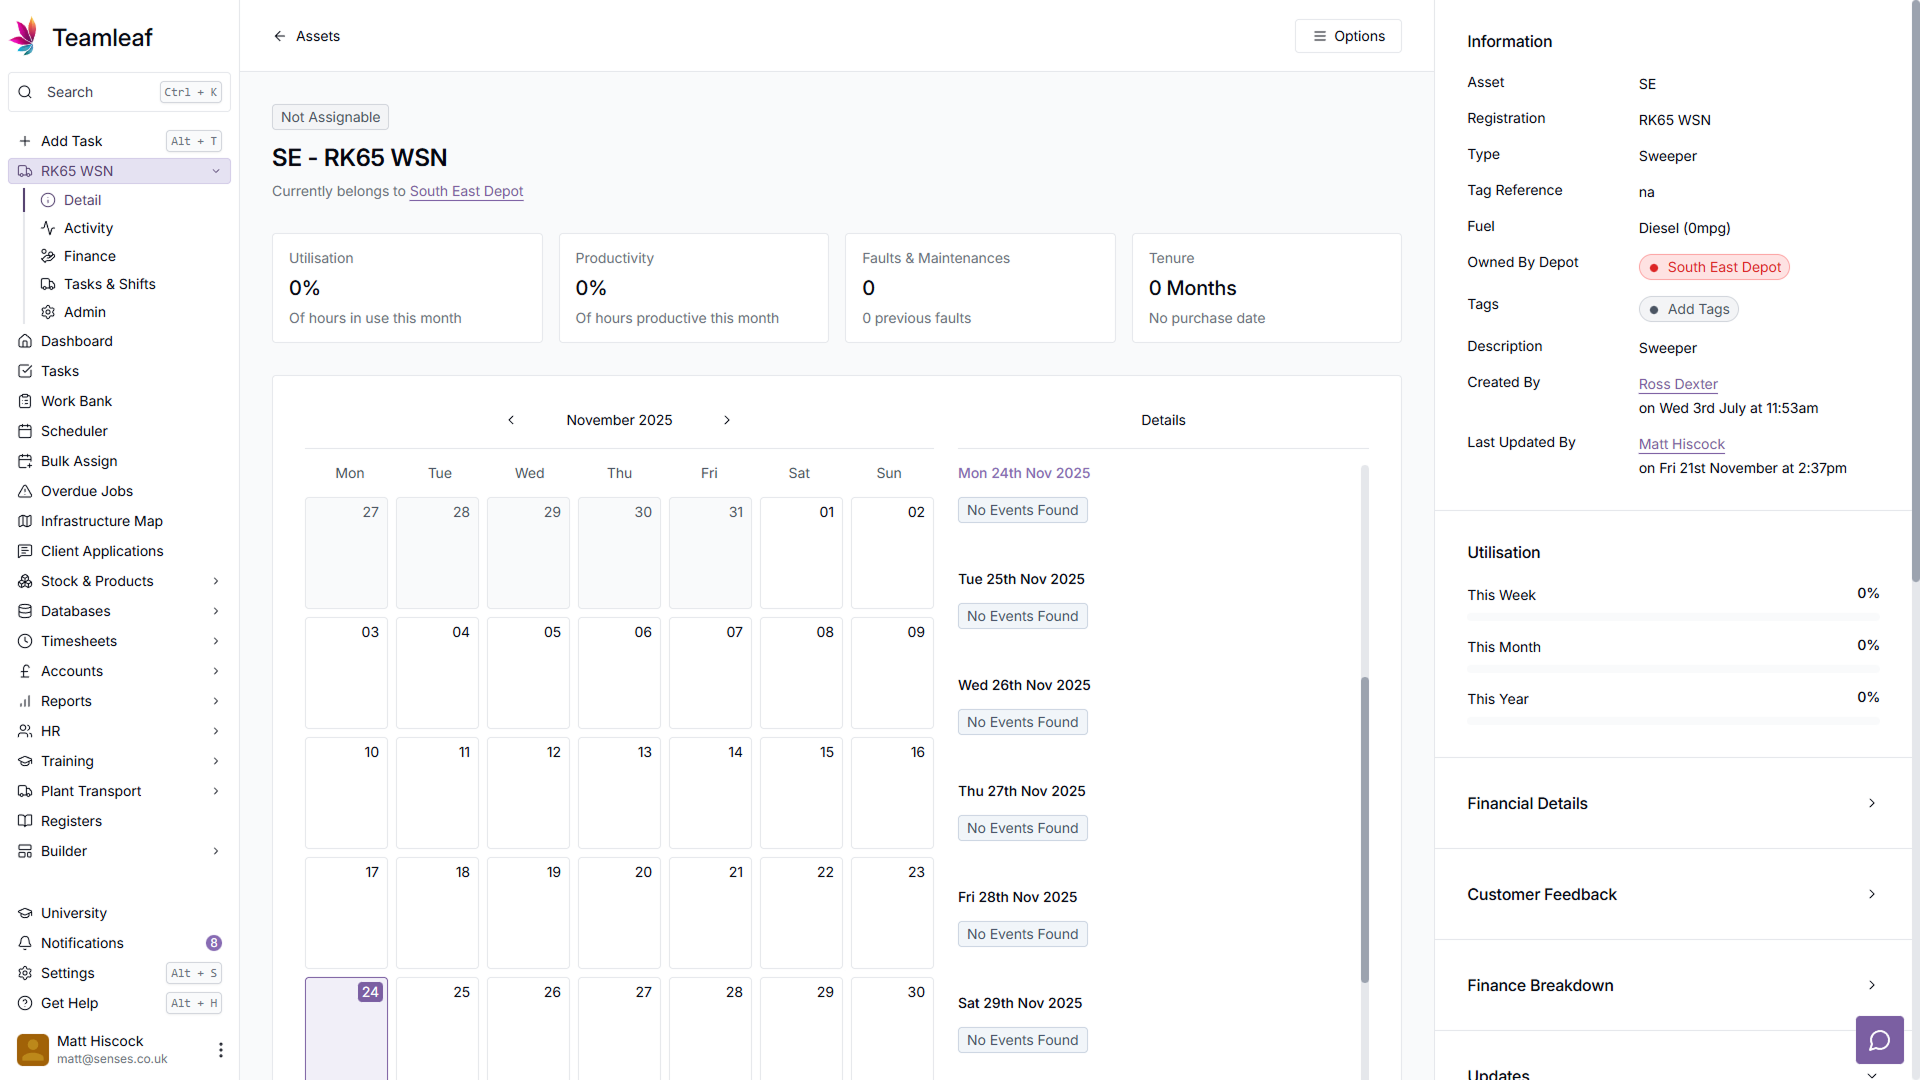
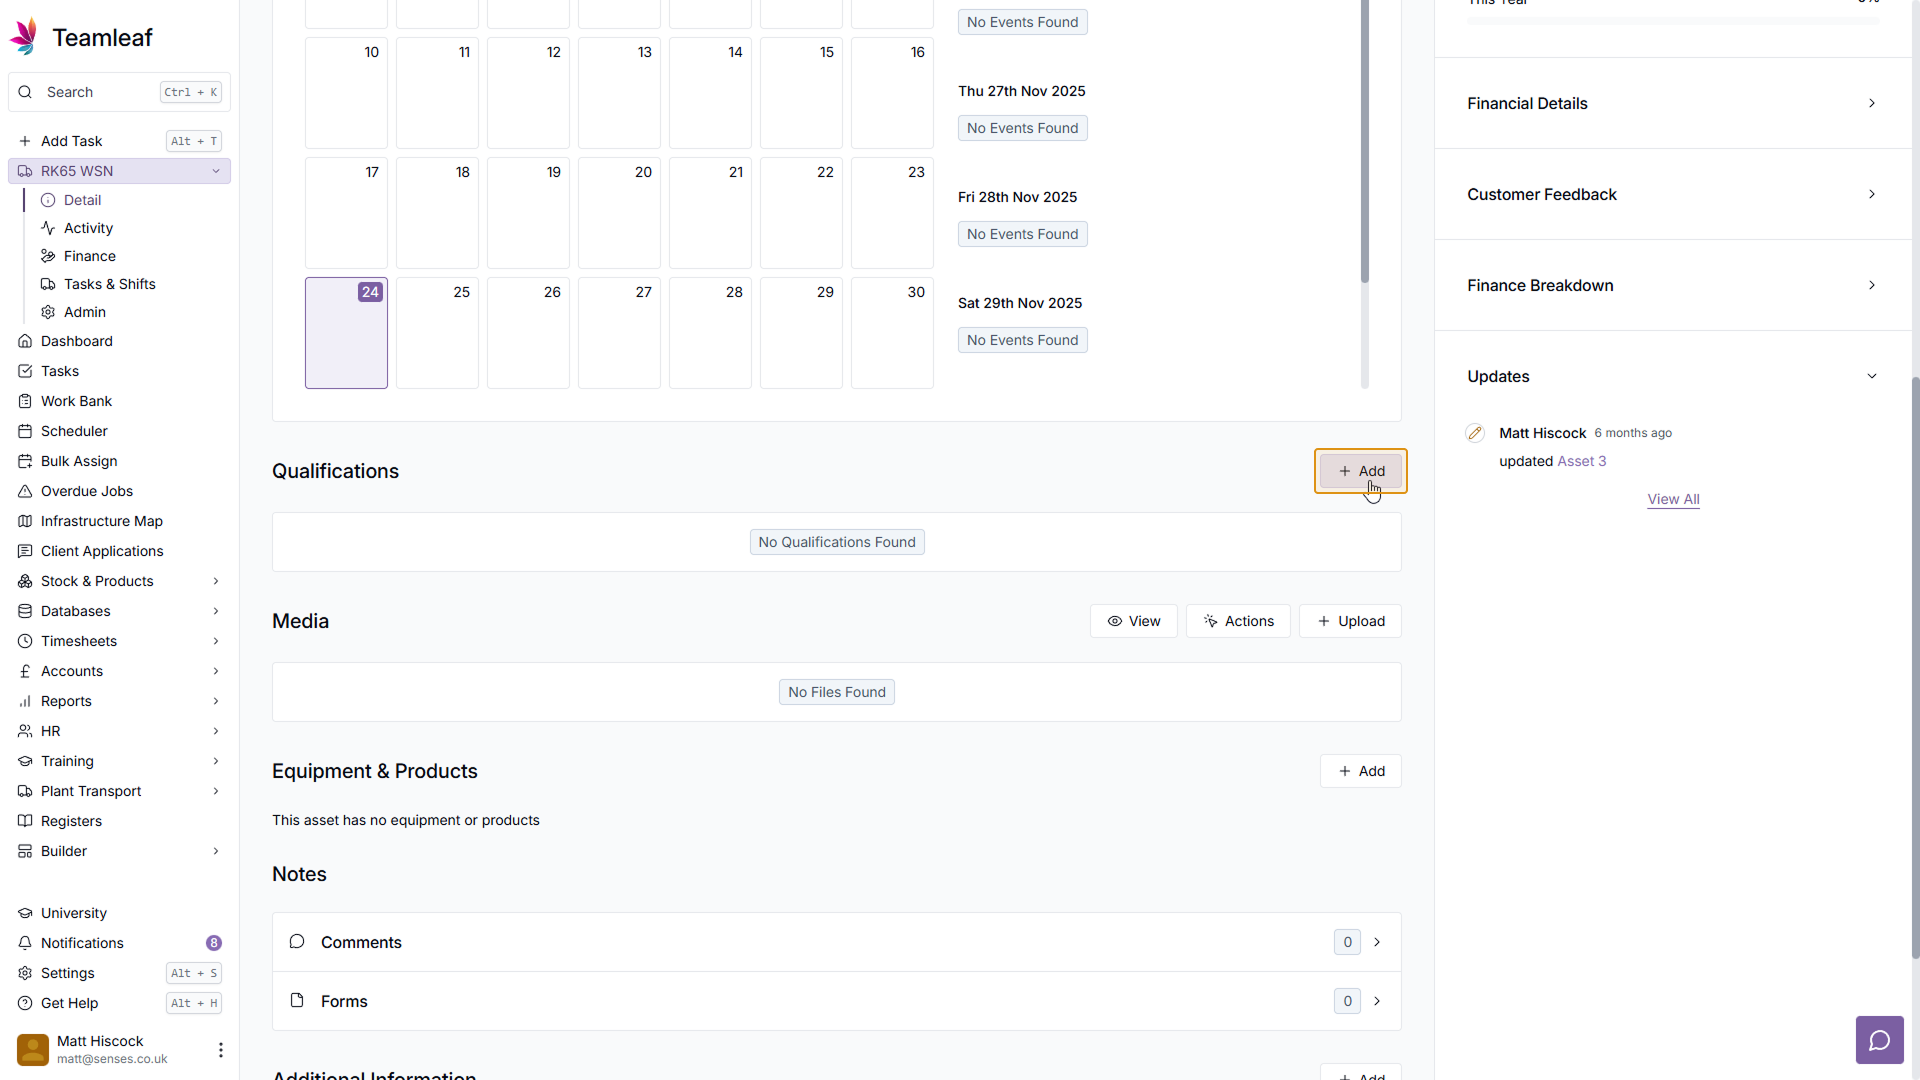
Step 3
Click 'Add'
On the Asset Page, scroll down to the 'Qualifications' section, and click 'Add'
Step 4
Select Provider Company
In the form that then opens, select the provider company for the Asset Qualification

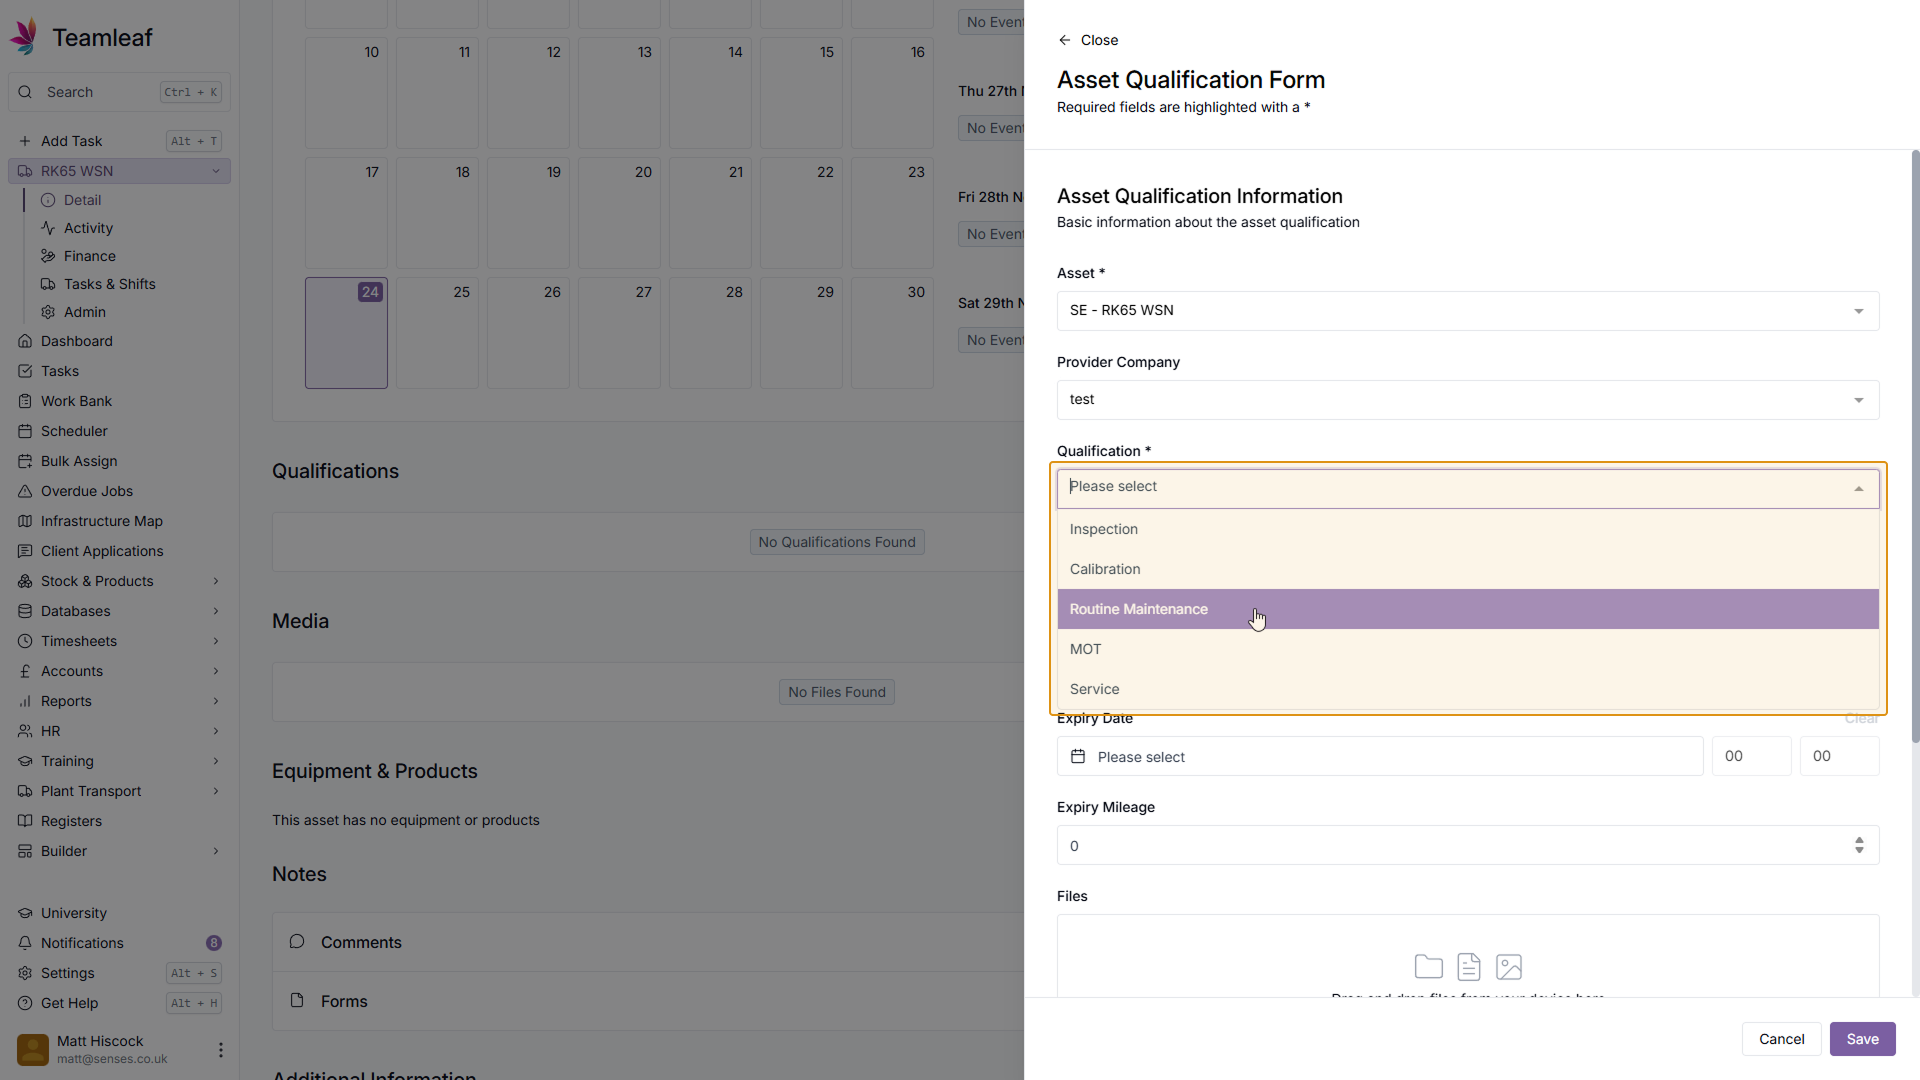
Step 5
Select Qualification Type
Next, use the 'Qualification' dropdown menu to select what type of Qualification this is
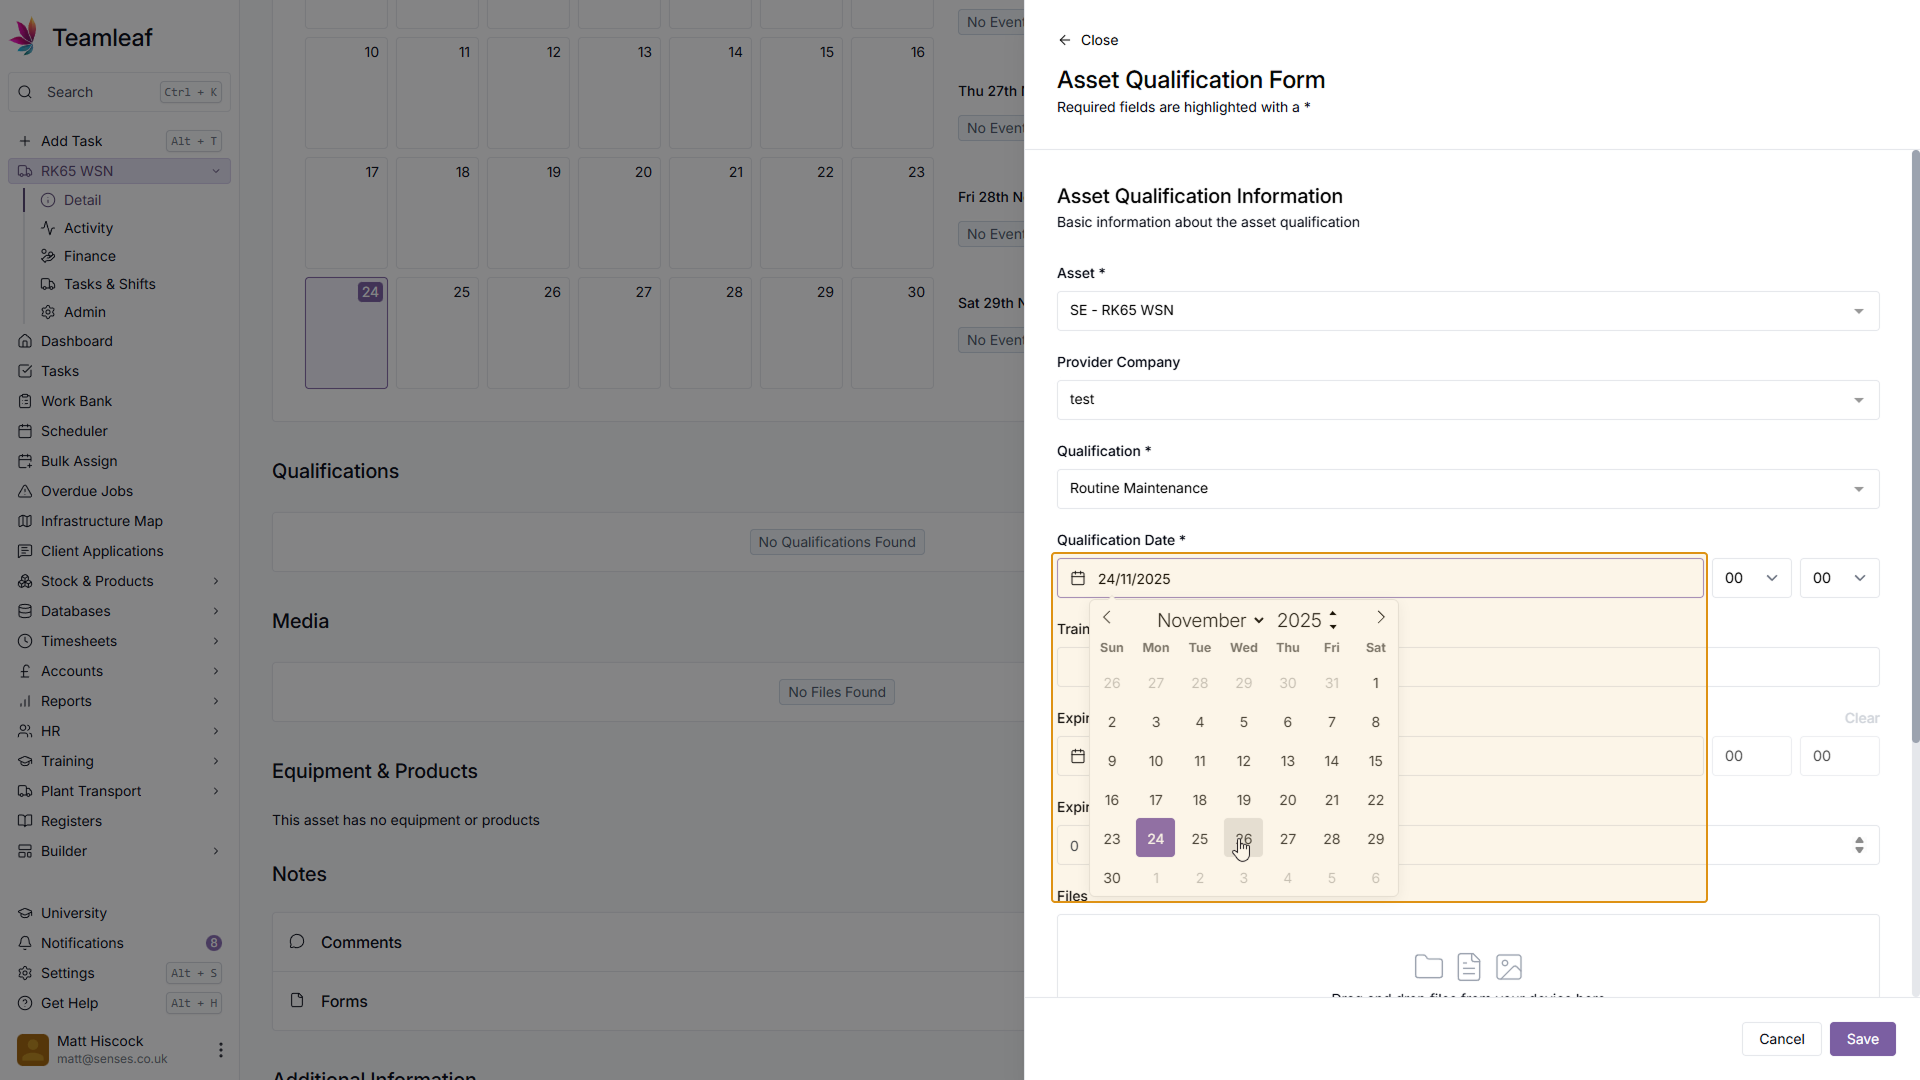
Step 6
Select Qualification Date
Next, select the Qualification date - by default, today's date will be selected, but you can change this if you wish by using the date picker. You can also add a time to this qualification by using the time picker to the right of the date picker.

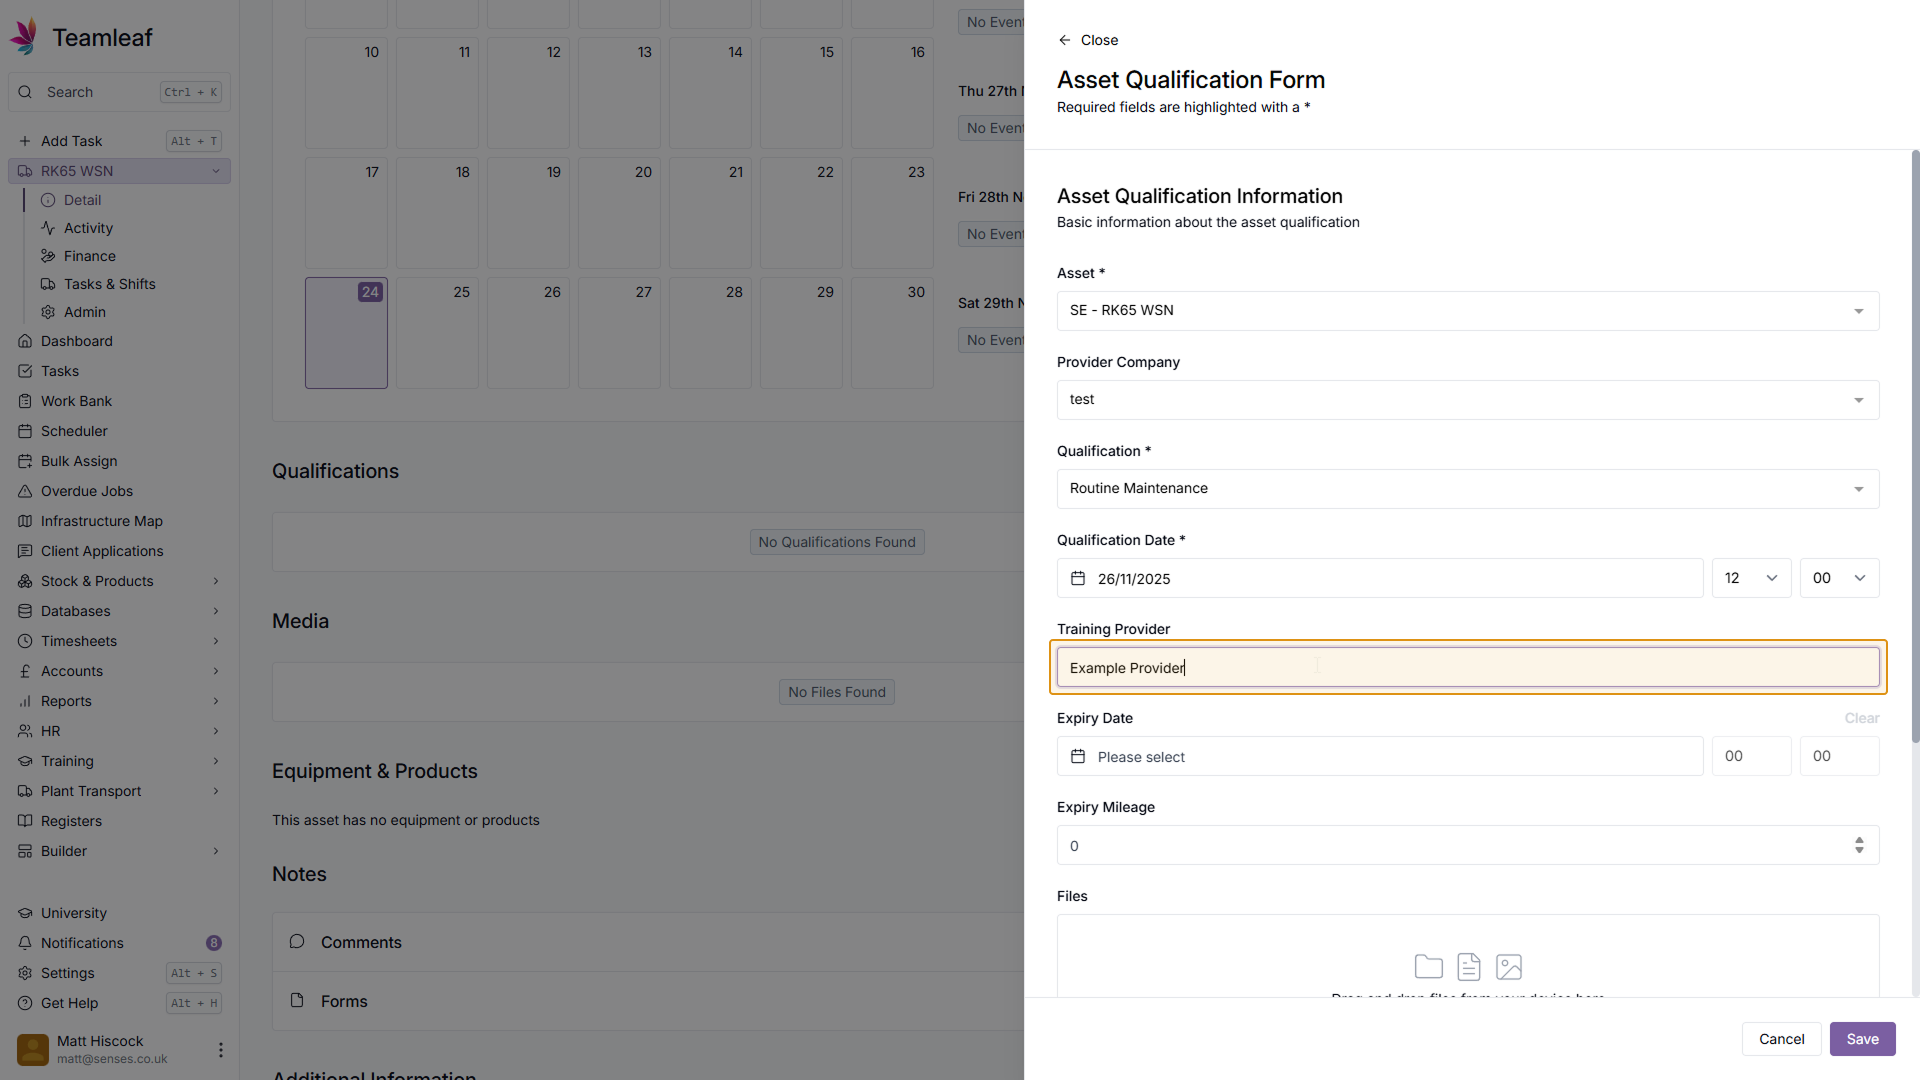
Step 7
(Optional) Add a Training Provider
If required, you can add a training provider by typing in the name of the provider.
Step 8
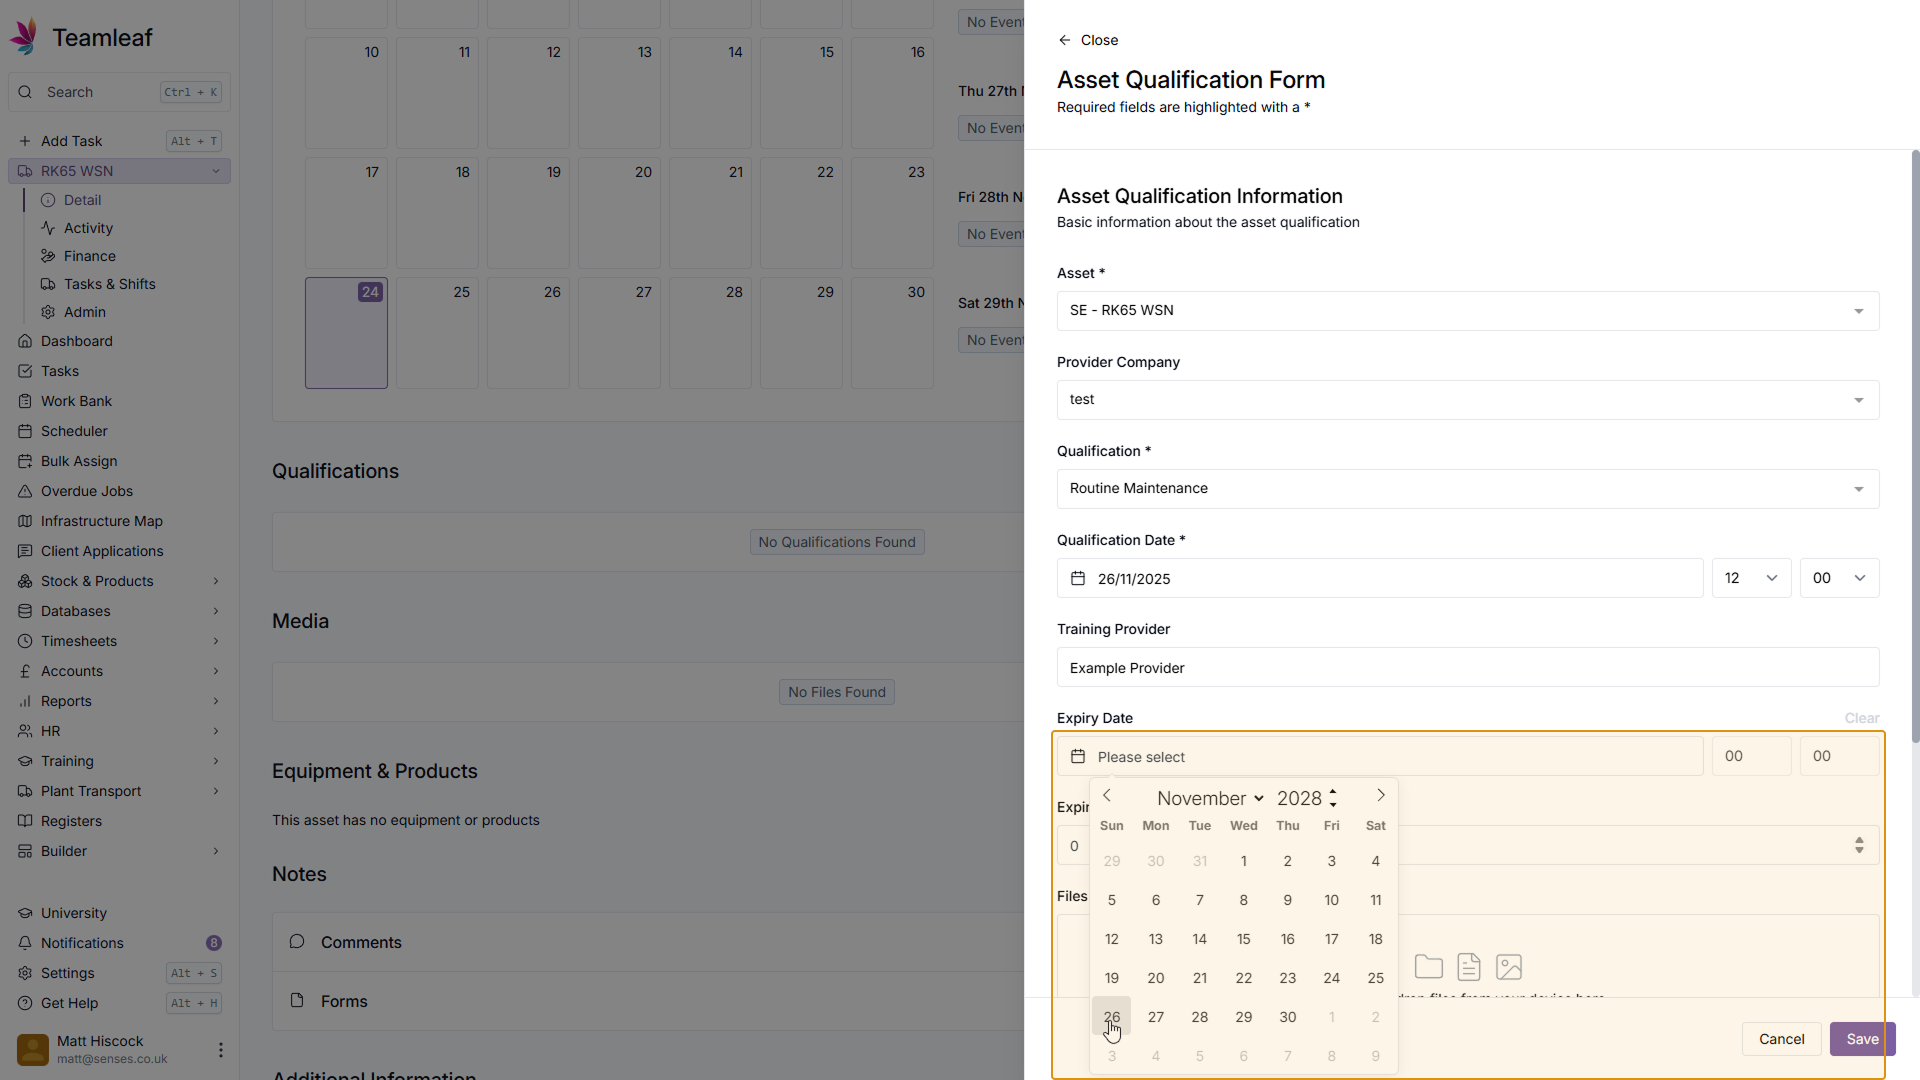
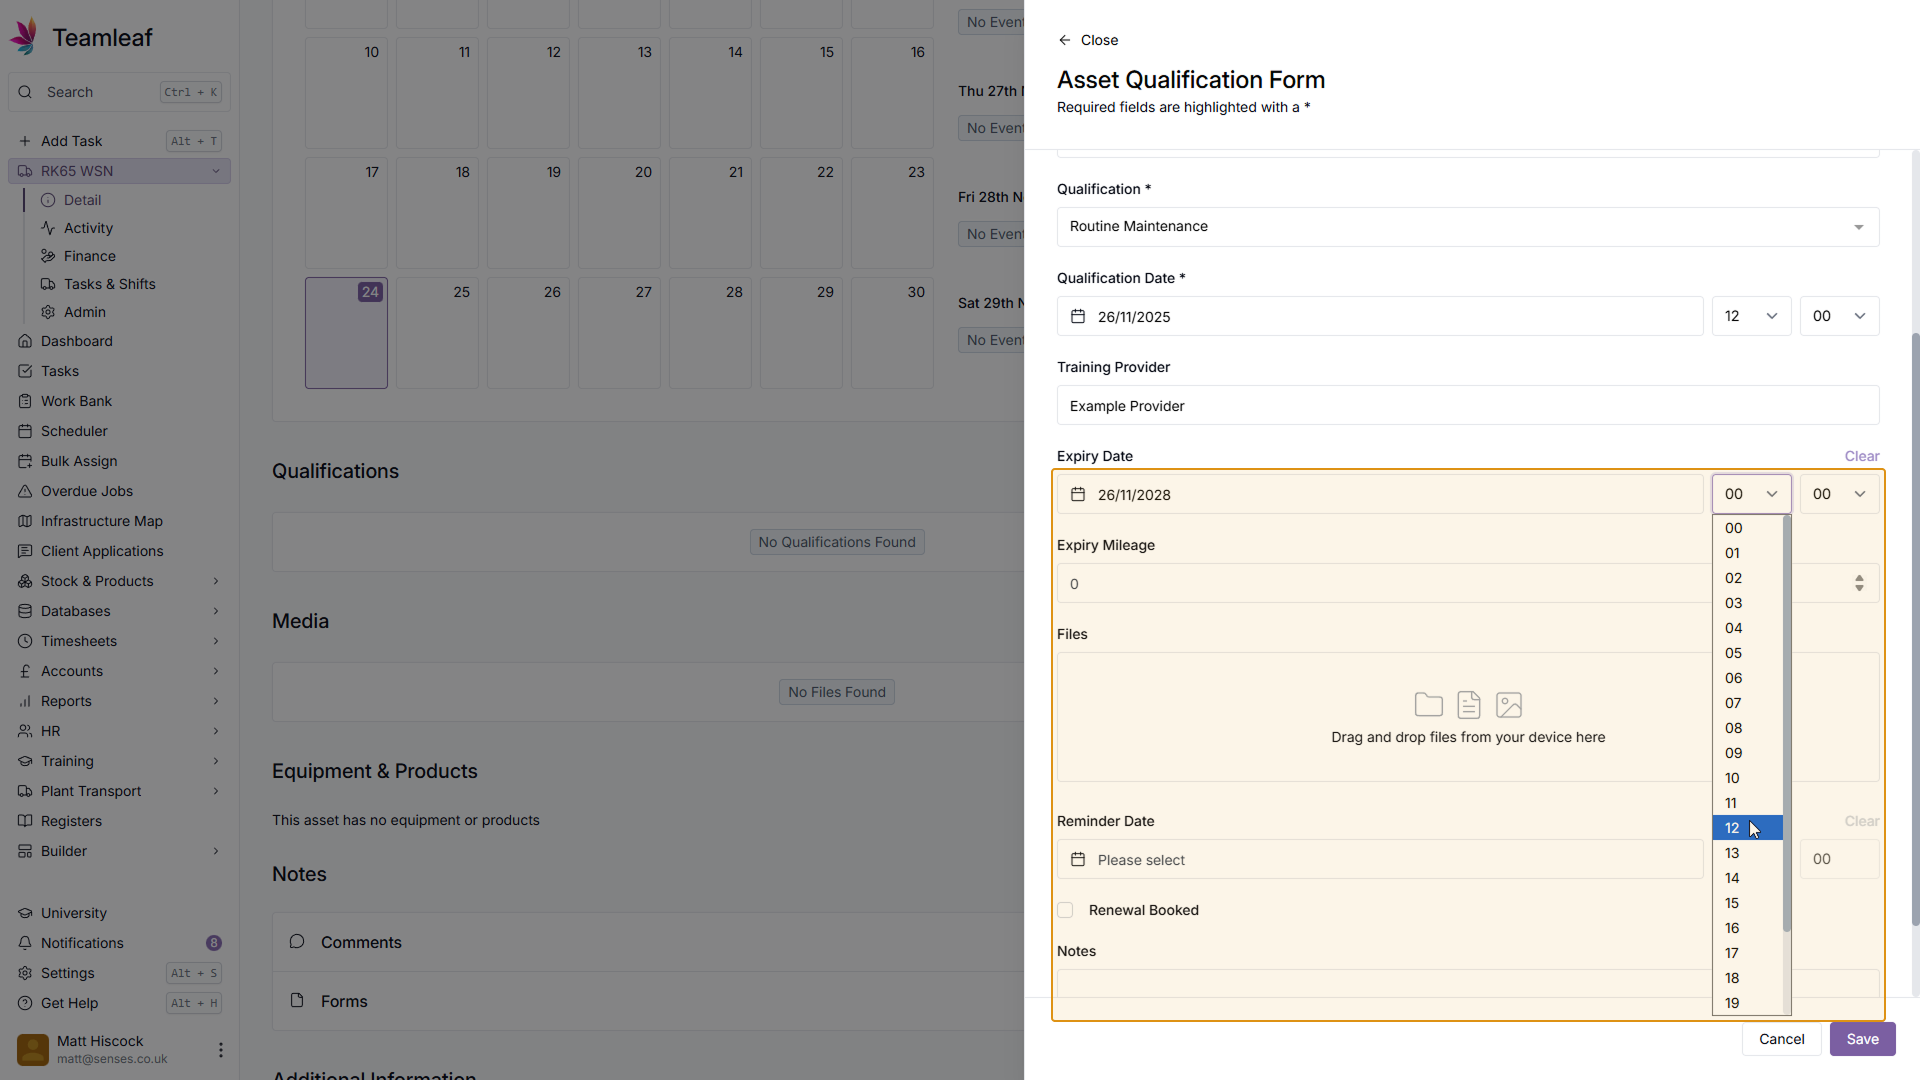
(Optional) Add Expiry Date
If this Asset Qualification should have an expiry date, you can add an Expiry Date and Time.
Step 9
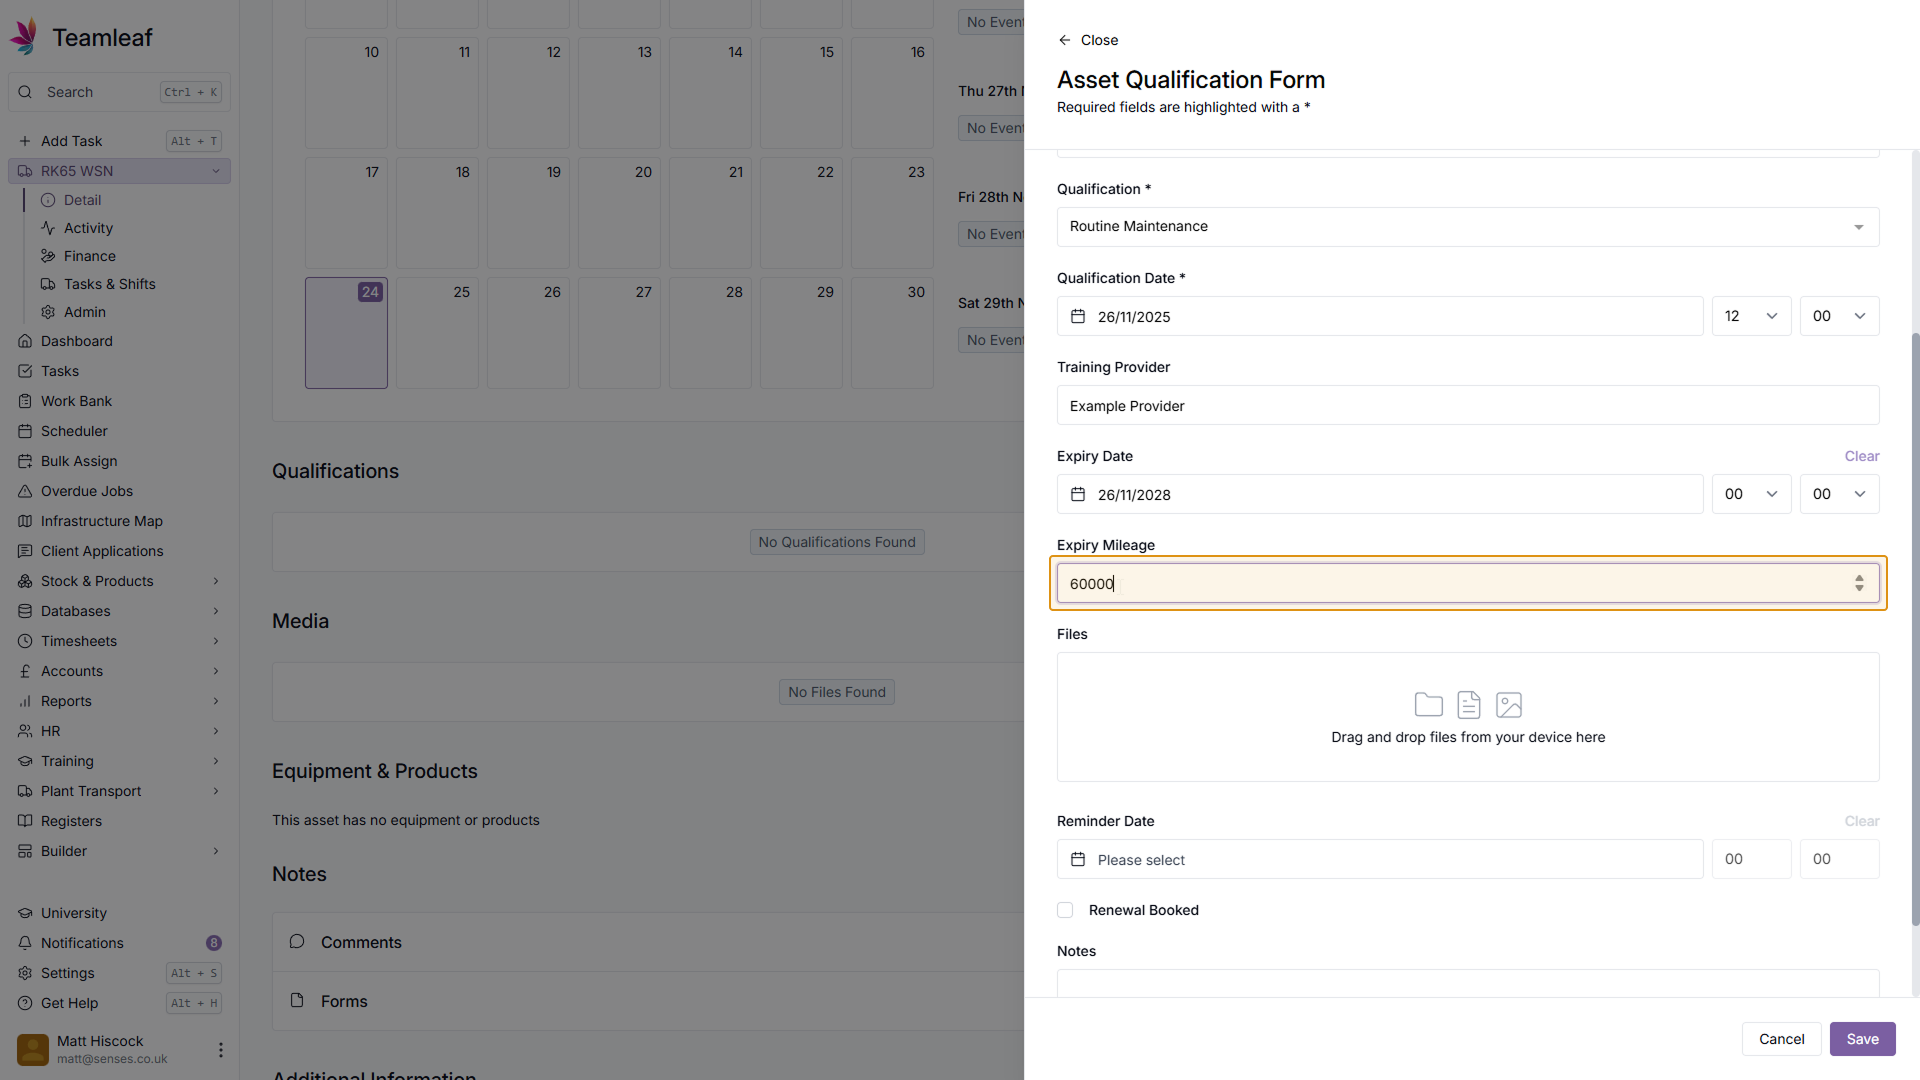
(Optional) Add Expiry Mileage
If you'd like this Asset Qualification to expire after the Asset has reached a certain mileage, you can enter the mileage it should expire after by typing it in.
Step 10
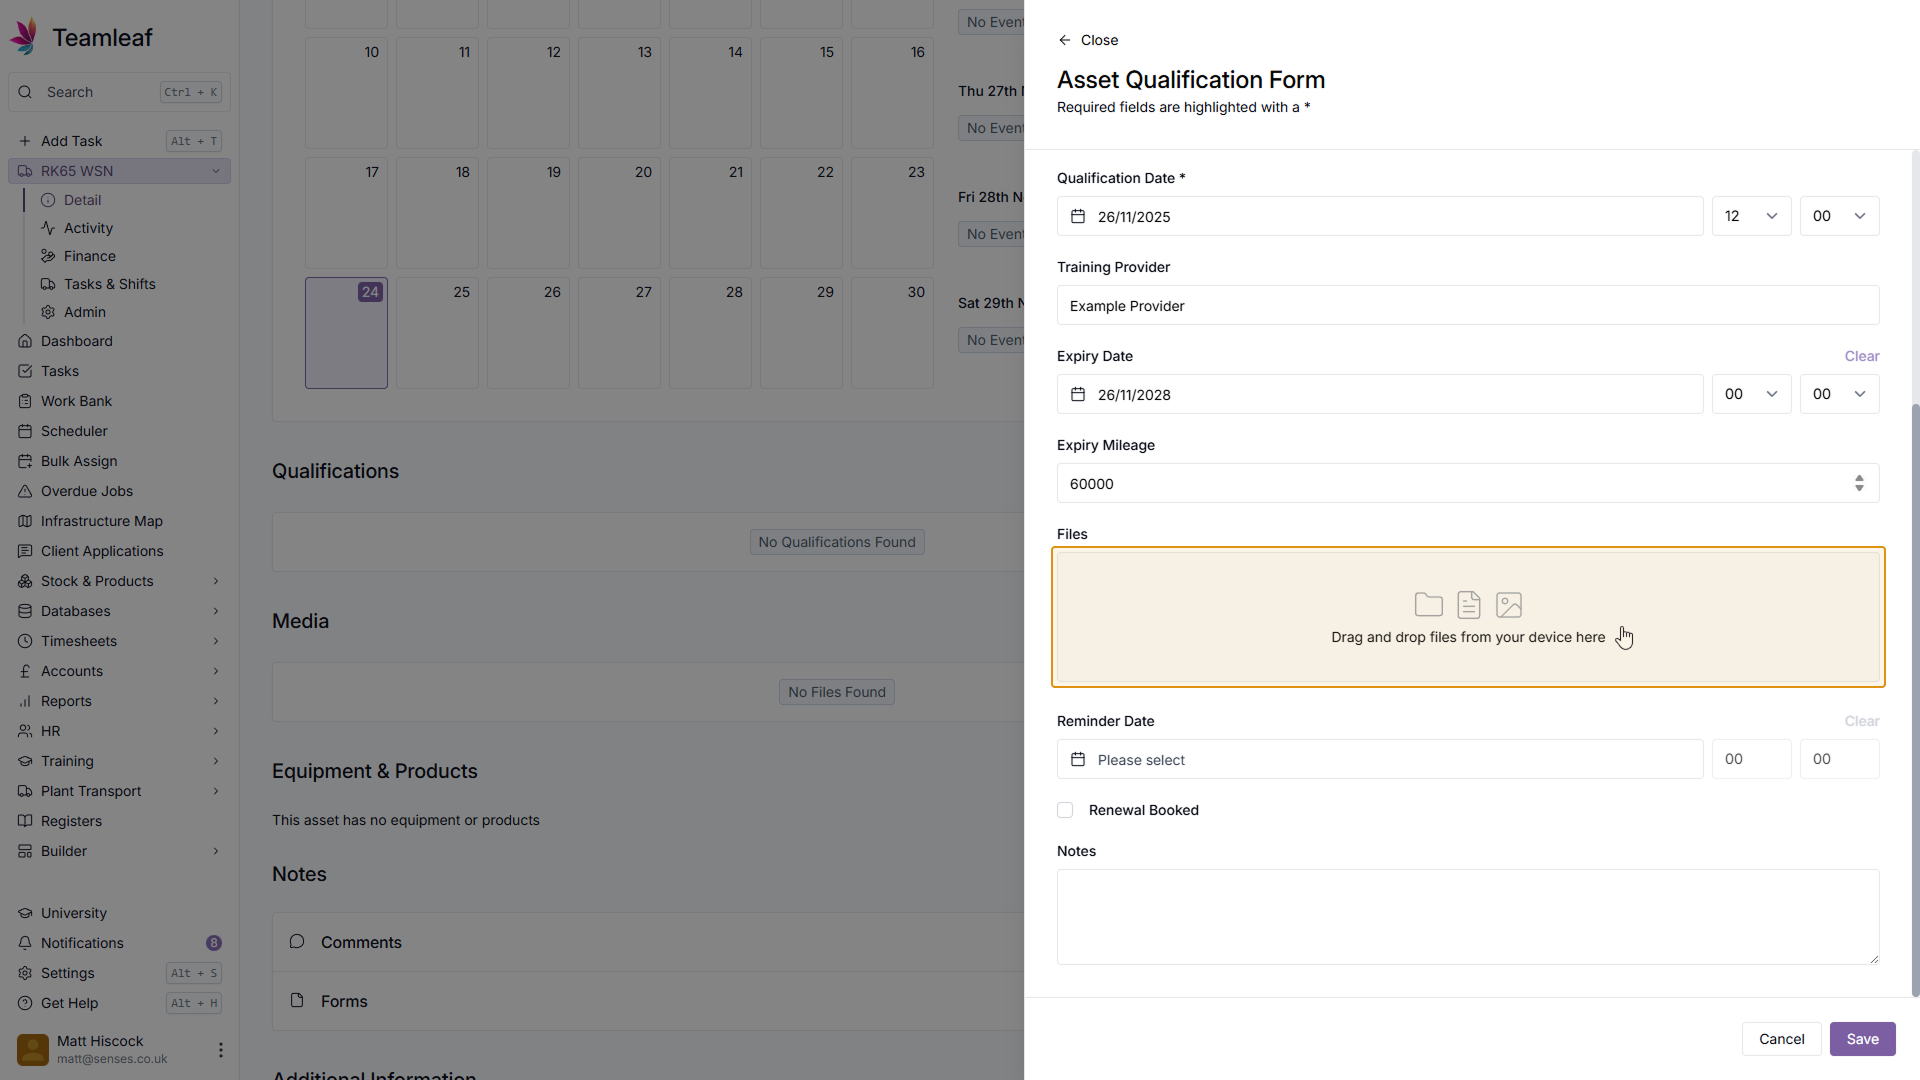
(Optional) Add Supporting Files
If you wish, you can add supporting files for this Asset Qualification using the files section.
Step 11
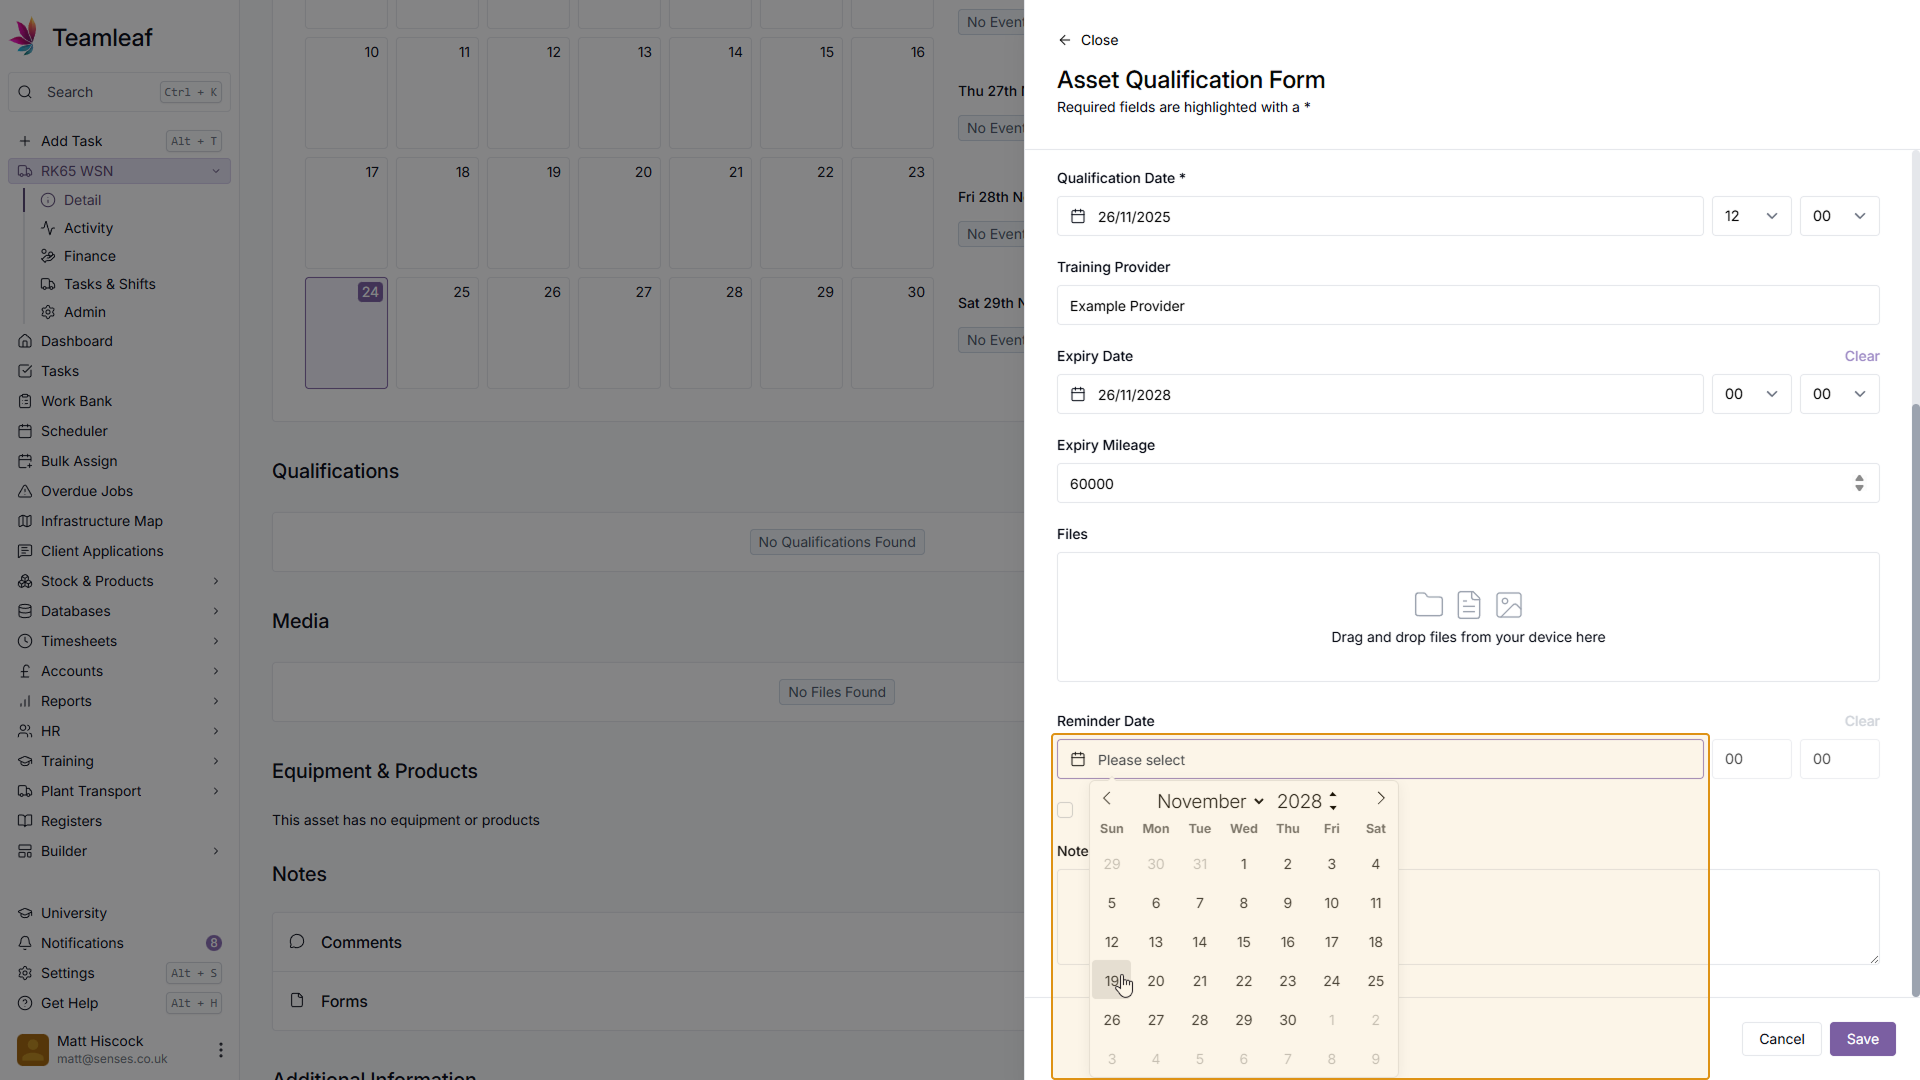
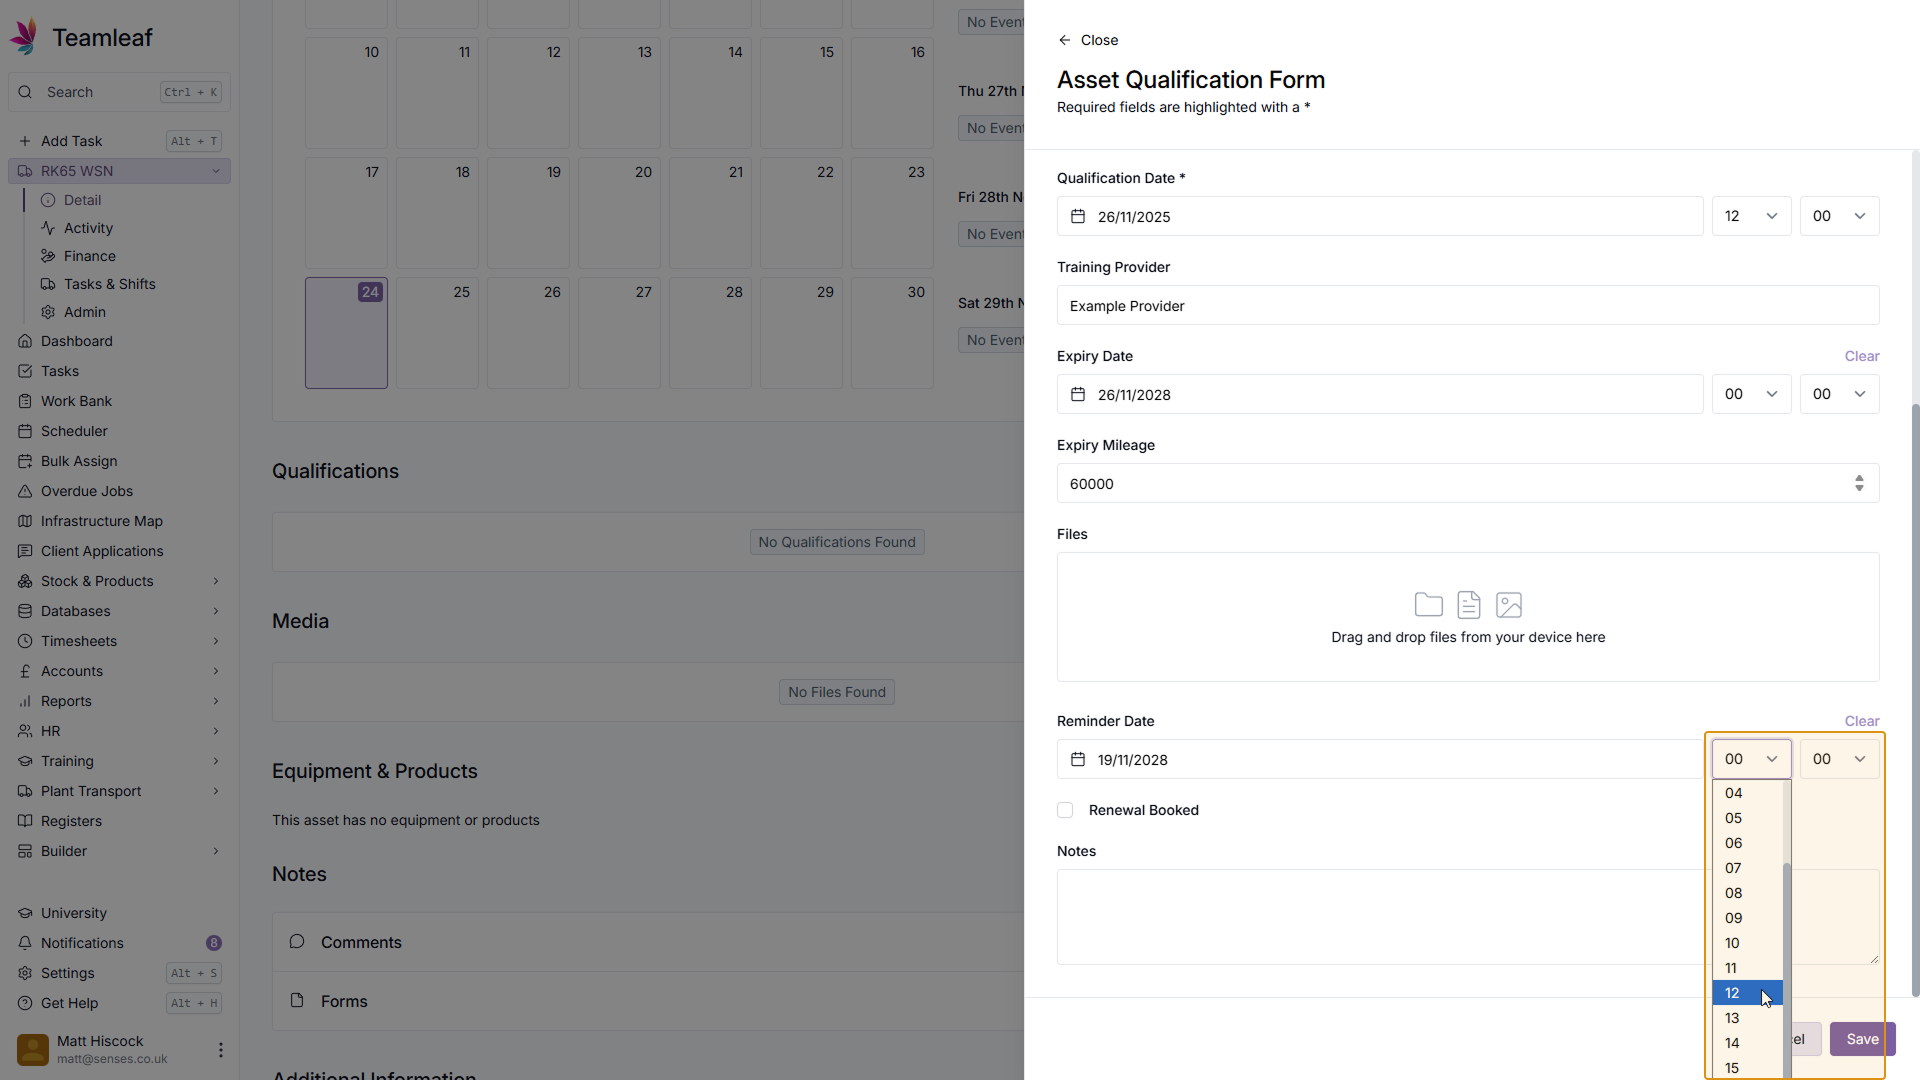
(Optional) Add Reminder Date
If you wish, you can set a reminder to renew this Asset Qualification by setting a Reminder Date & Time. If you already have a renewal booked, you can also add this here by ticking the 'Renewal Booked' checkbox.
Step 12
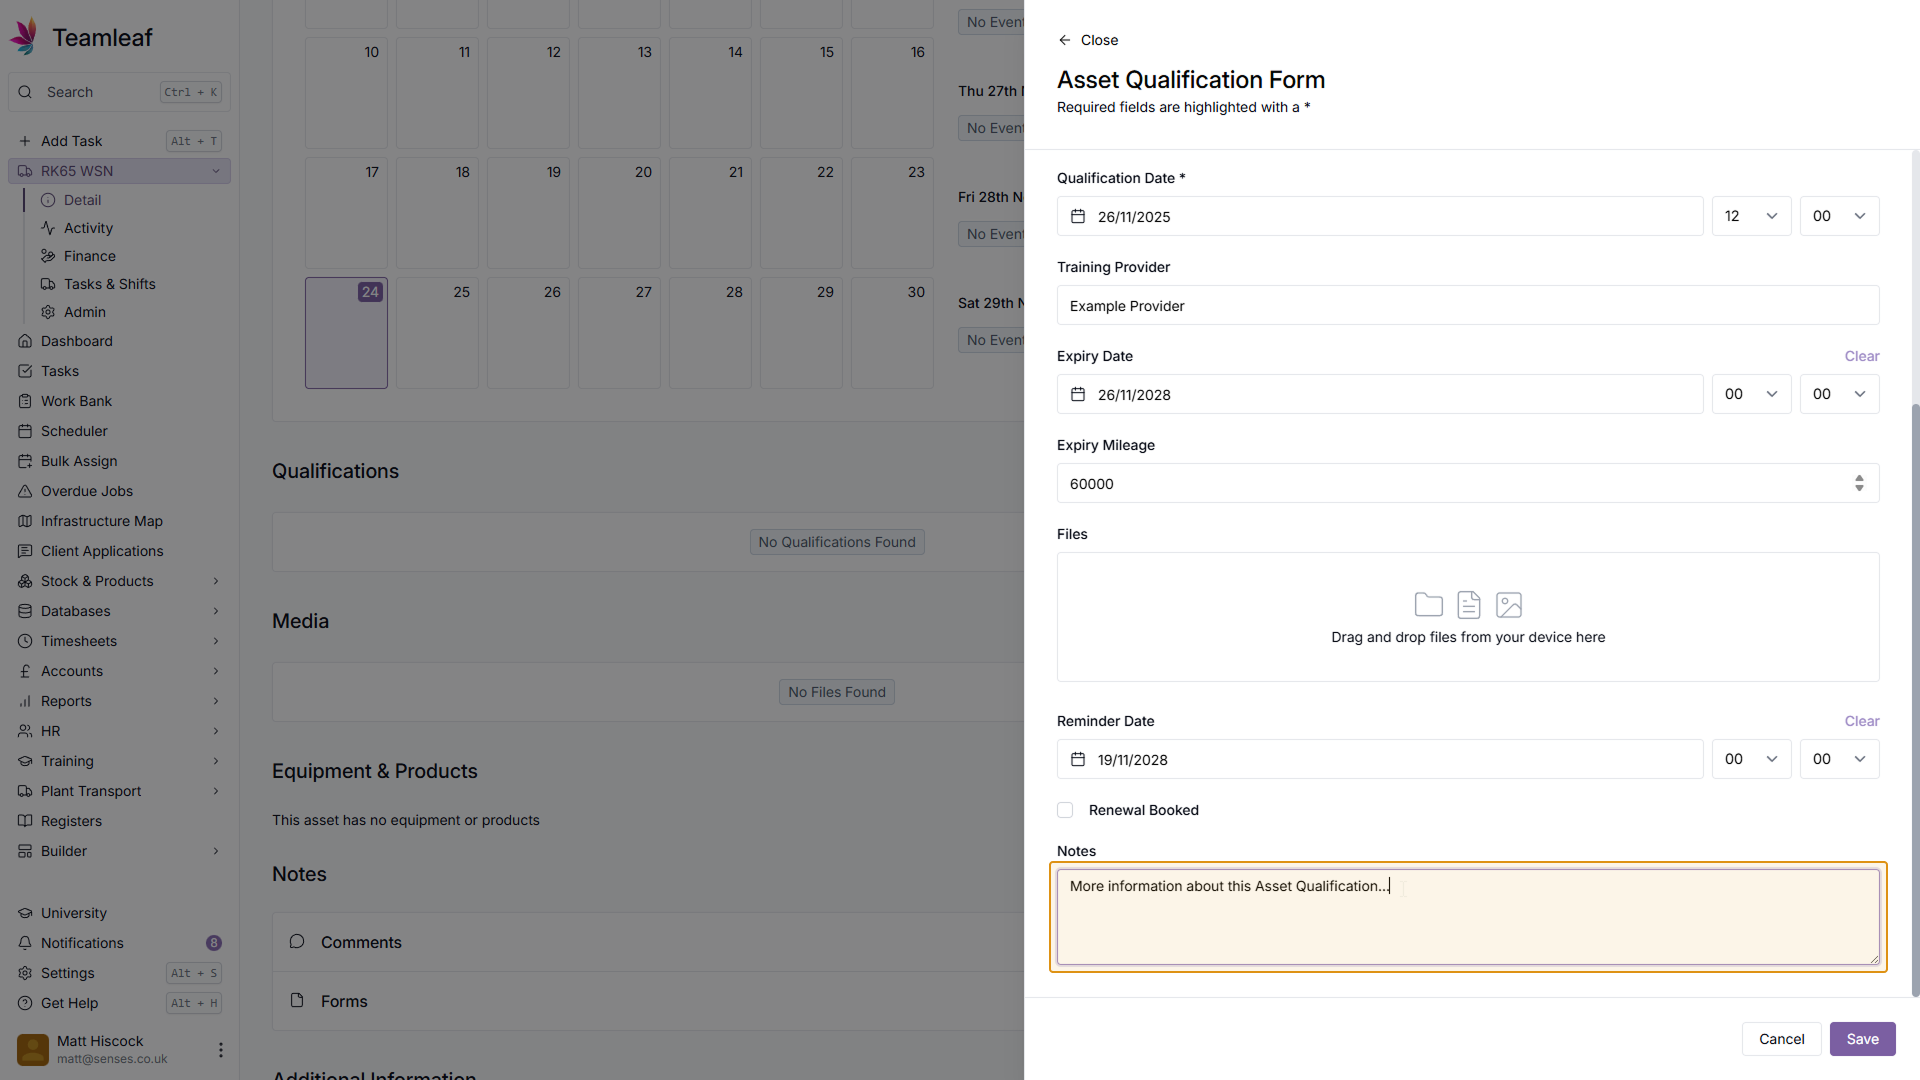
(Optional) Add Notes
If you wish to provide more information about this Asset Qualification, you can add more information in the Notes section.
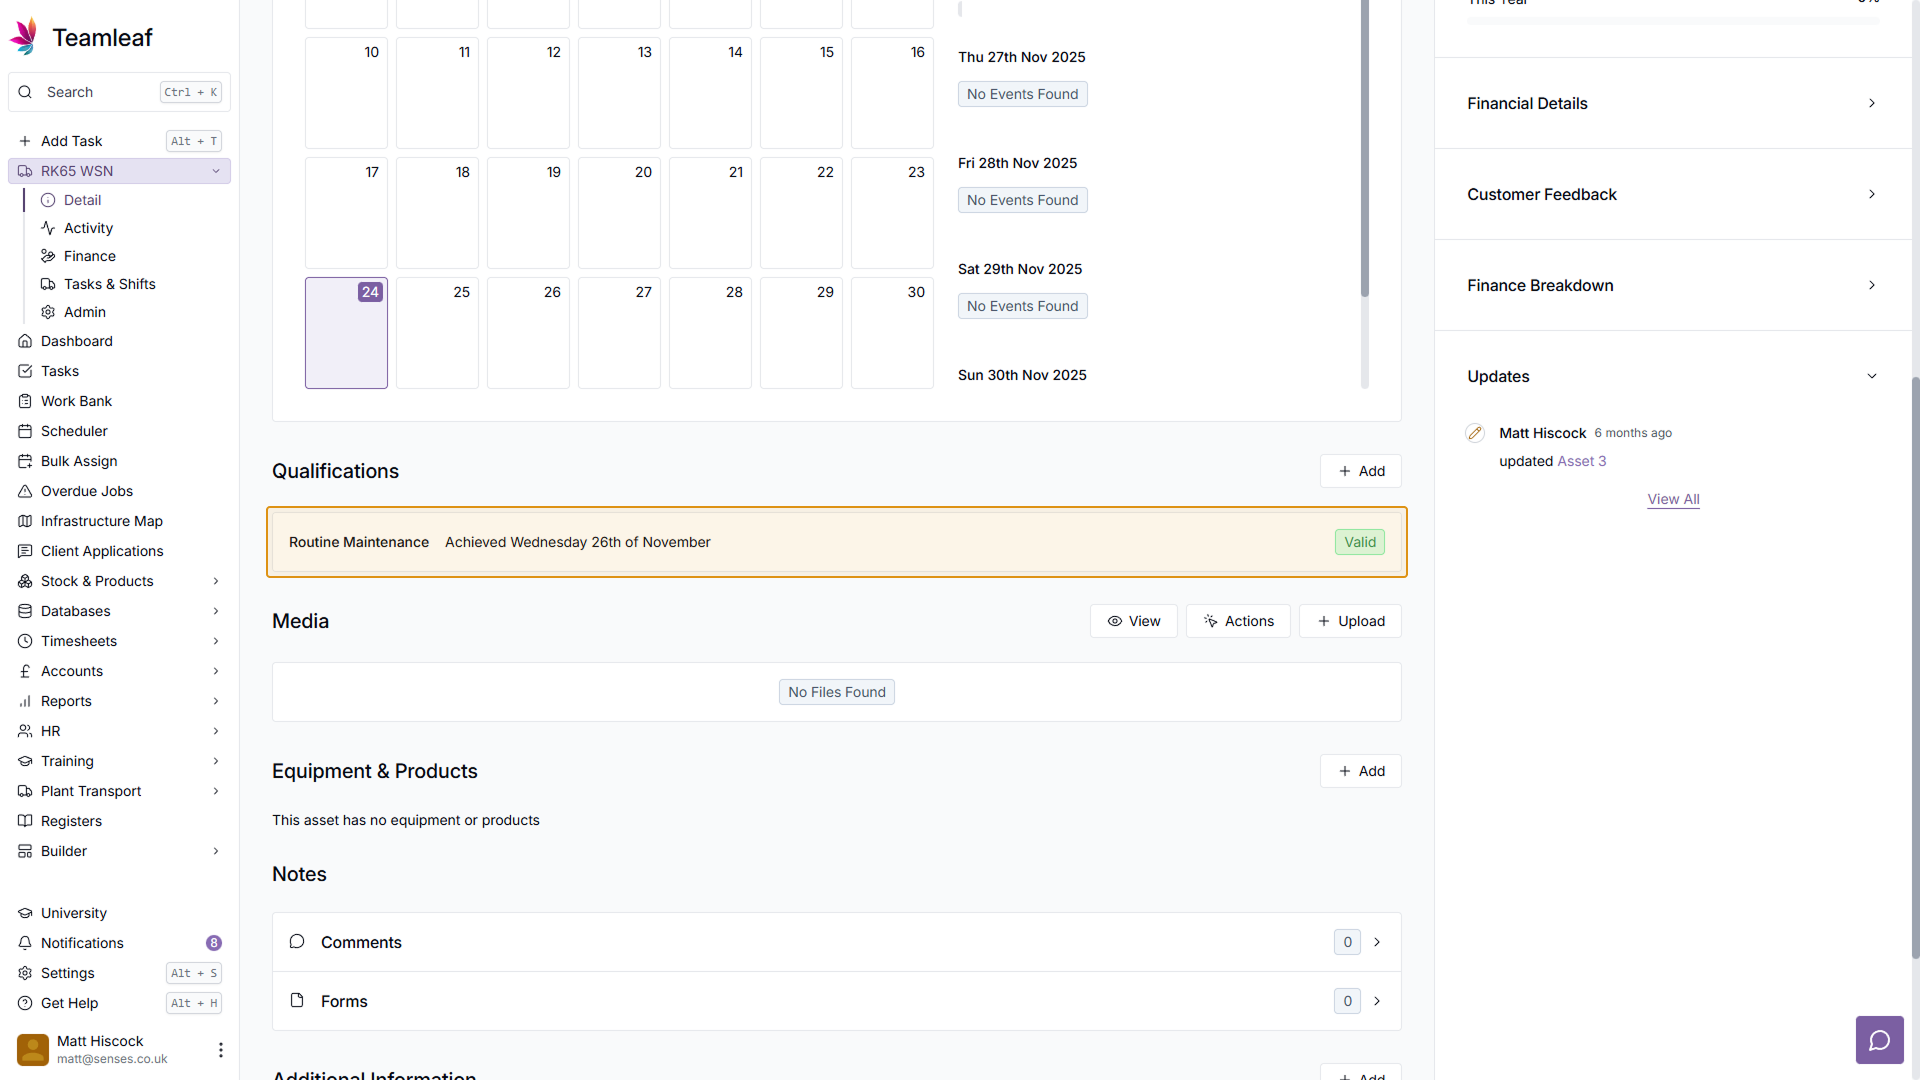
Step 13
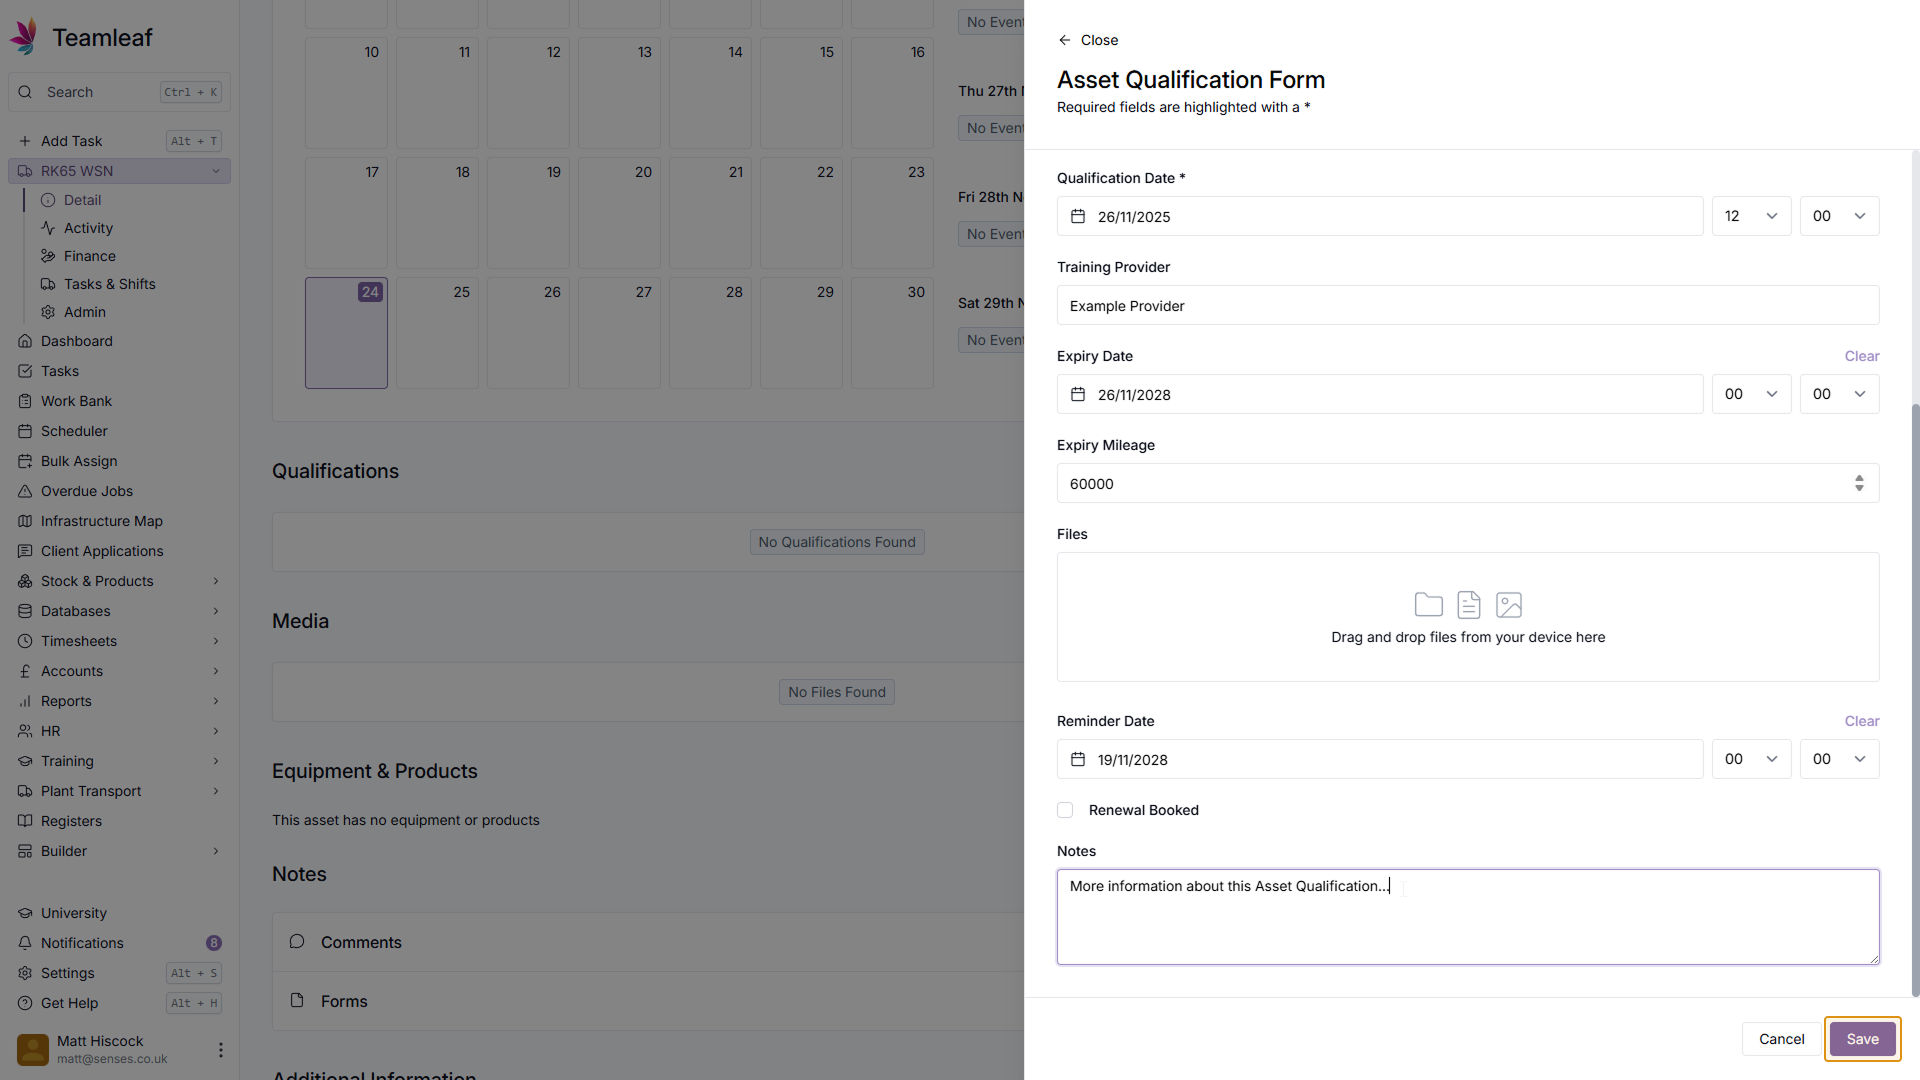
Click 'Save'
Once you're happy with the information you've got about this Asset Qualification, click the 'Save' button in the bottom right of the form.
Step 14
See Qualification
You will now see the Asset Qualification you just added in the 'Qualifications' section on the Asset Page. You can click it to View, Edit or Delete the Qualification.