Customising the Scheduler
In this tutorial you will learn how to customise the scheduler to suit your workflow, allowing you to select your layout and create templates
Step-by-Step Guide
Scheduler
Setup
Step 1
Customise scheduler settings
Click the settings (cog) icon in the top right corner of the screen to open the settings menu

Step 2
Configure display settings
From here, you will be given a variety of scheduler options, select the ones you prefer


Step 3
Save changes to scheduler view
Once you're happy with your selections, click the 'Save' button in the bottom right

Step 4
Return to Scheduler
After saving, you will be taken back to the scheduler, where you can either continue with your work, or save your changes as a template

Step 5
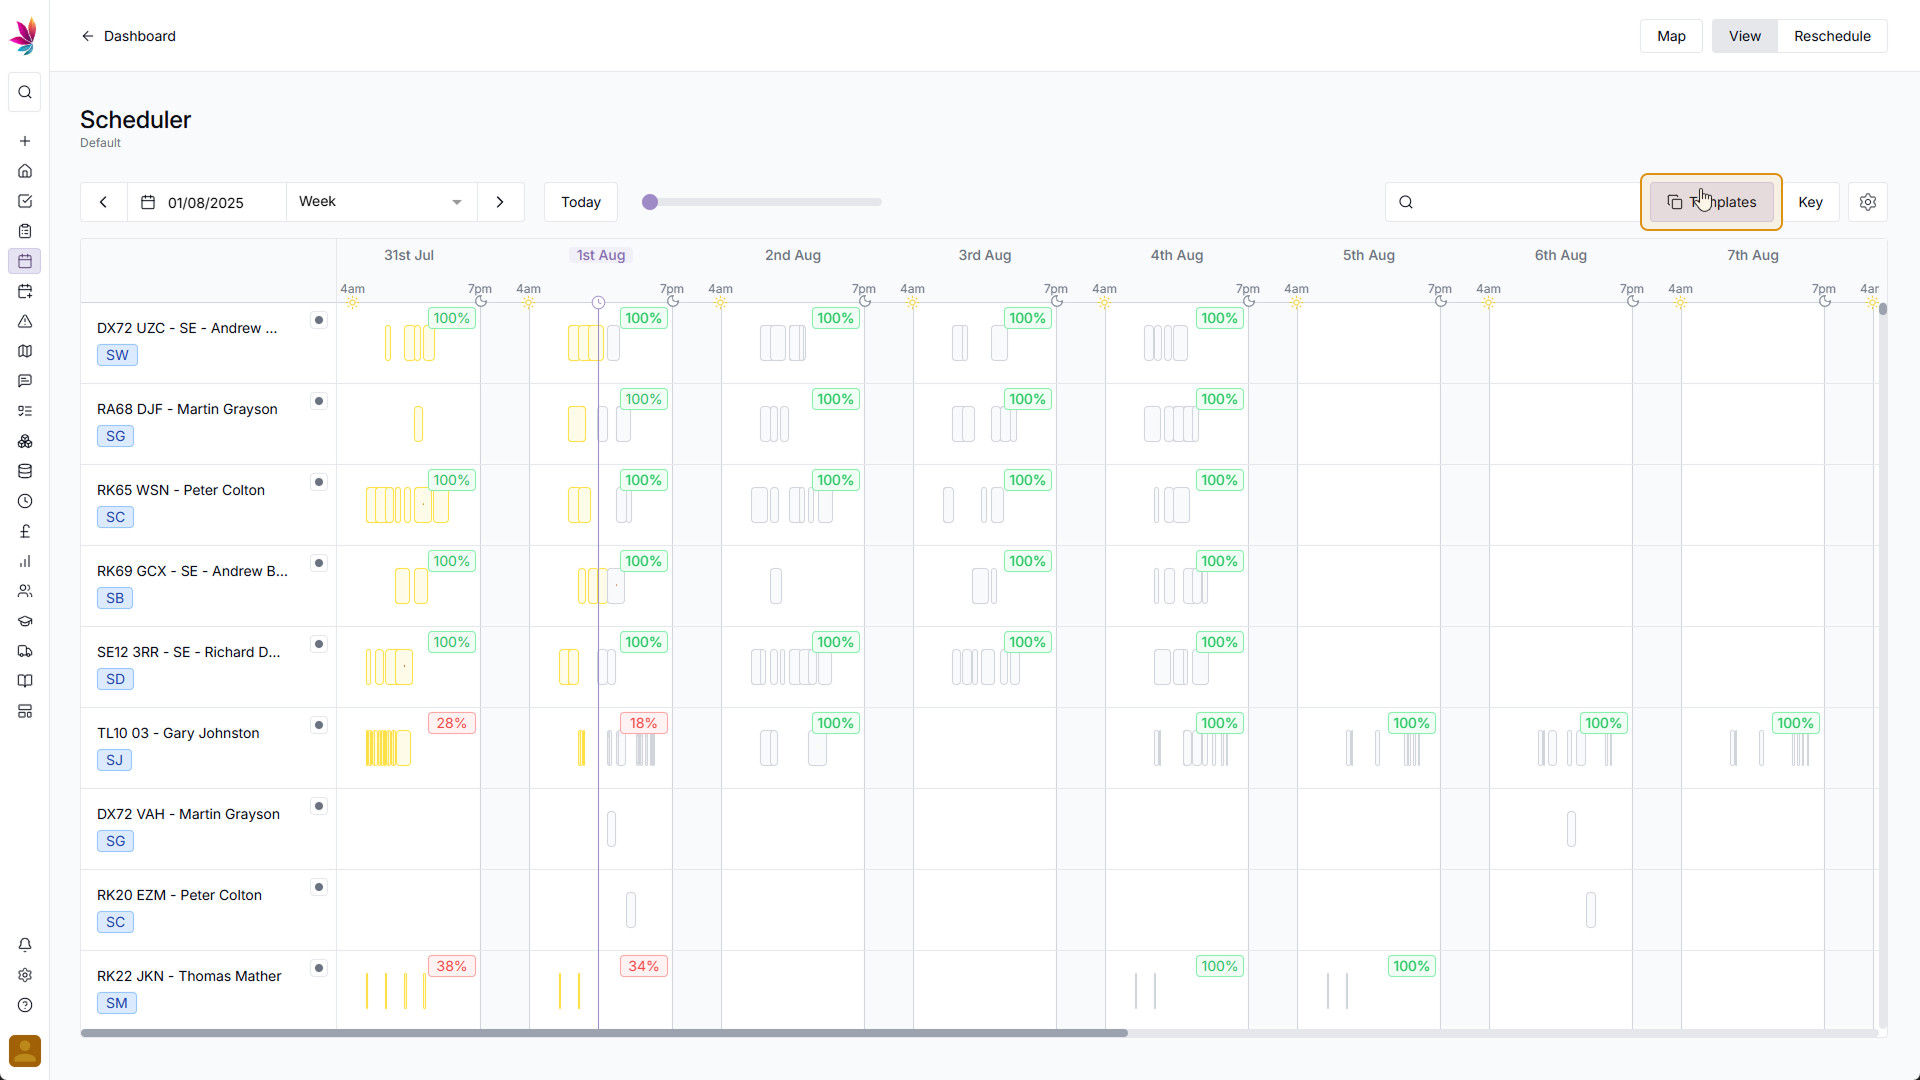
Click the Template button
To add your setup as a Template, click the templates button
Step 6
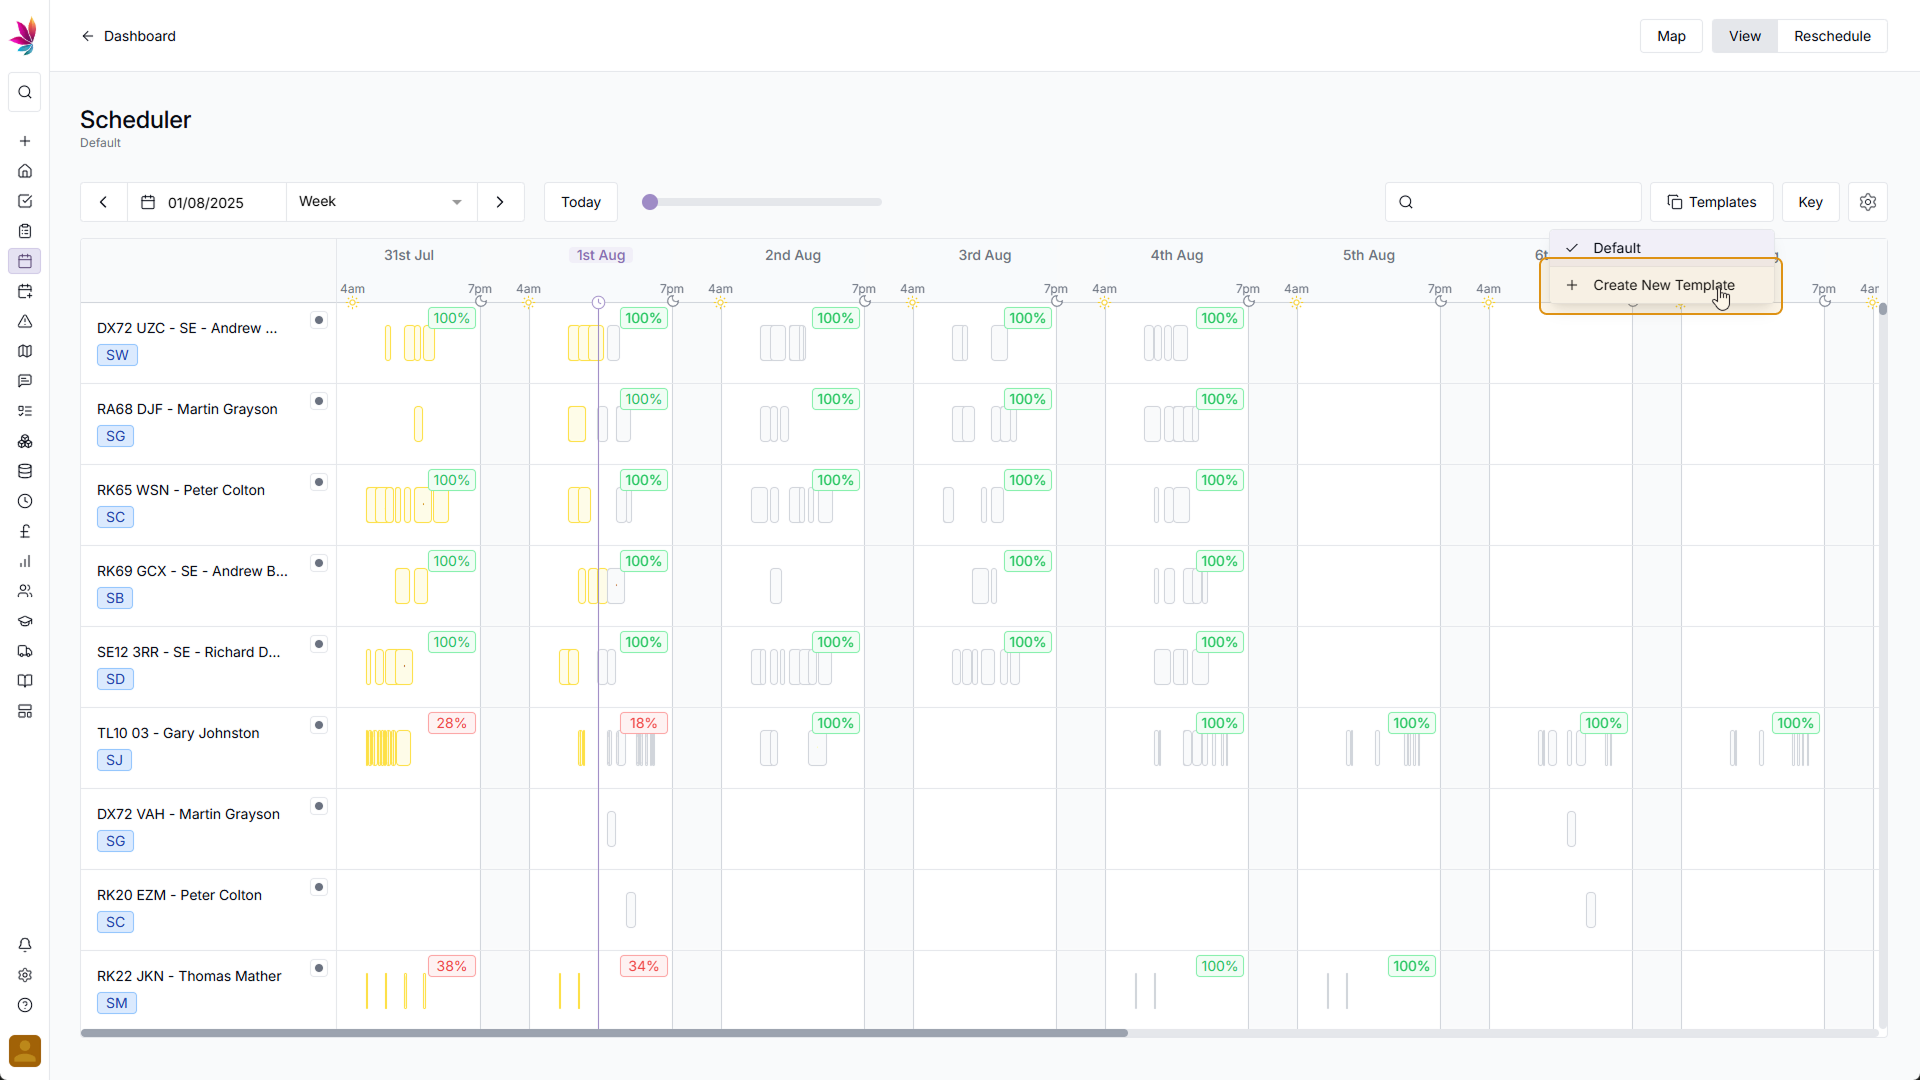
Click 'Create a New Template'
On the dropdown menu that appears, click 'Create a New Template'
Step 7
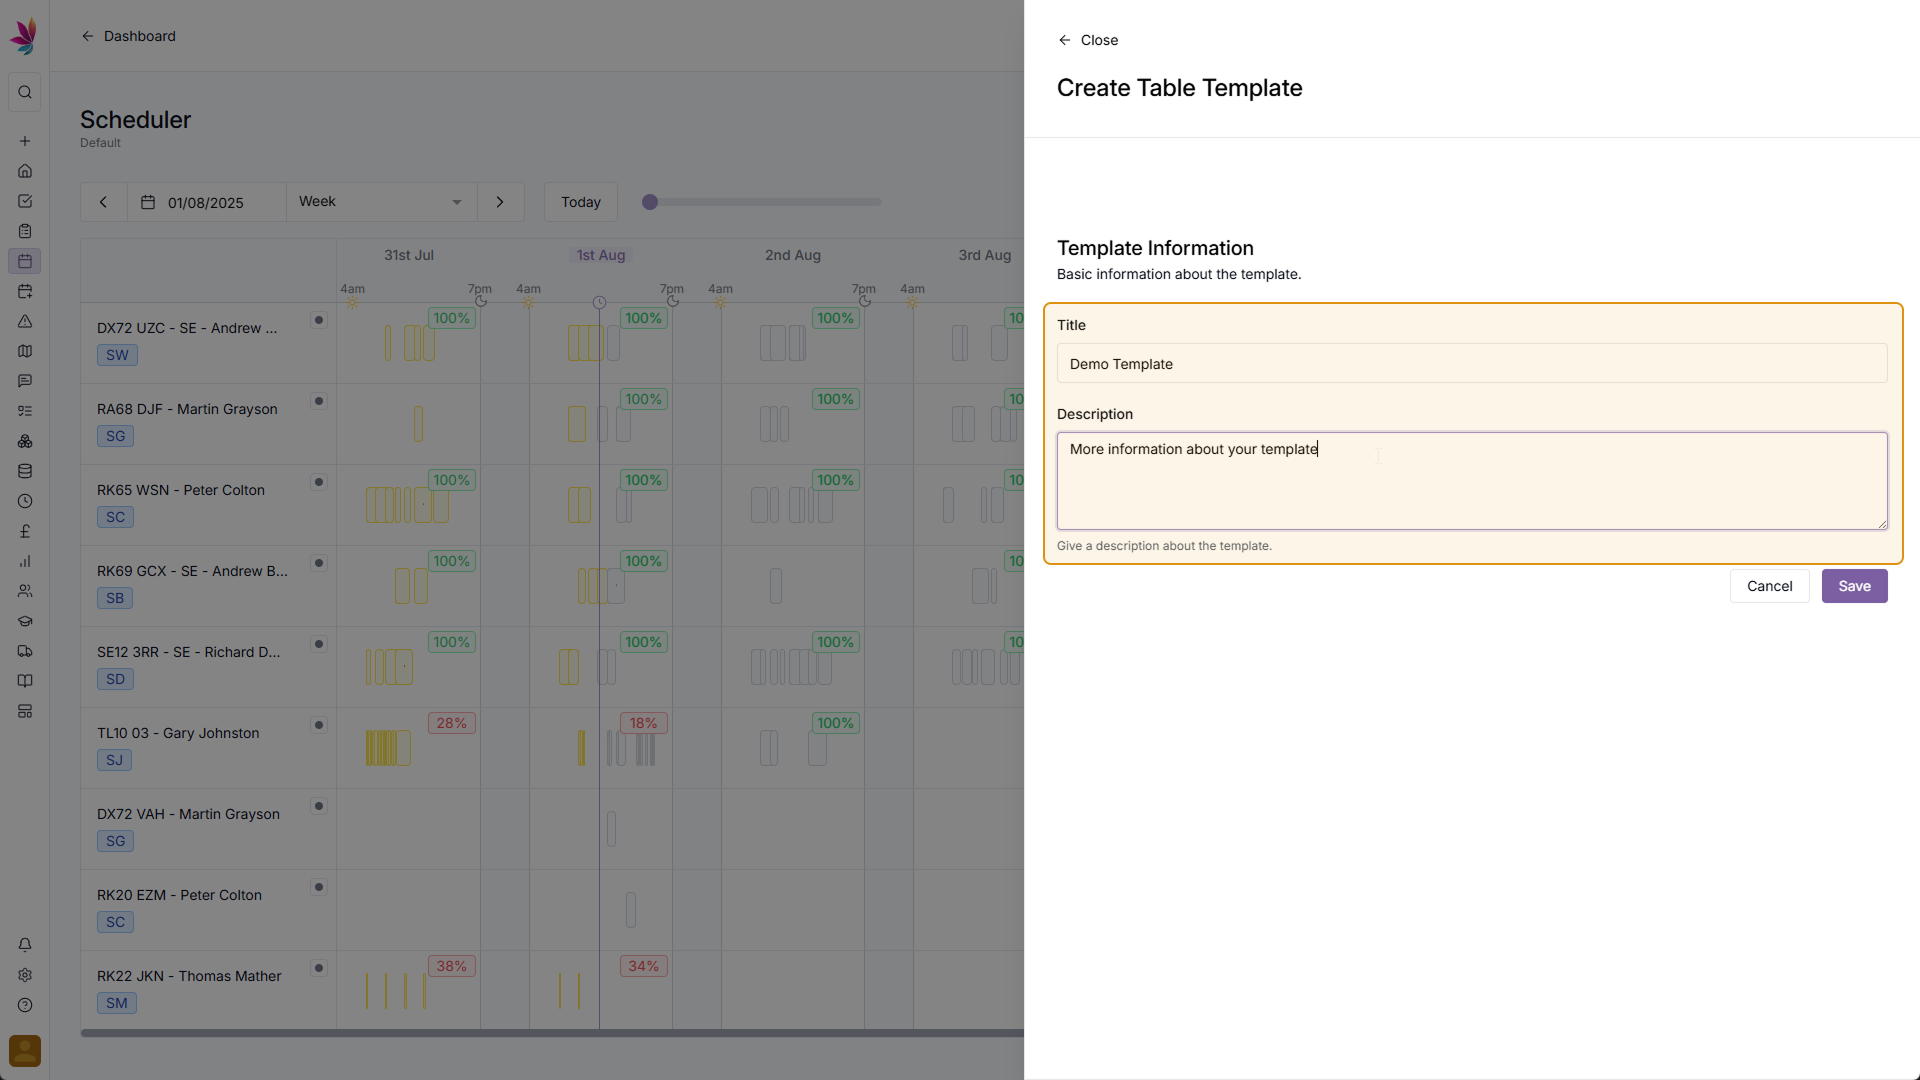
Add a Title and (Optional) Description
Fill in the title field, and if you wish you can add a description to give additional context for this template
Step 8
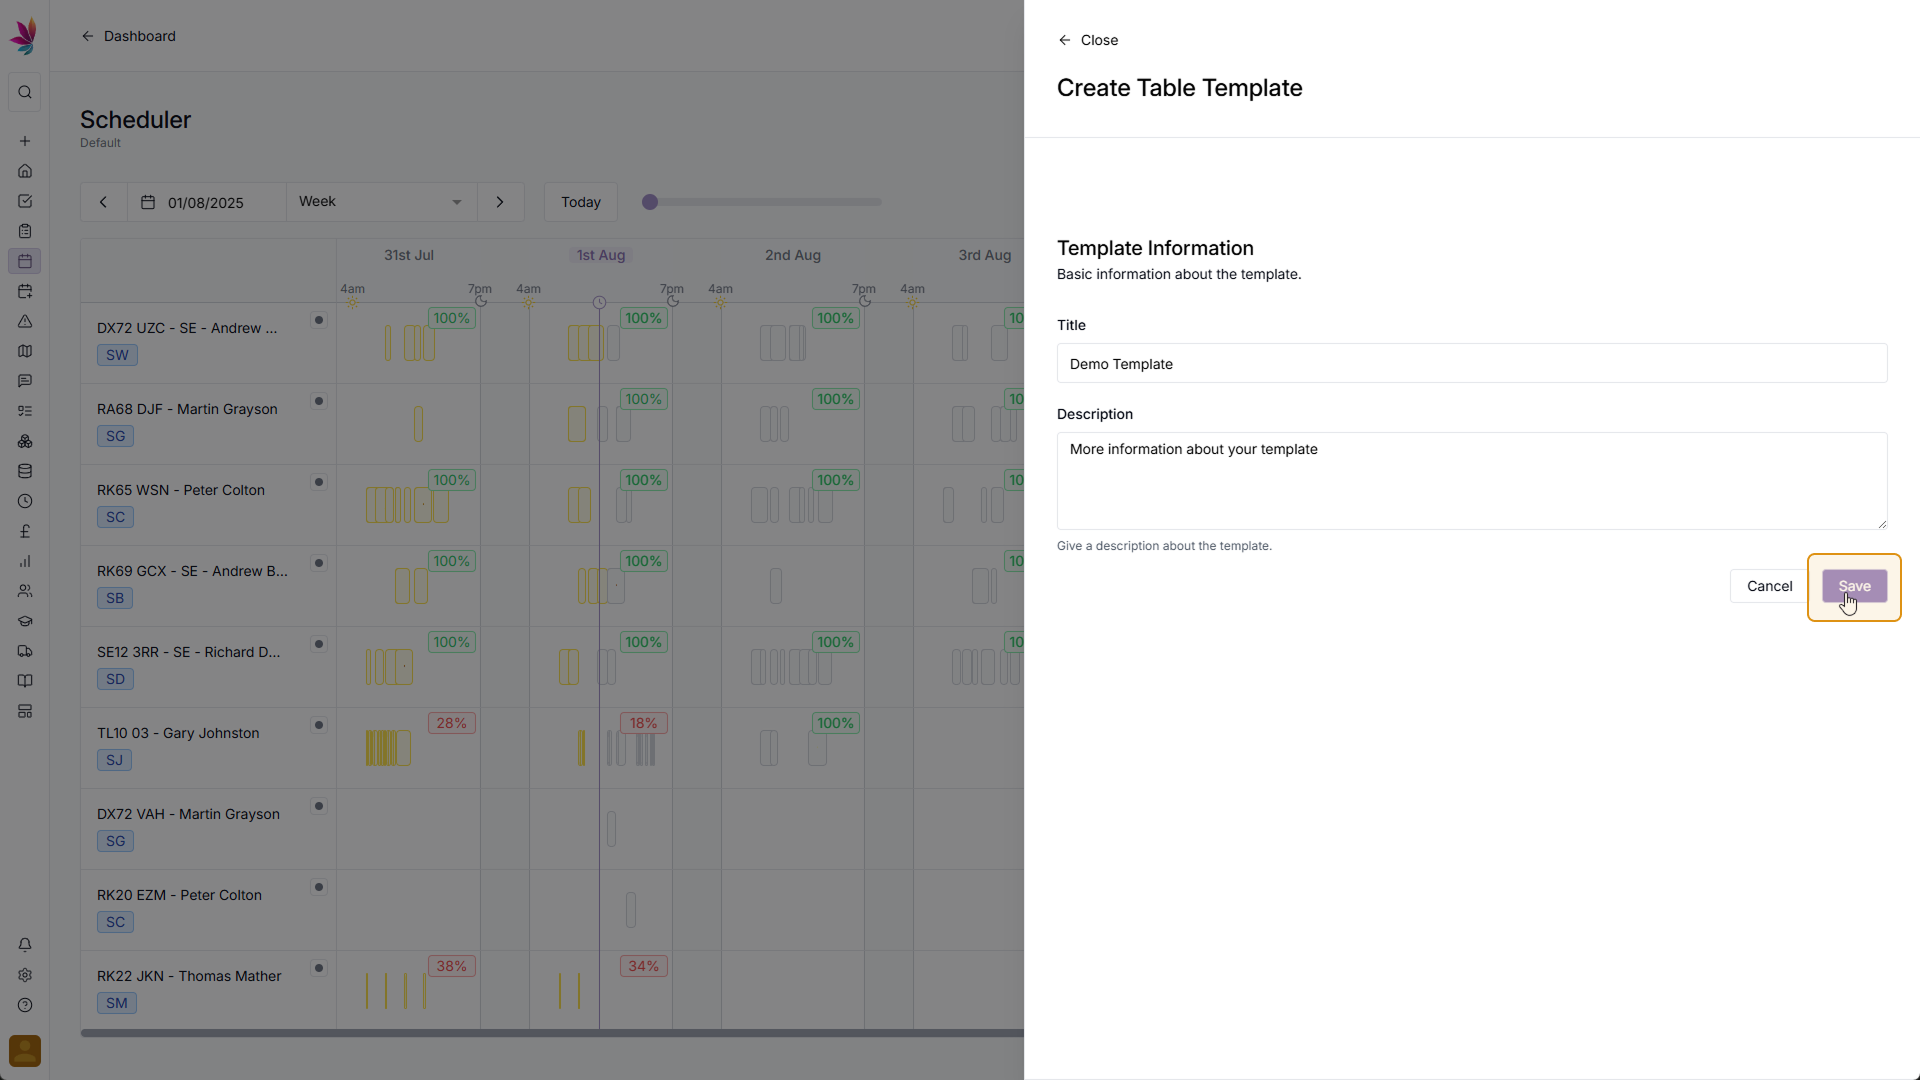
Click 'Save'
Once you're happy with your template information, click the 'Save' button in the bottom right
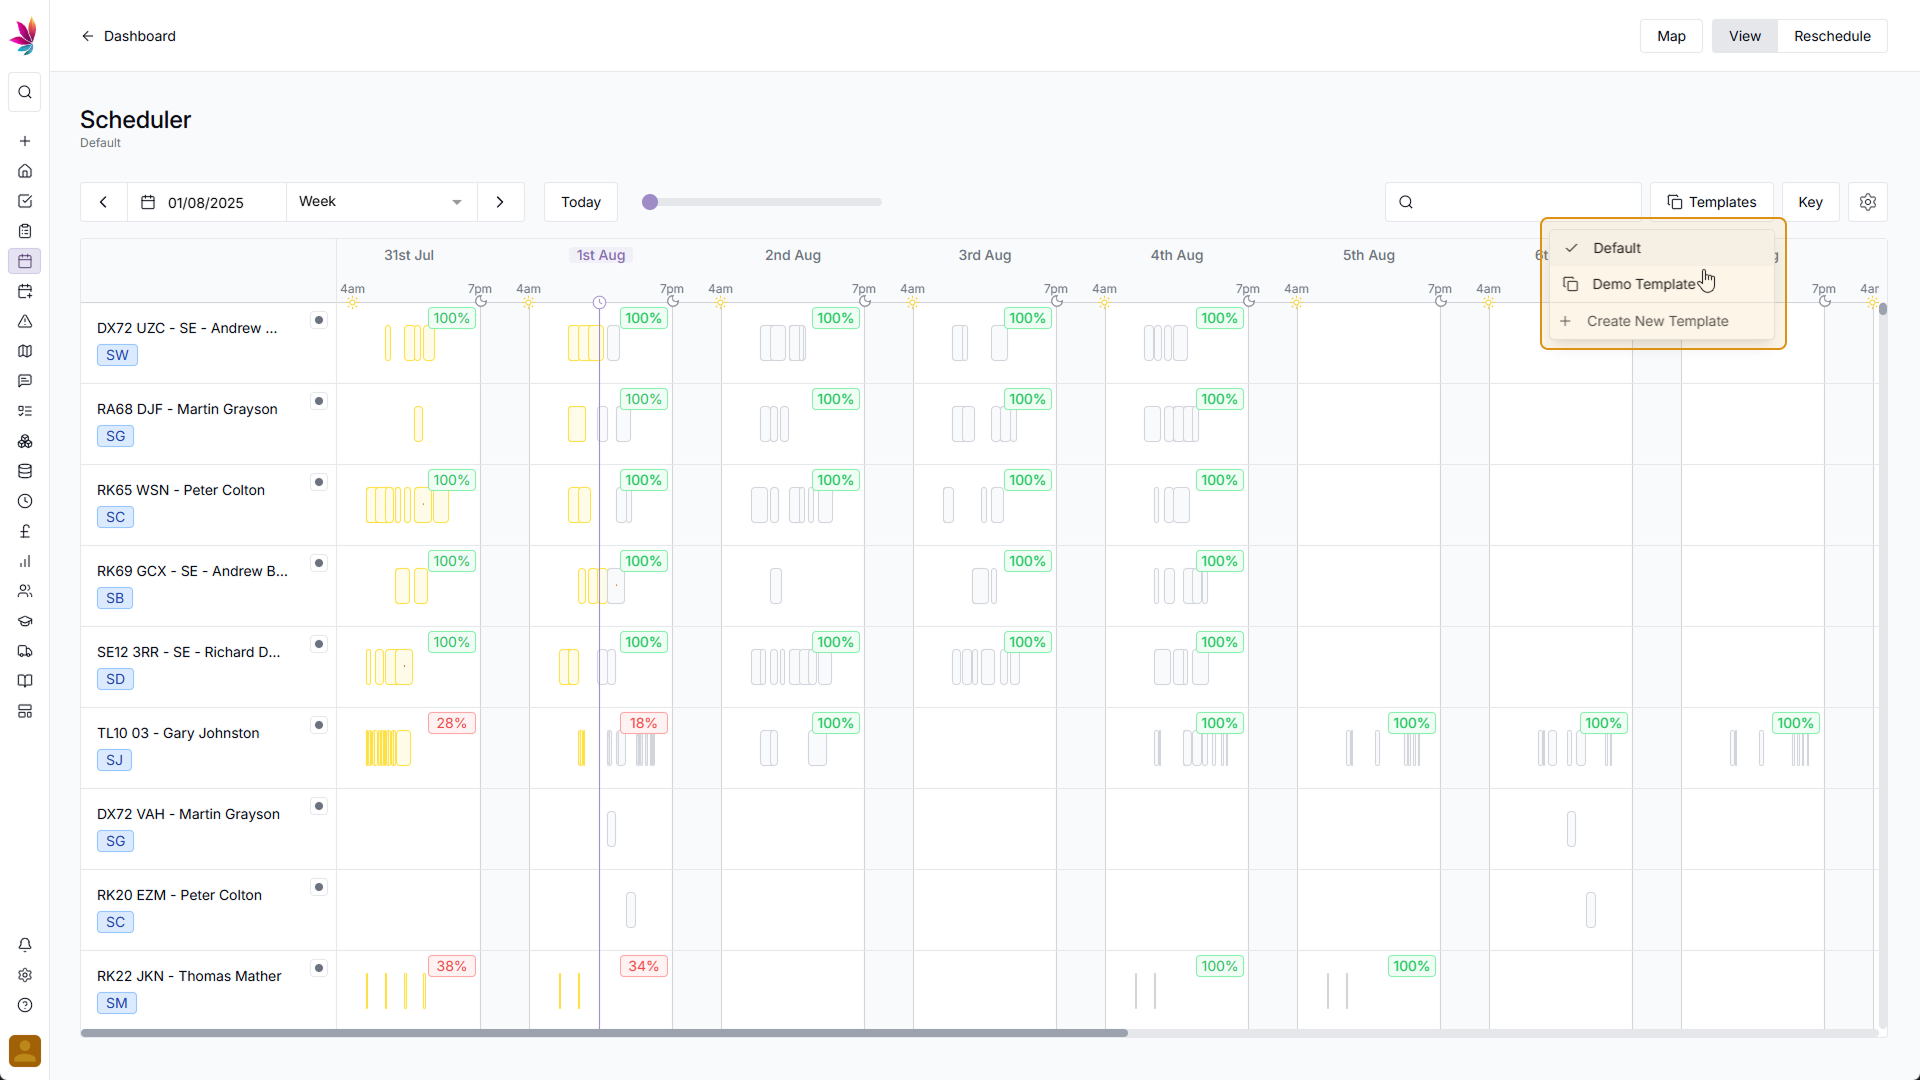
Step 9
Select a Template
To select or change a template, simply click the 'Templates' button in the top right of the scheduler, and select which template you would like from the dropdown menu
Related Courses
Intracompany
Invoicing
Scheduler
Shifts
Tasks
Drains Direct Essentials
Understand the Essentials for Drains Direct, Scheduling, Intracompany, Invoicing and more...
View Course
→
Intracompany
Invoicing
Scheduler
Shifts
Tasks
EVCSL Essentials
Understand the Essentials for EVCSL, Scheduling, Intracompany, Invoicing and more...
View Course
→
Intracompany
Invoicing
Scheduler
Shifts
Tasks
Lanes Group Essentials
Understand the Essentials for Lanes Group, Scheduling, Intracompany, Invoicing and more...
View Course
→
Scheduler
Mastering the Scheduler
Prove your understanding of the Teamleaf Scheduler, including Ai scheduling, adding new crews, and more
View Course
→
Related Tutorials
Setup
Adding a Company
Learn how to add a Company to your Teamleaf System
View Tutorials
→
Finance
Setup
Adding and Updating Rates
In this tutorial you will learn how to add new rates, and update existing rates.
View Tutorials
→
Setup
Approving a Company
Understand the Company Approval process in Teamleaf.
View Tutorials
→
Forms
Setup
Creating a Form Structure
Learn how to create new Form Structure, so you can set up what data needs to be collected on Tasks
View Tutorials
→
Reports
Setup
Creating a Report Layout
Learn how to create a custom Report Layout so you can see your KPIs, your way.
View Tutorials
→
Setup
Tasks
Customising the Task Table
In this tutorial you will learn how to alter your Task Table settings
View Tutorials
→
Scheduler
Setup
Setting up the Scheduler
In this tutorial you will learn how to set up the Scheduler. You will learn how to filter and add the Users and Assets you want to see, and how you can see those crews easily on the scheduler
View Tutorials
→
Scheduler
Understanding the Scheduler
Get to grips with how information is represented on the Teamleaf scheduler, so you can quickly get the info you need in a simple visual format
View Tutorials
→
Scheduler
Shifts
Using the Scheduler
In this tutorial you will learn how to reschedule shifts, assign shifts to new crews, use Teamleaf Ai, and organise your scheduler with row colours
View Tutorials
→