Customising the Task Table
In this tutorial you will learn how to alter your Task Table settings
Step-by-Step Guide
Setup
Tasks
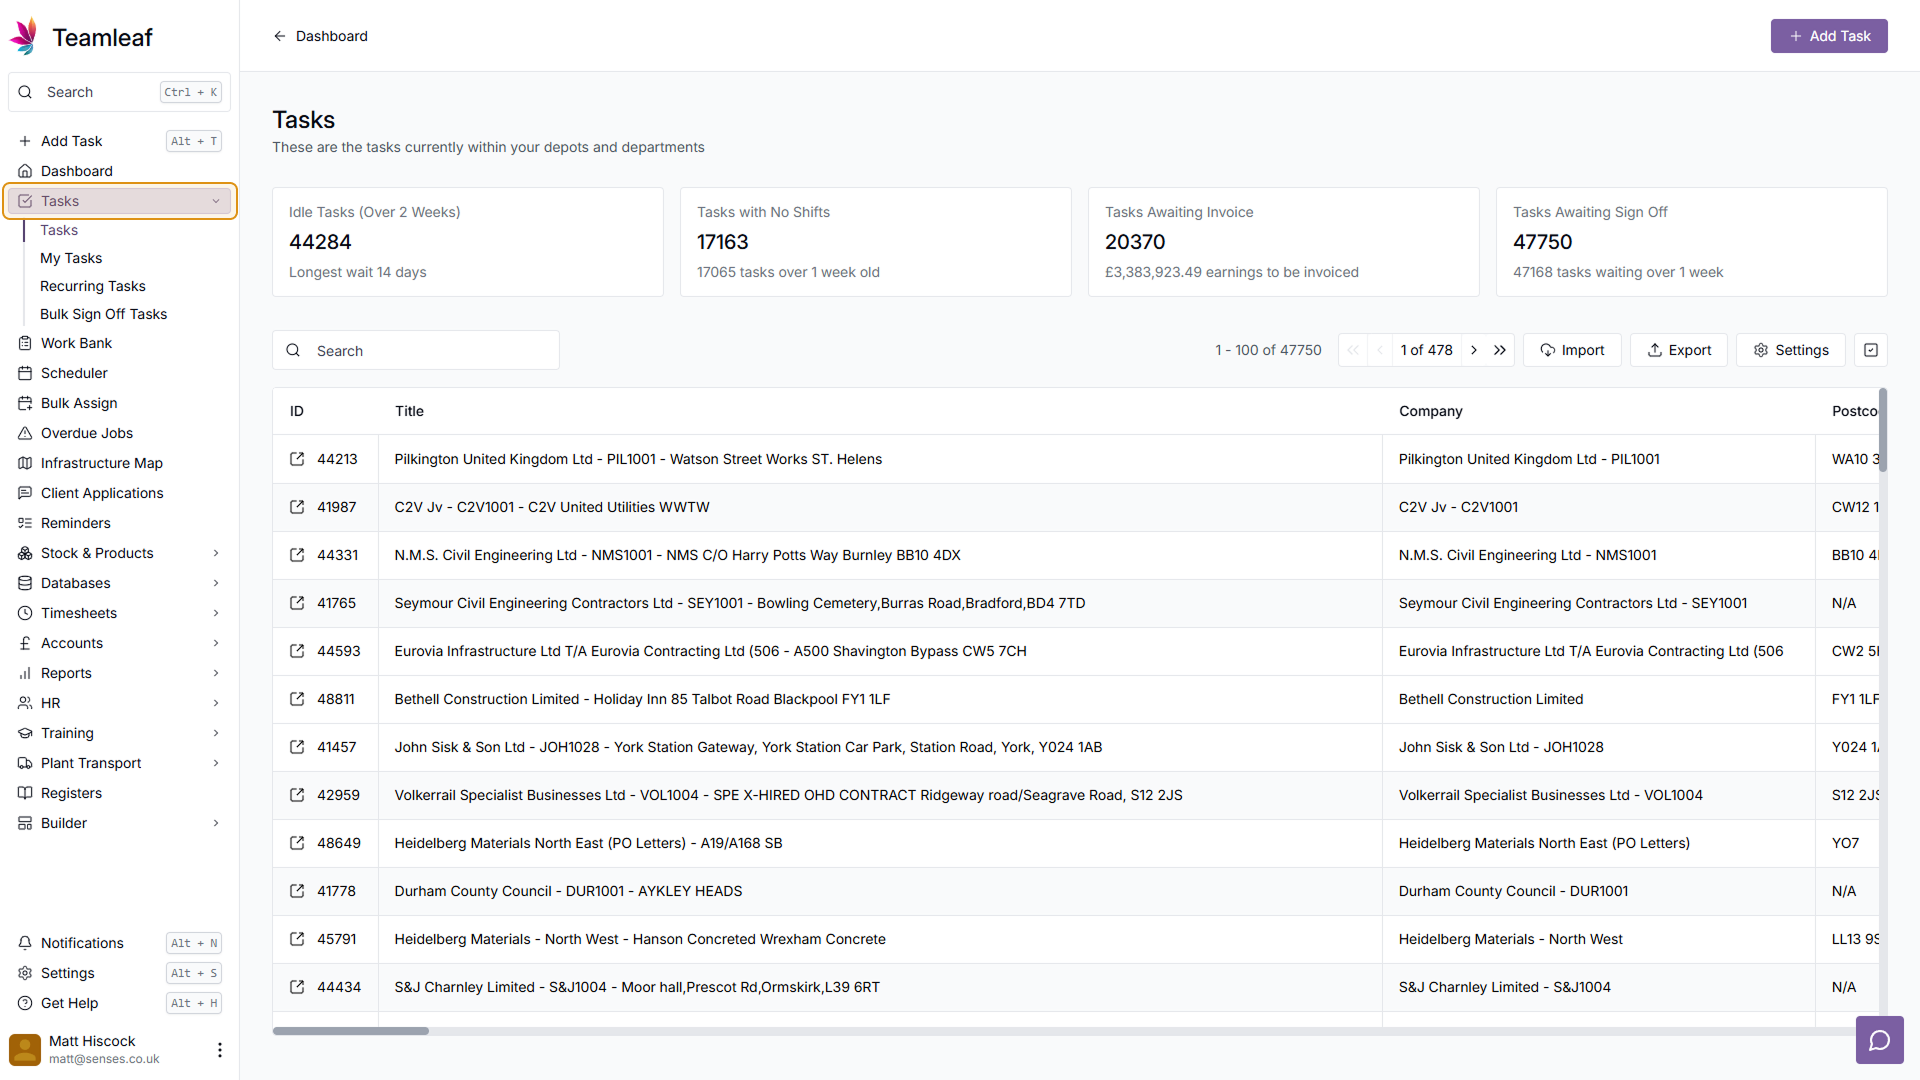
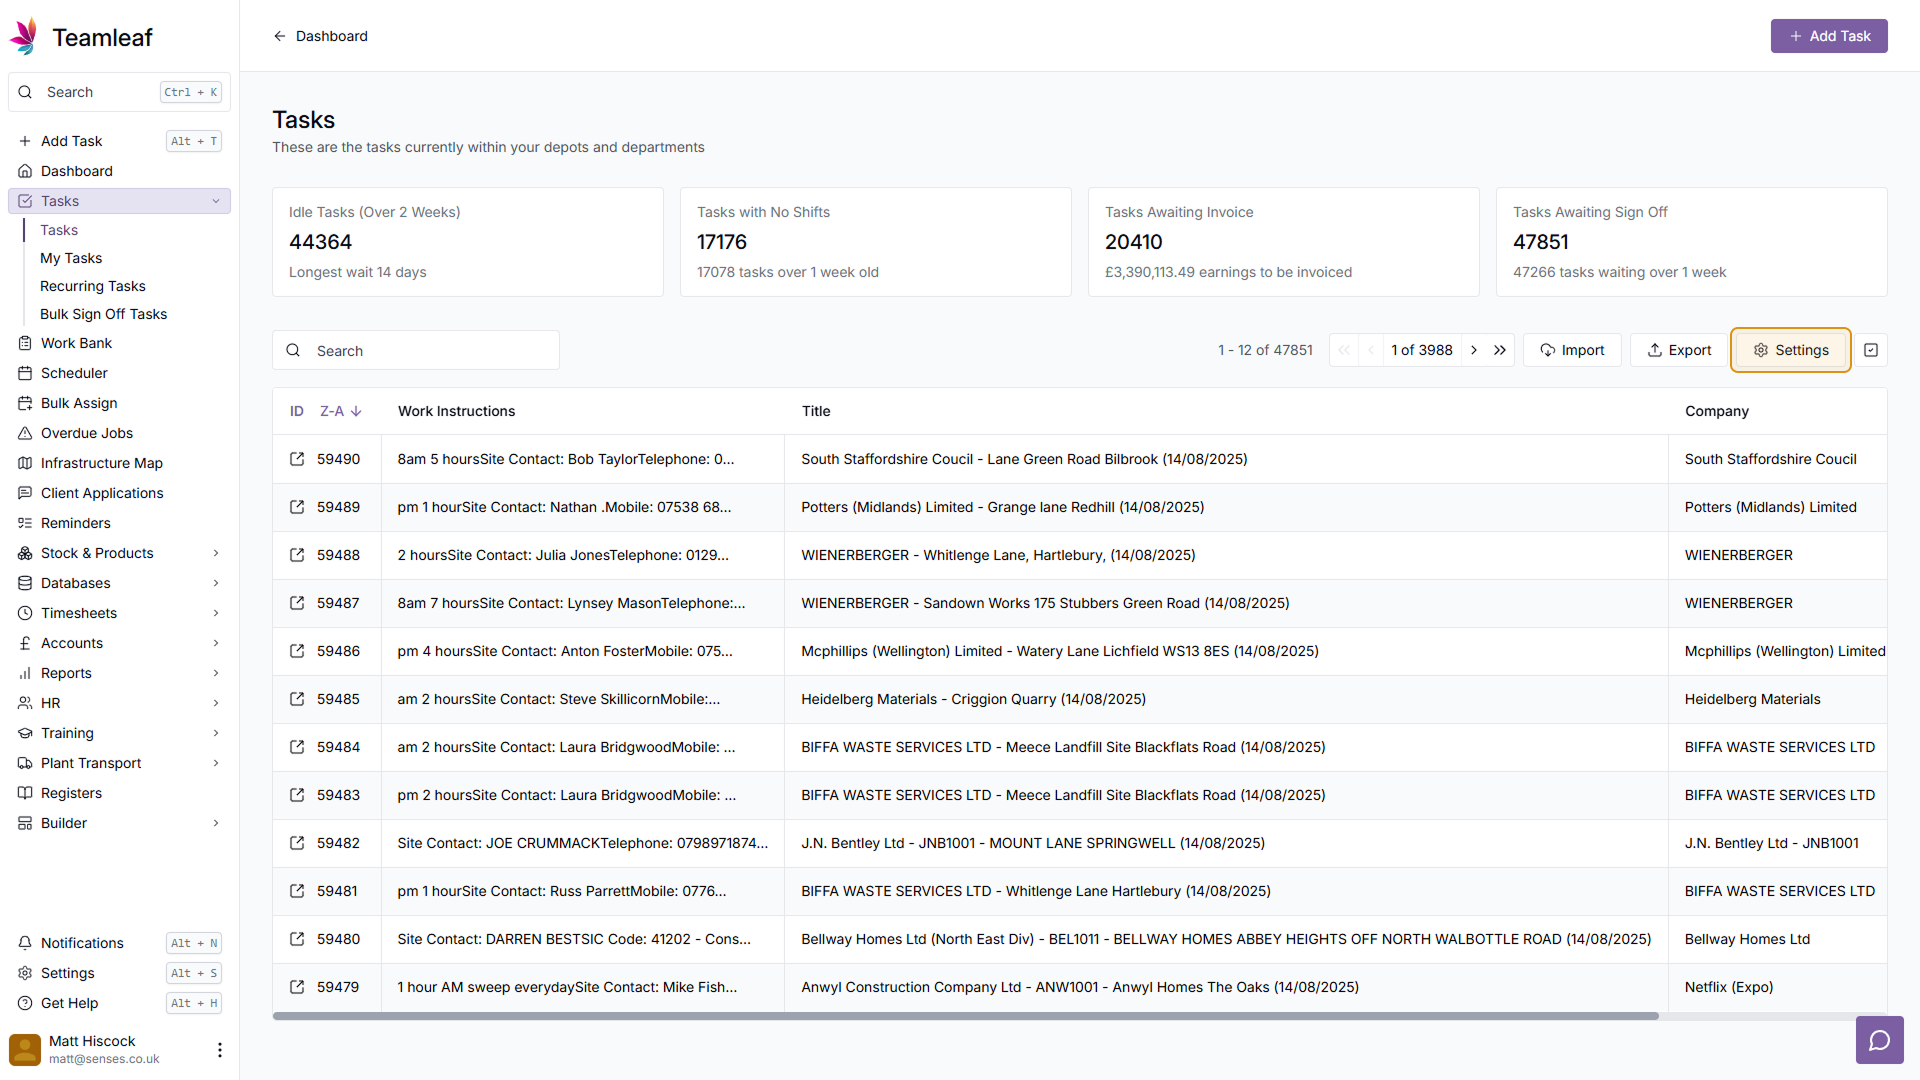
Step 1
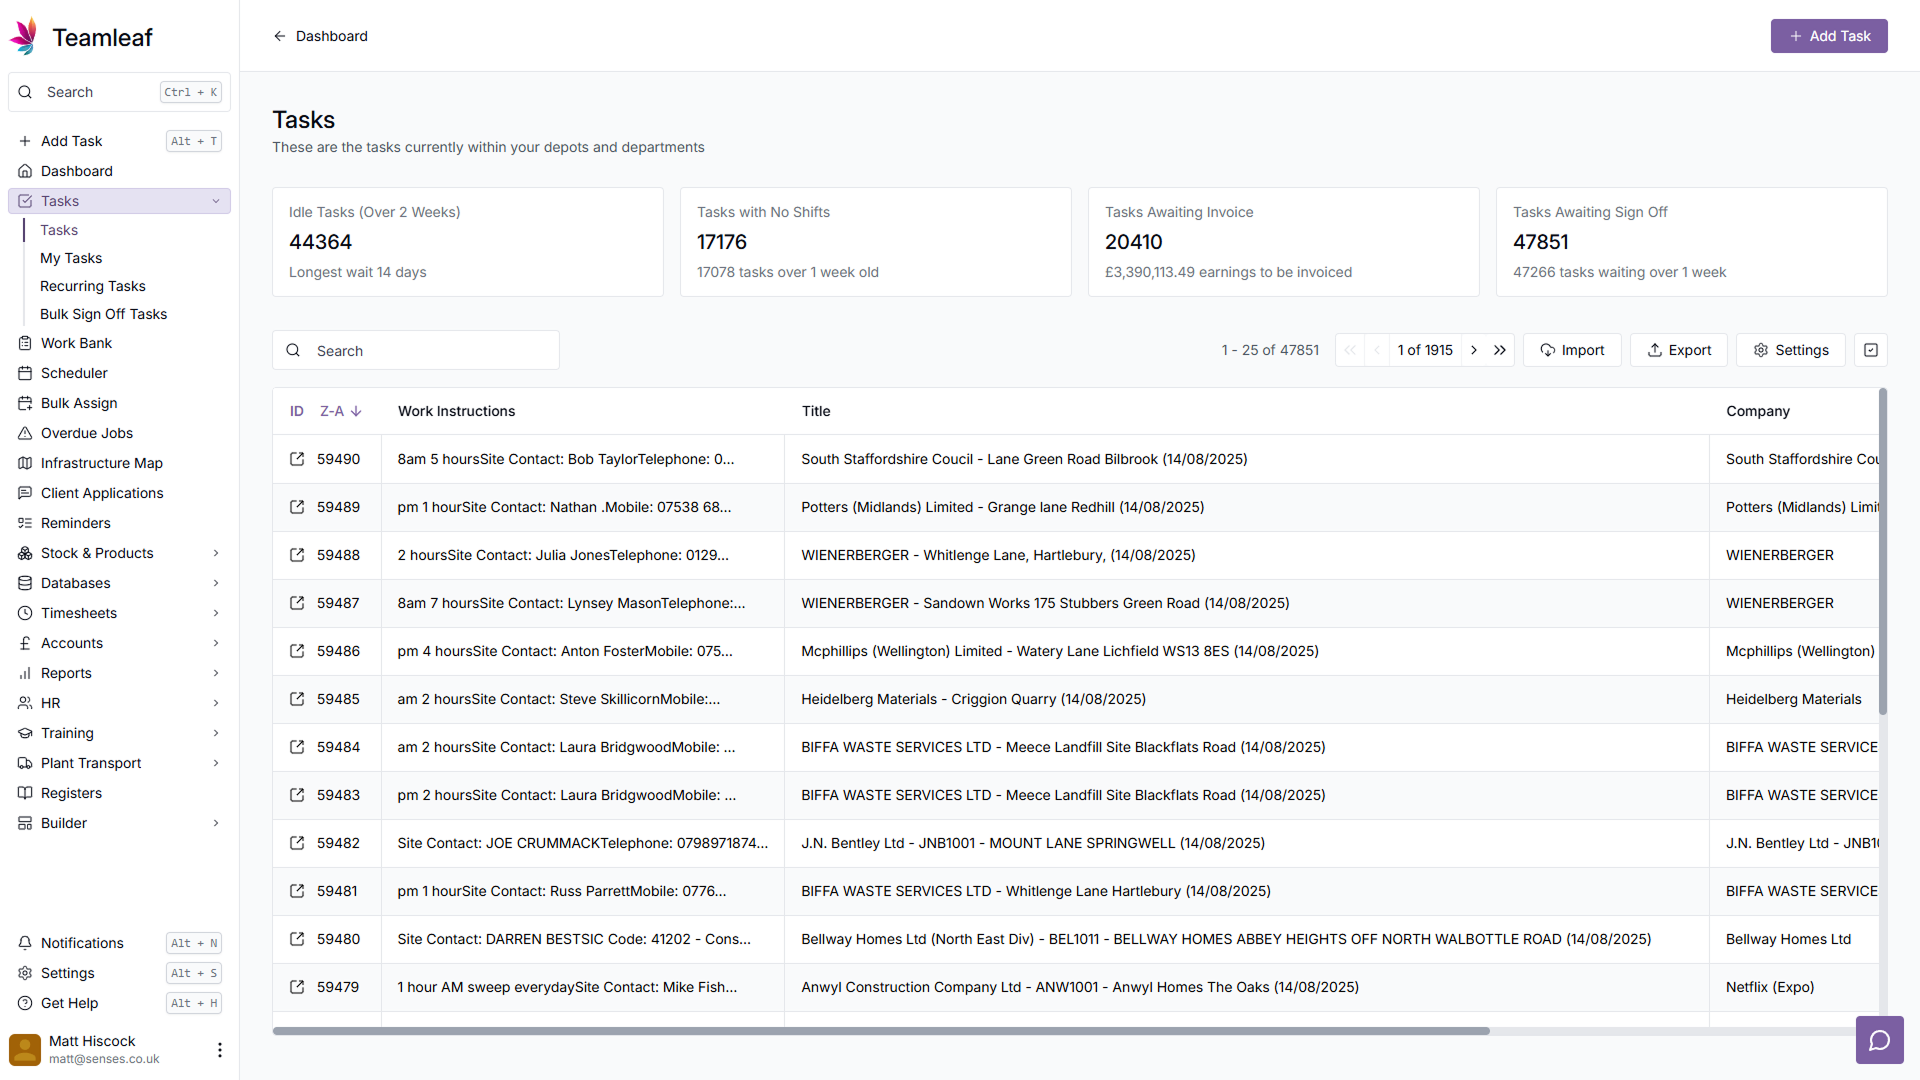
Go to 'Tasks'
On the left sidebar, click 'Tasks' to go to the Task table
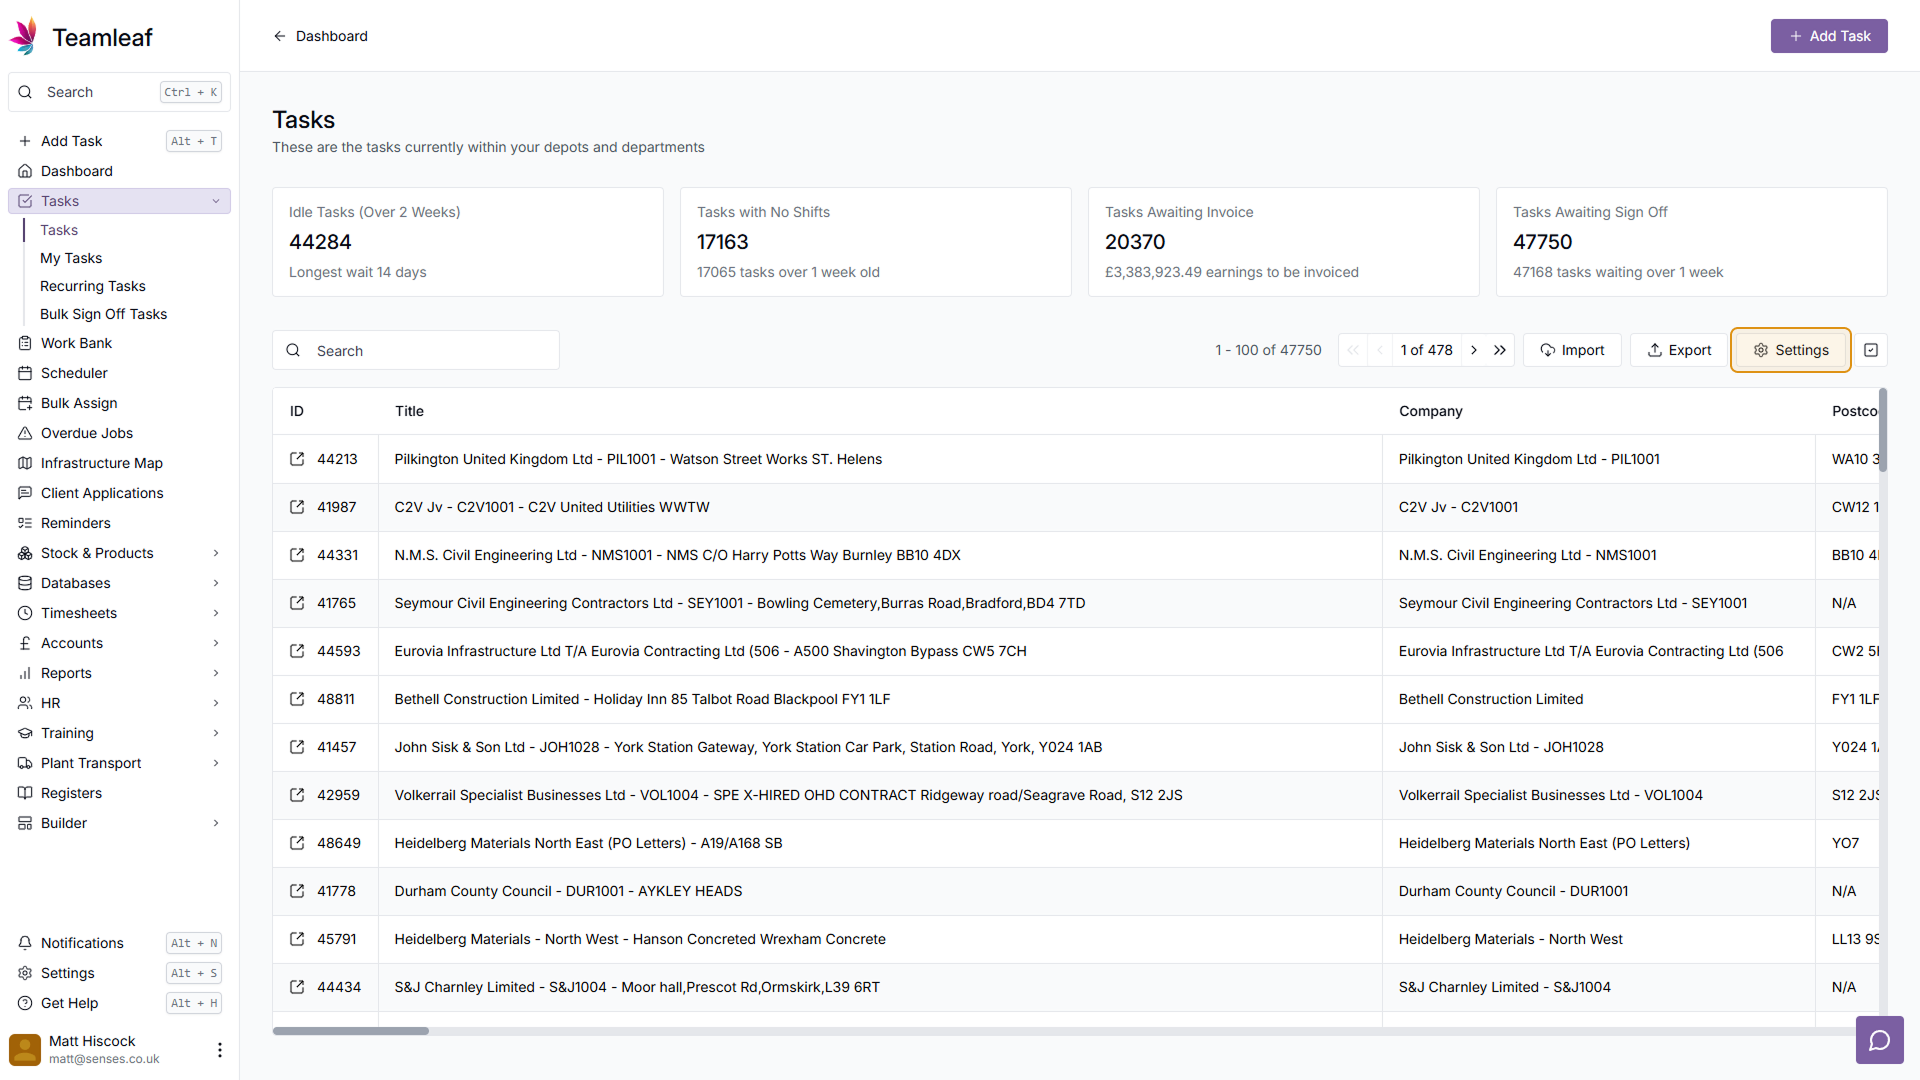
Step 2
Click 'Settings'
In the top right corner, just above the Task table, click 'Settings'
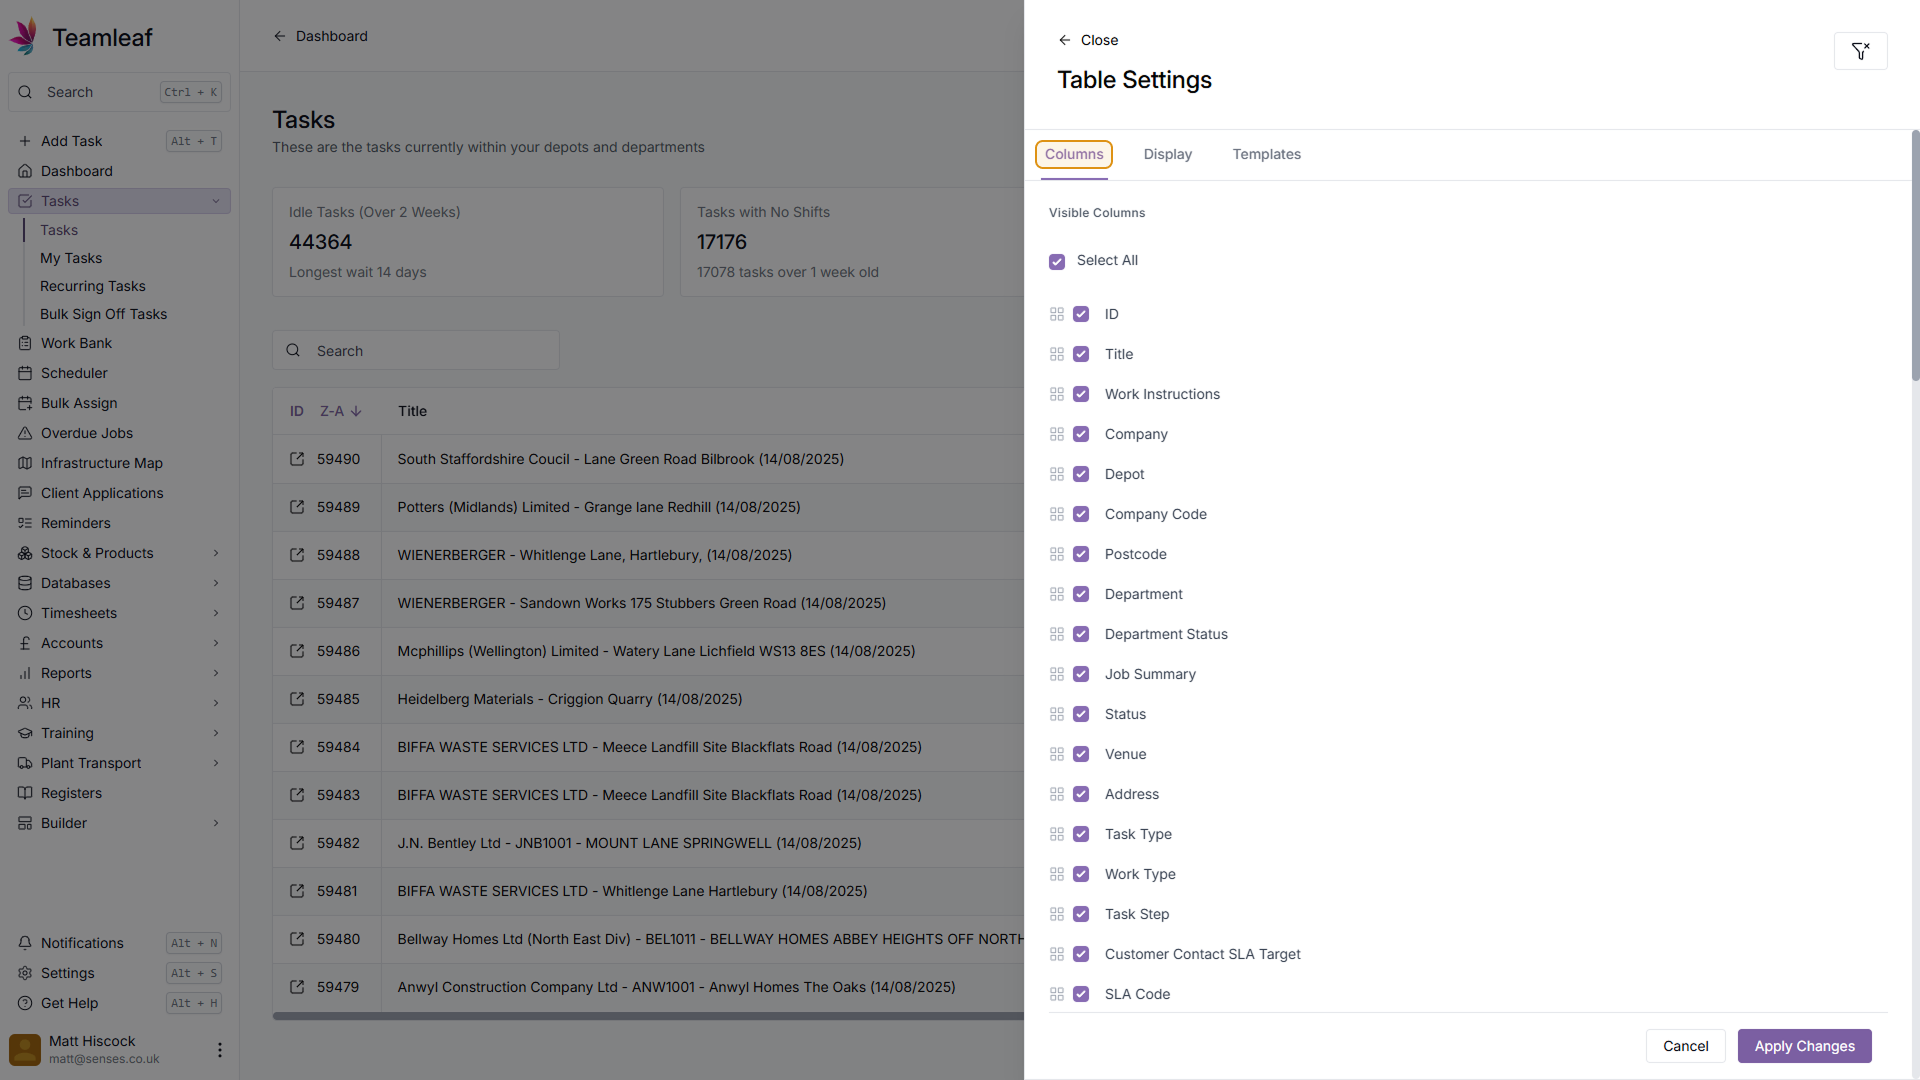
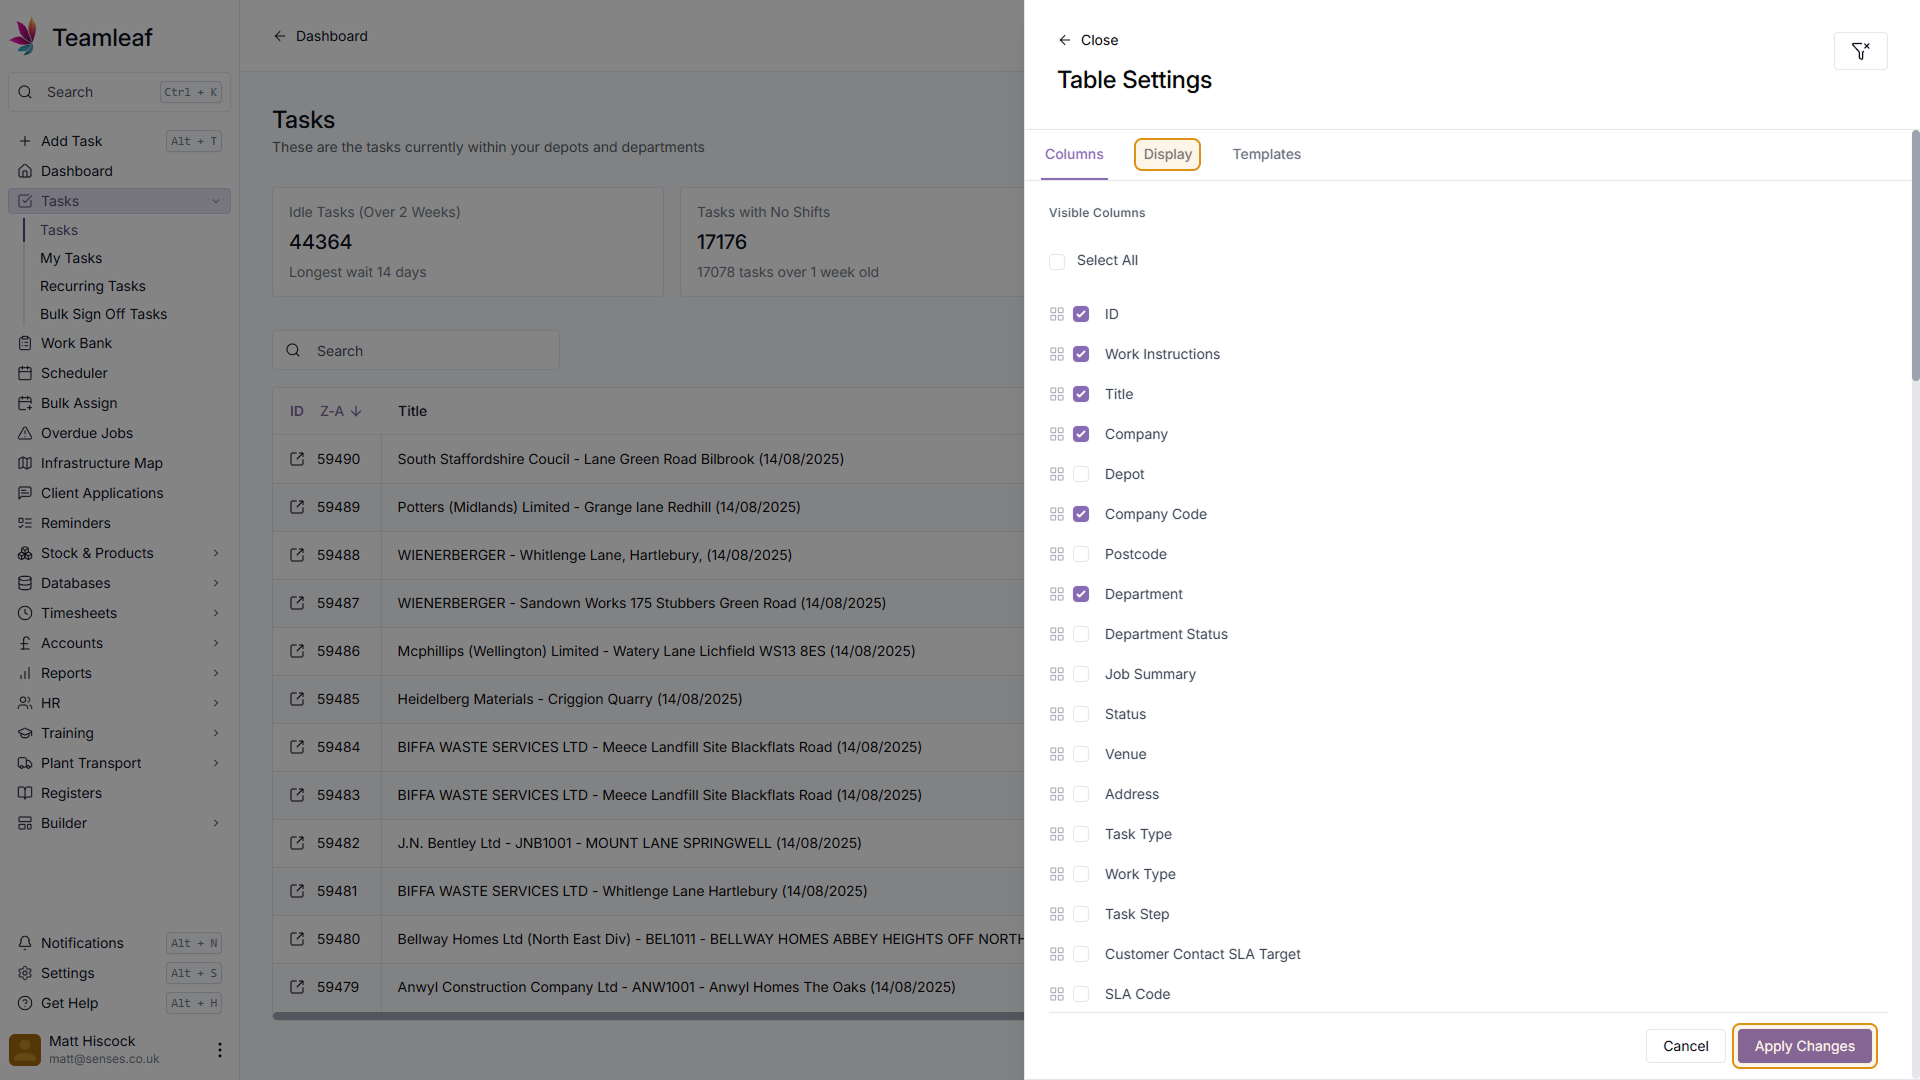
Step 3
Go to 'Columns' tab
Along the top of the menu that opens, make sure you are on the 'Columns' tab
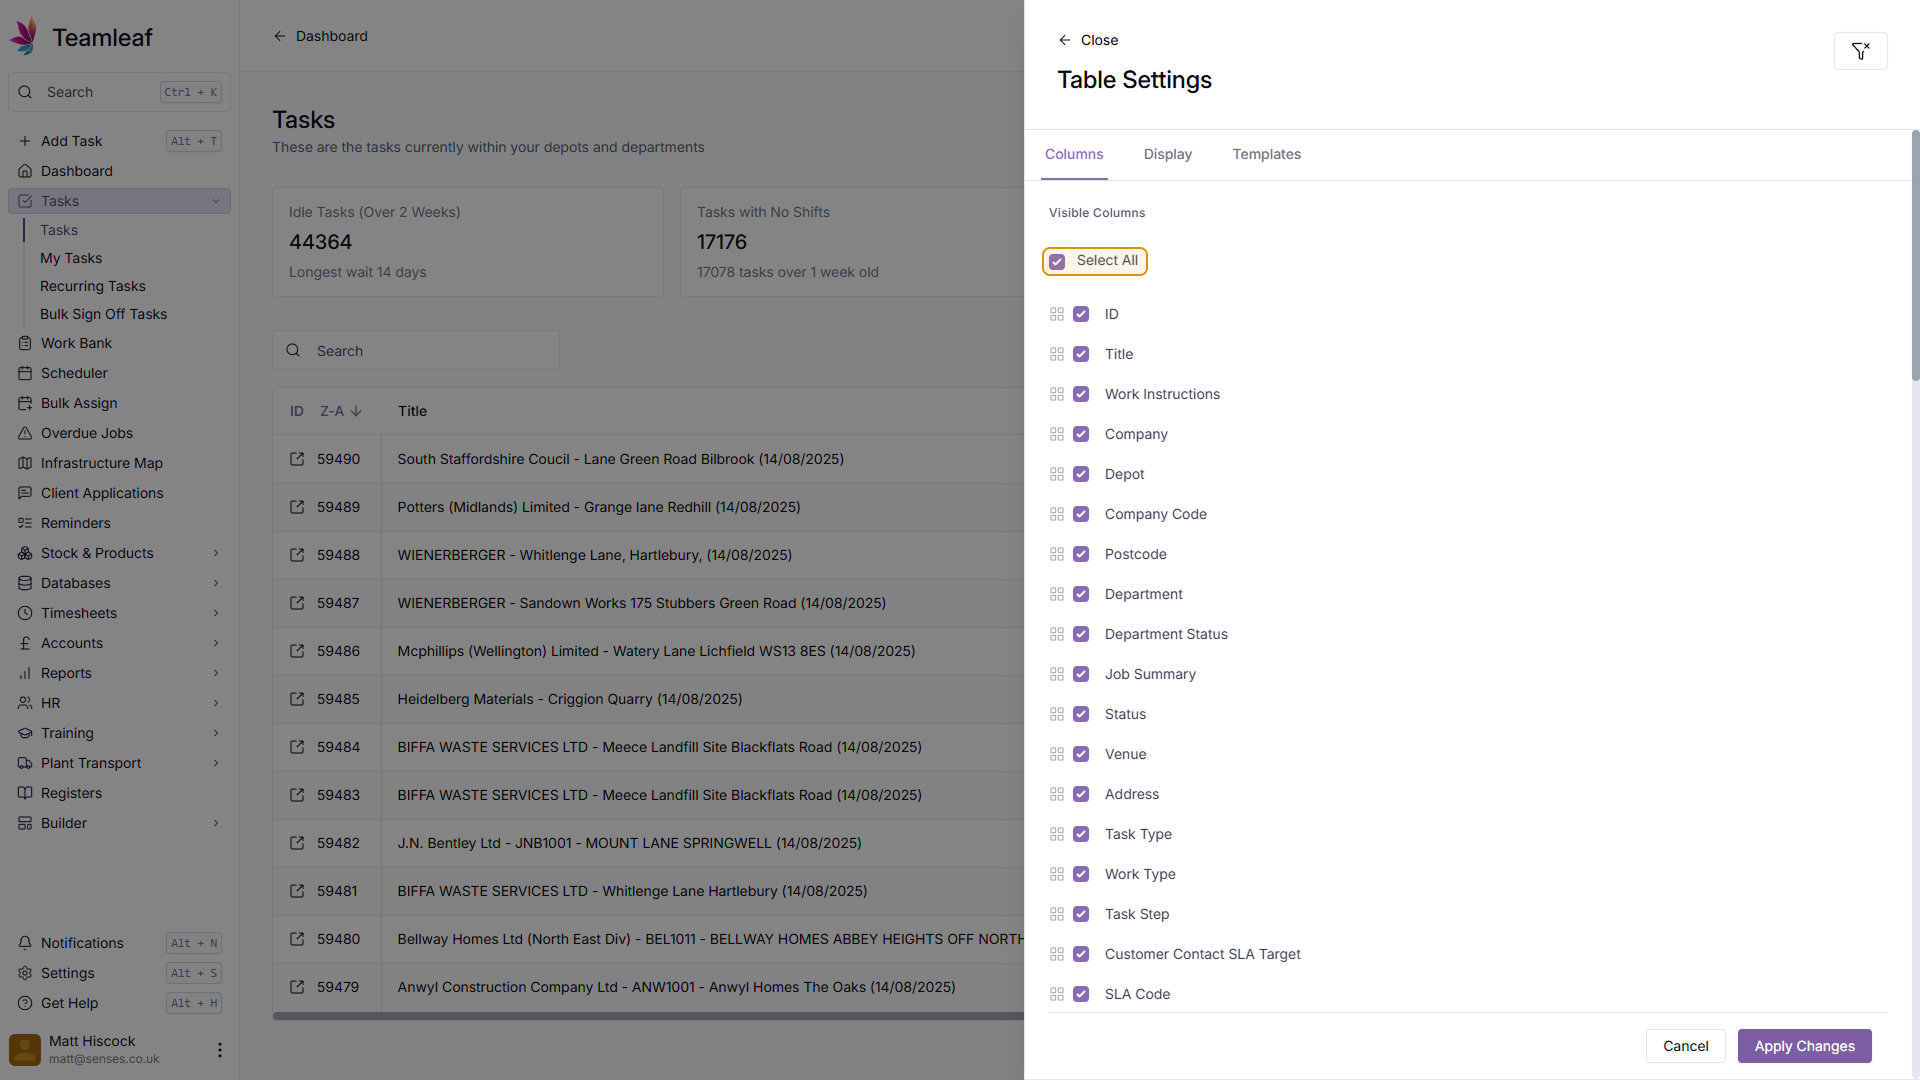
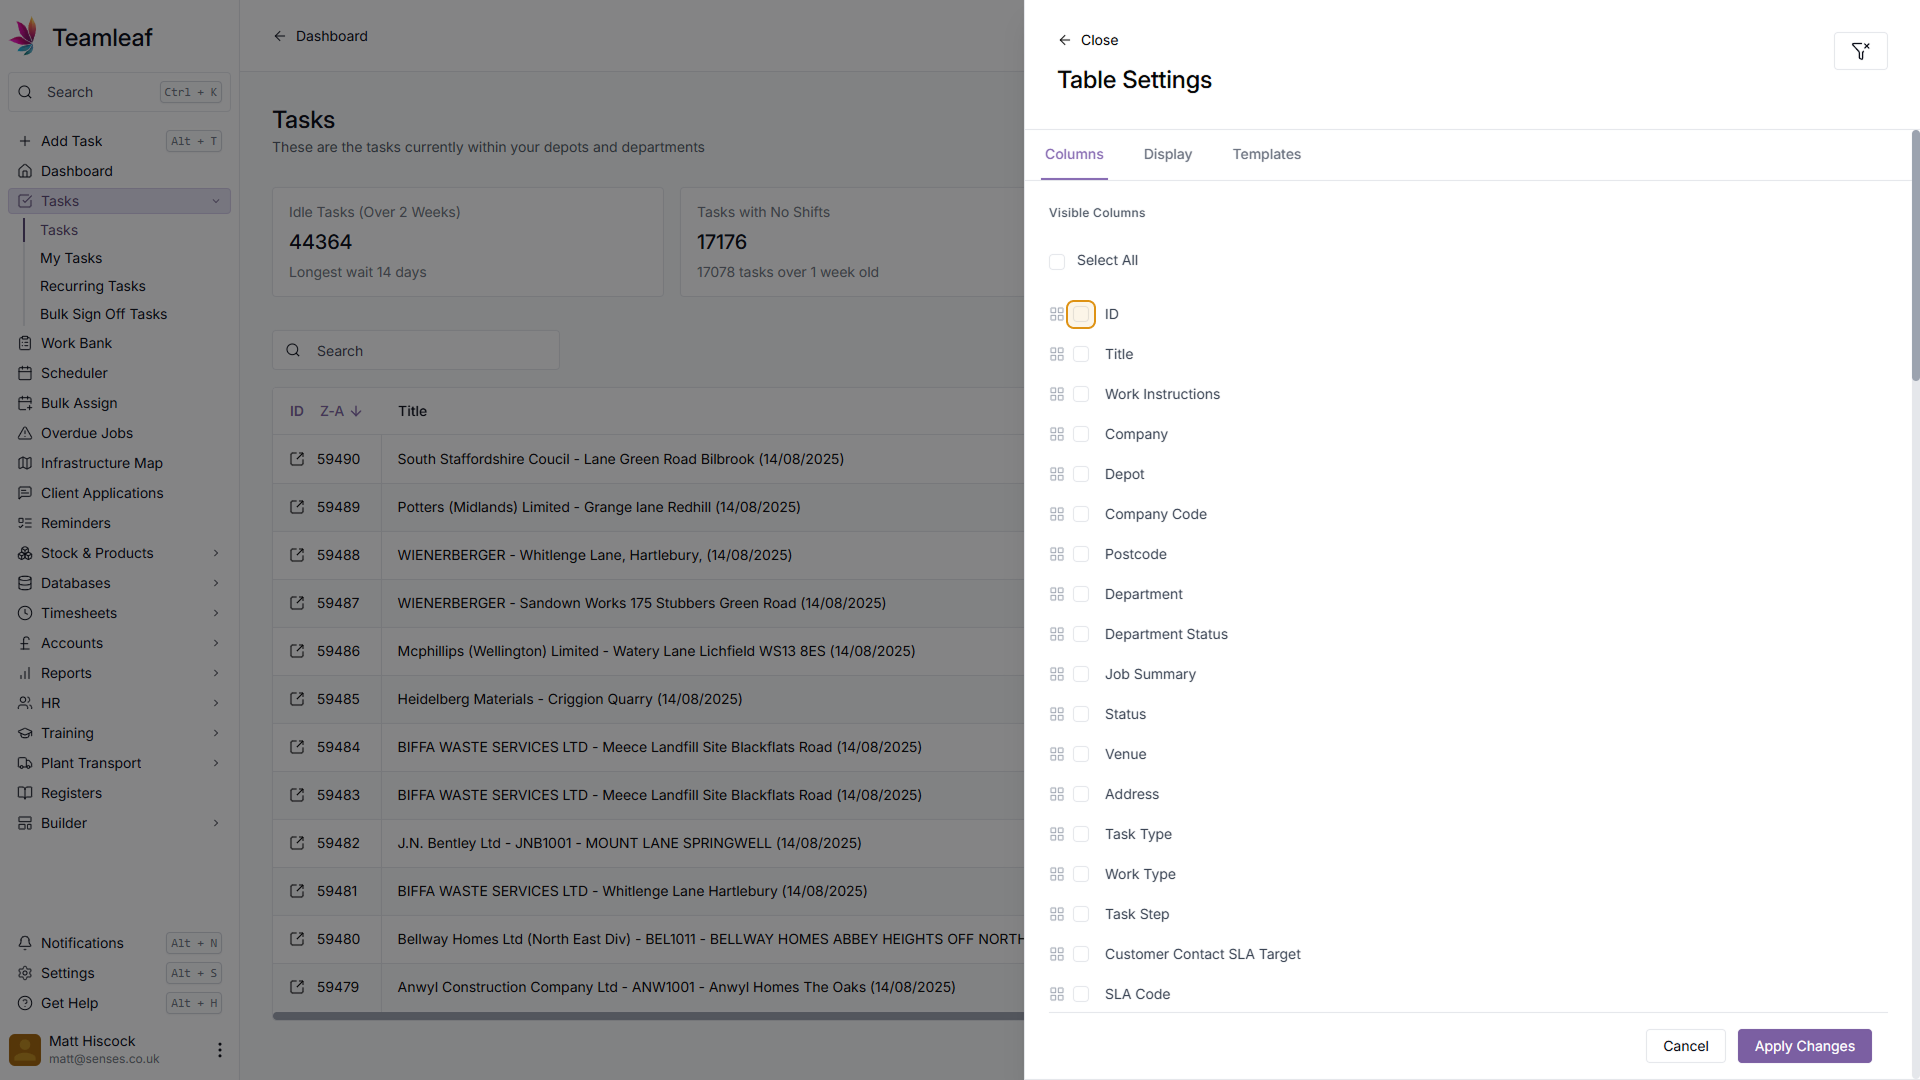
Step 4
Select/Deselect All
Using the 'Select All' option at the top of the list, you can either select all options, or deselect all options

Step 5
Select Items
To select/deselect columns to show on the scheduler, click the tickbox next to each item
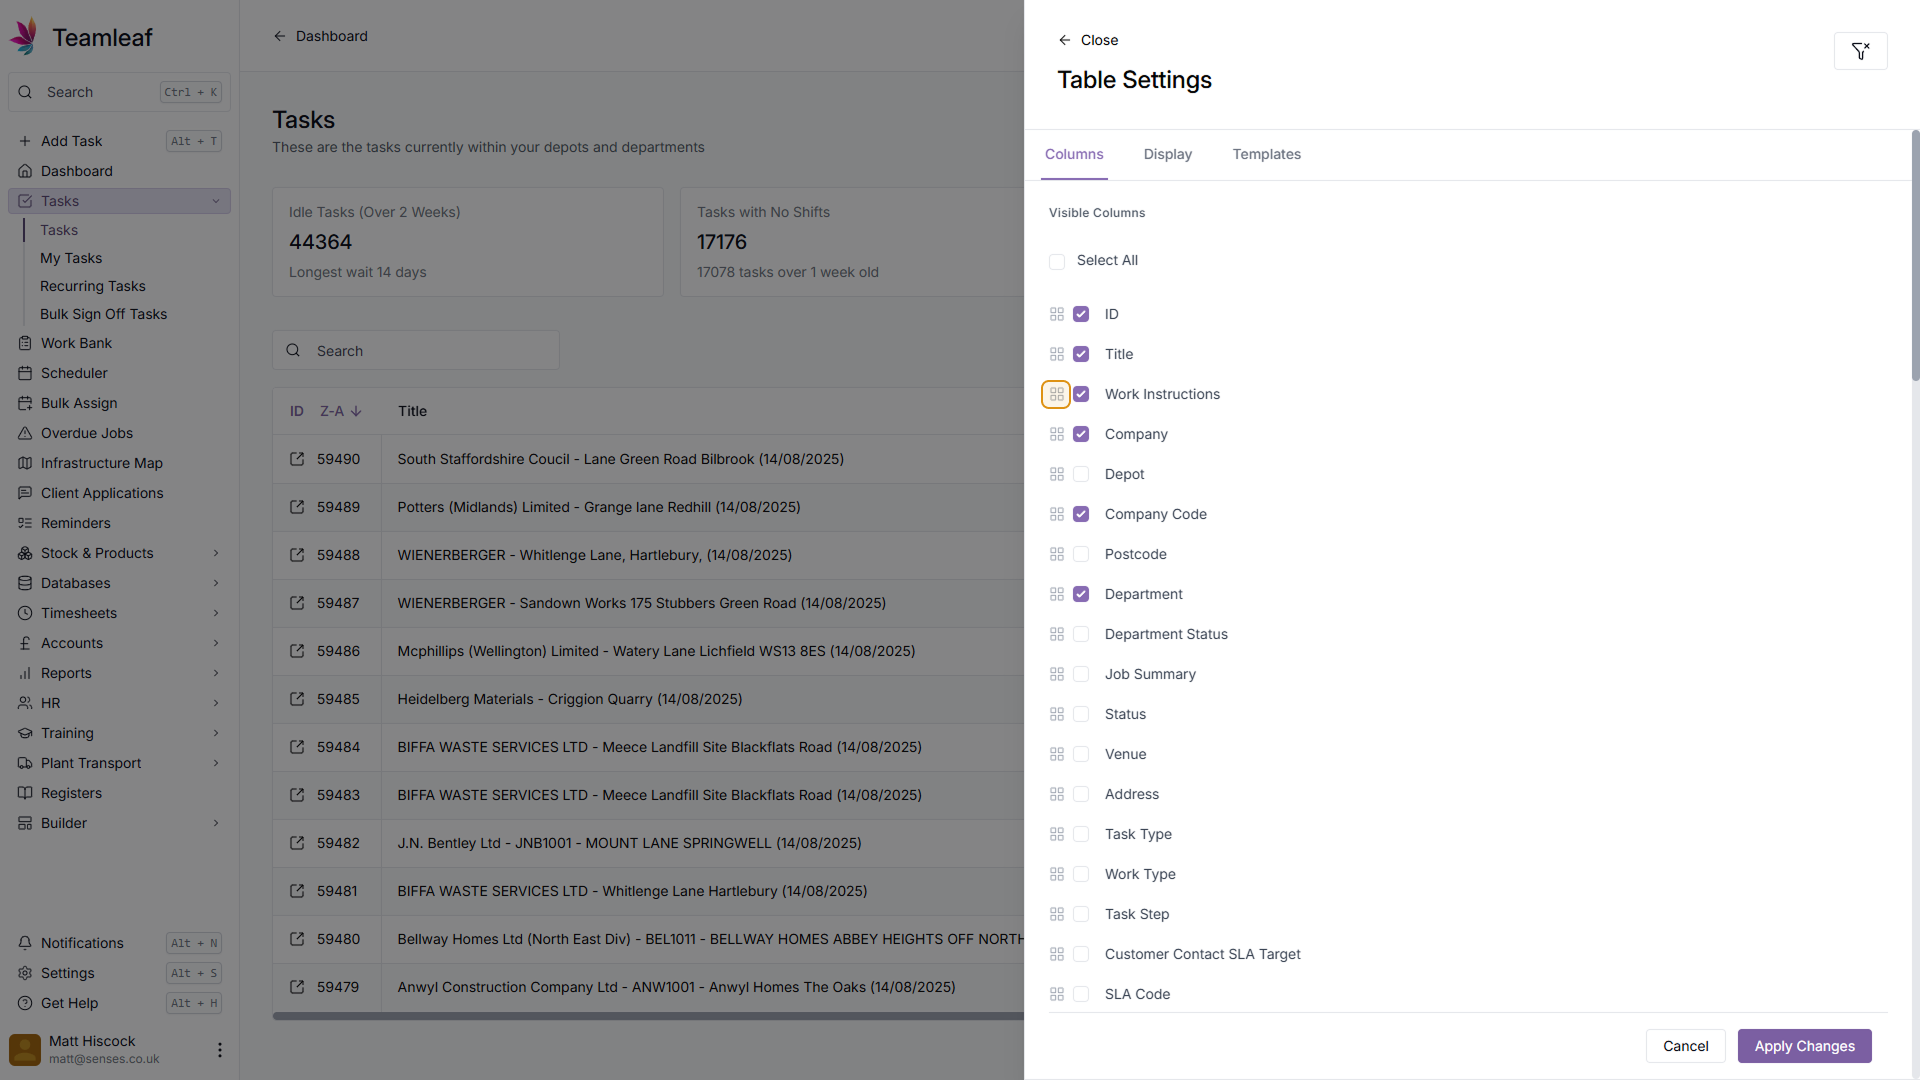
Step 6
Re-order Columns
To re-order the order columns are show on your Task table, use the icon beside the tickbox, and simply drag the columns in the order you'd like them to be displayed (with columns at the top of the list being shown first)
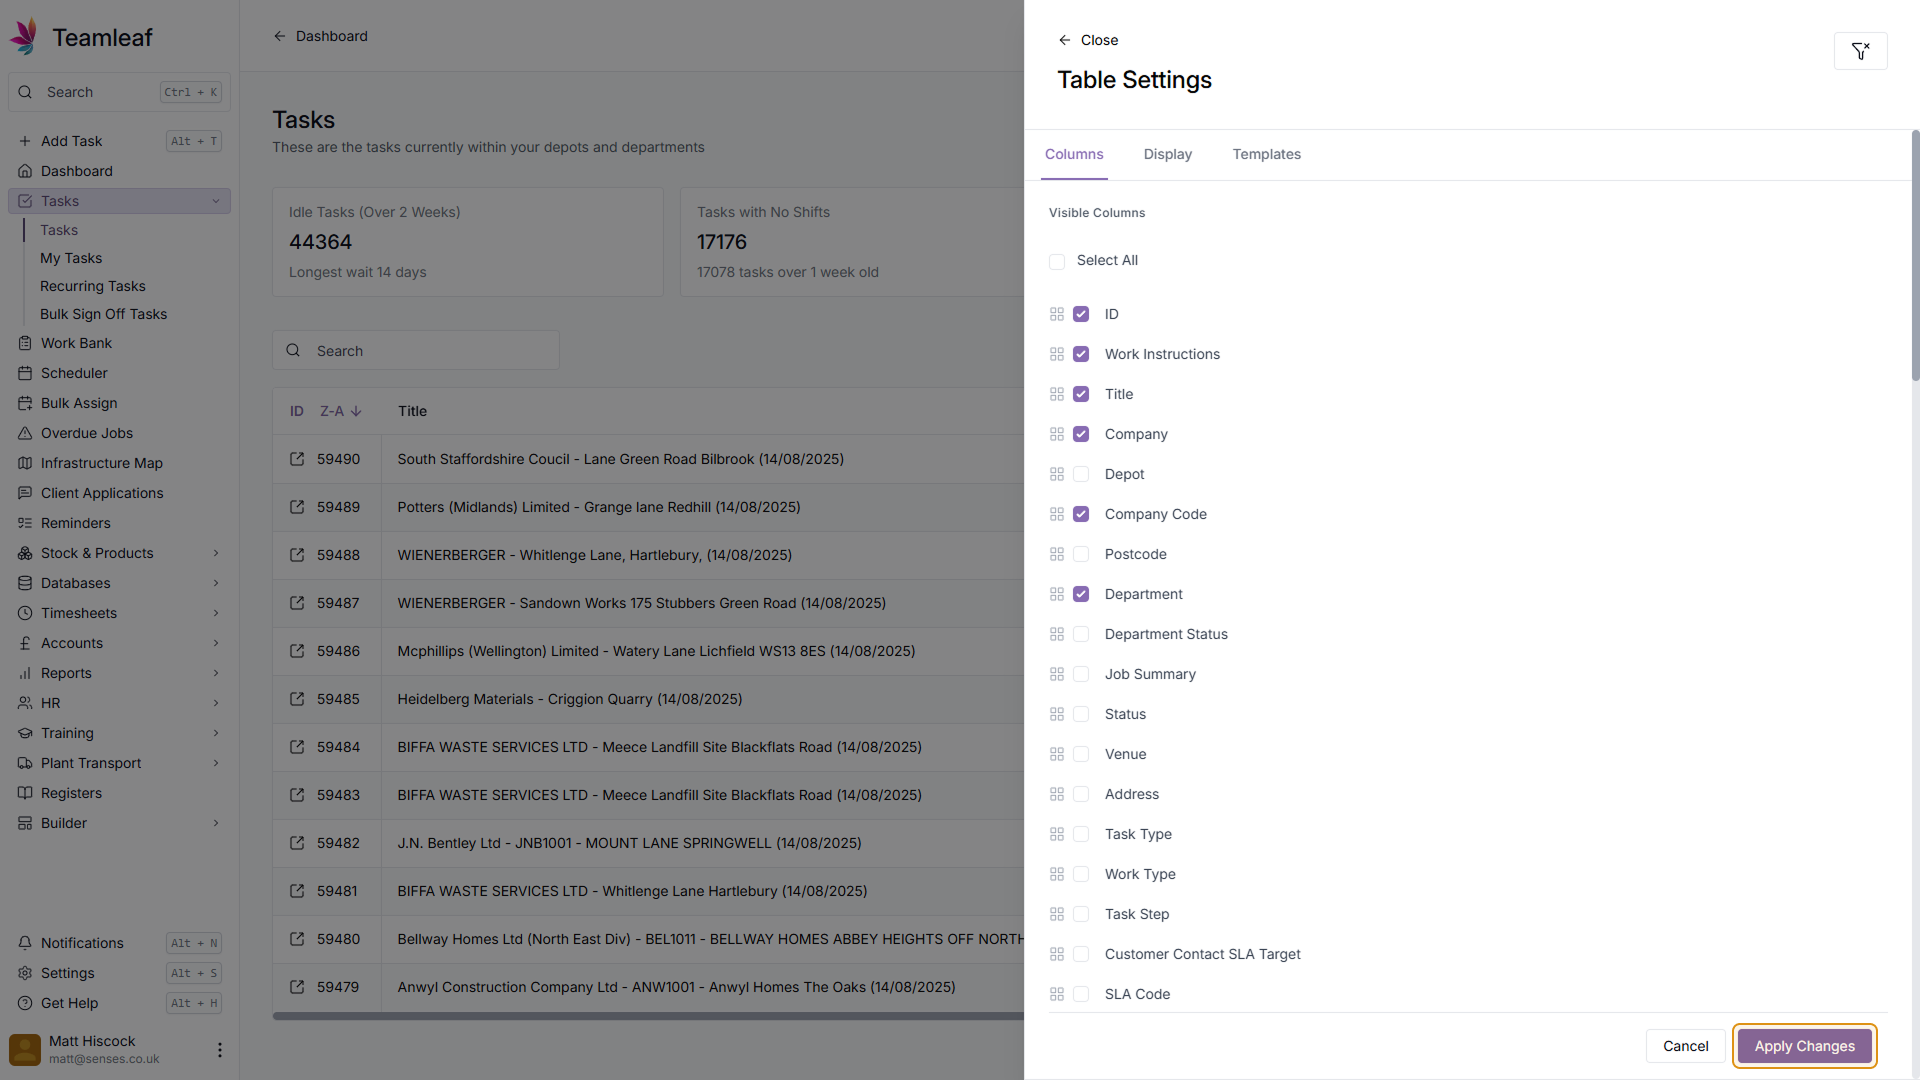
Step 7
Apply Column changes
Once you're happy with your column setup, click the 'Apply Changes' button in the bottom right. You will then be taken back to the scheduler where your new column selection and order will be applied
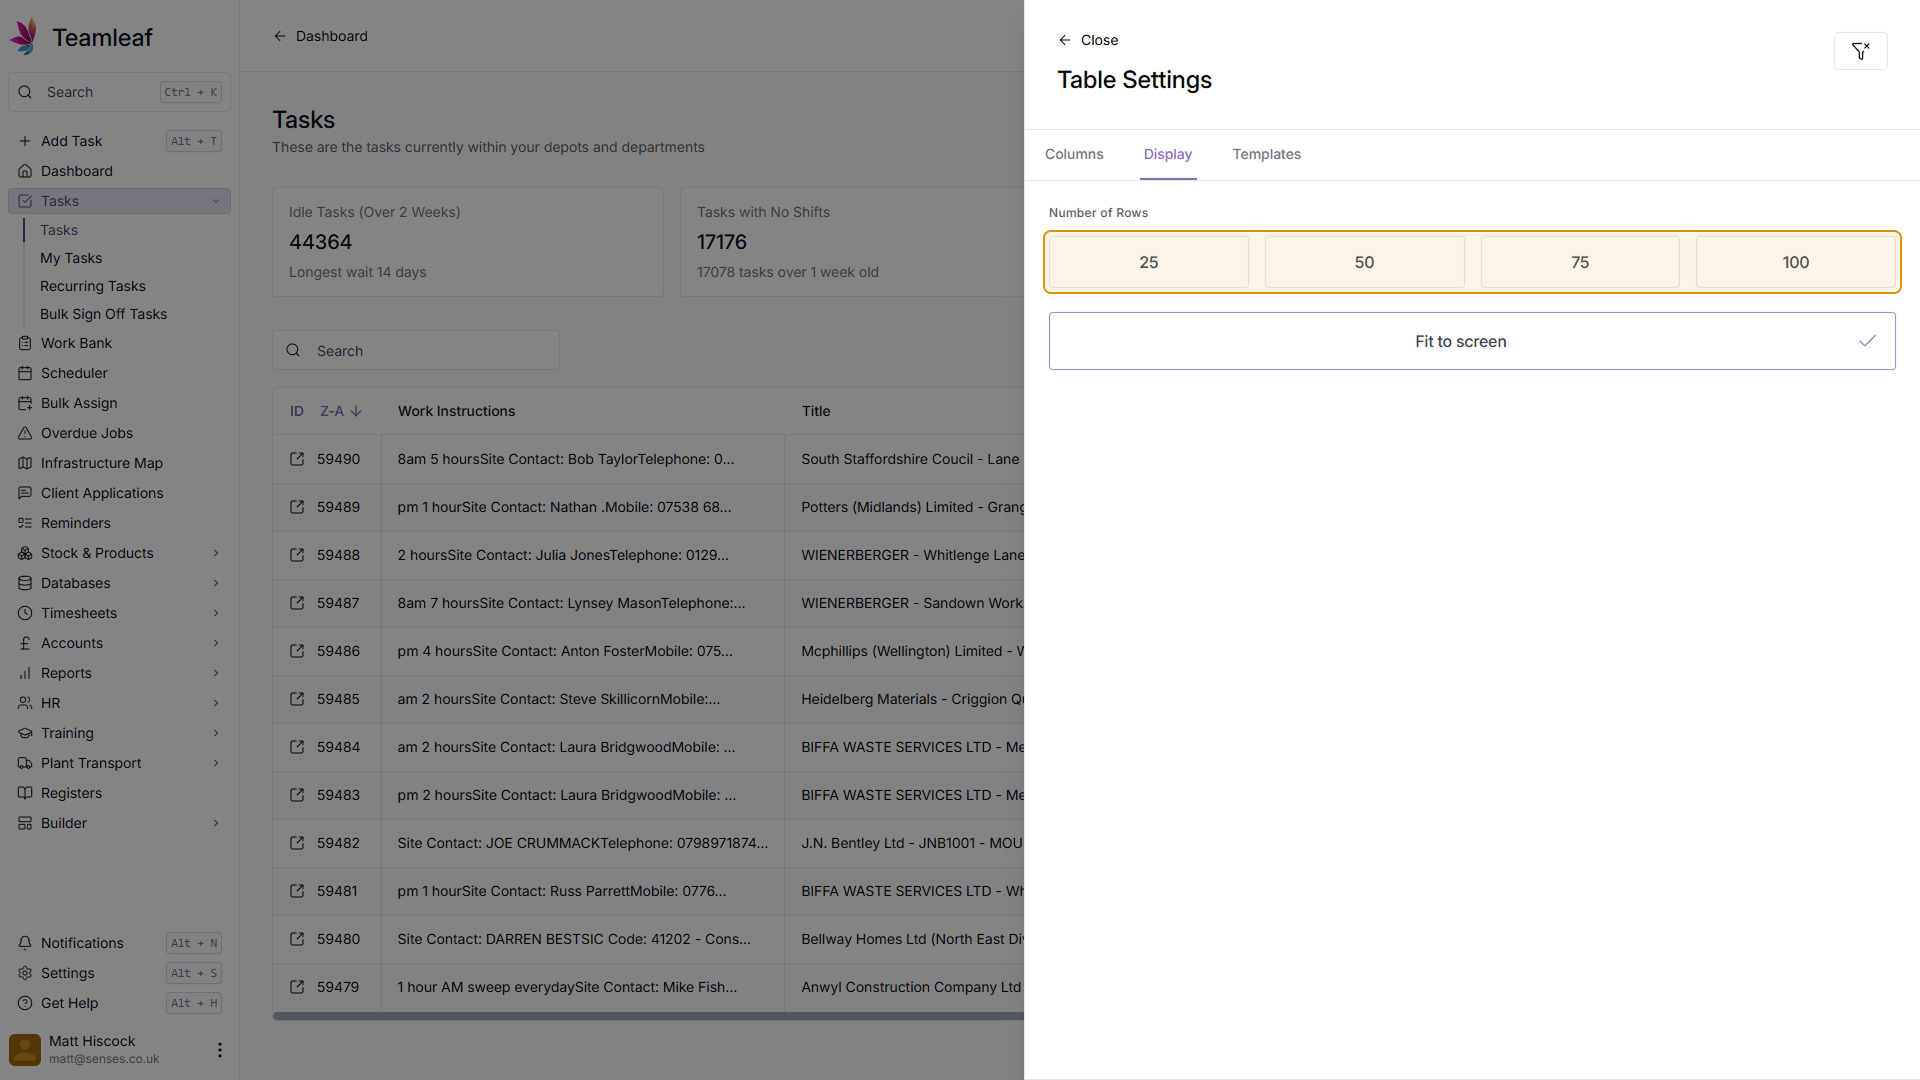
Step 8
Edit Display Settings
Click the 'Settings' button again, and navigate to the 'Display' tab
Step 9
Select Number of Rows to show
Now, select how many rows you'd like to show on the Task table. For a fixed number of rows, select a button on the top row. Selecting a fixed amount will mean you have to scroll down to see all the rows in your table. To avoid having to scroll, use the 'Fit to Screen' option on the bottom row. Once you've selected an option, you will be automatically returned to the Task table
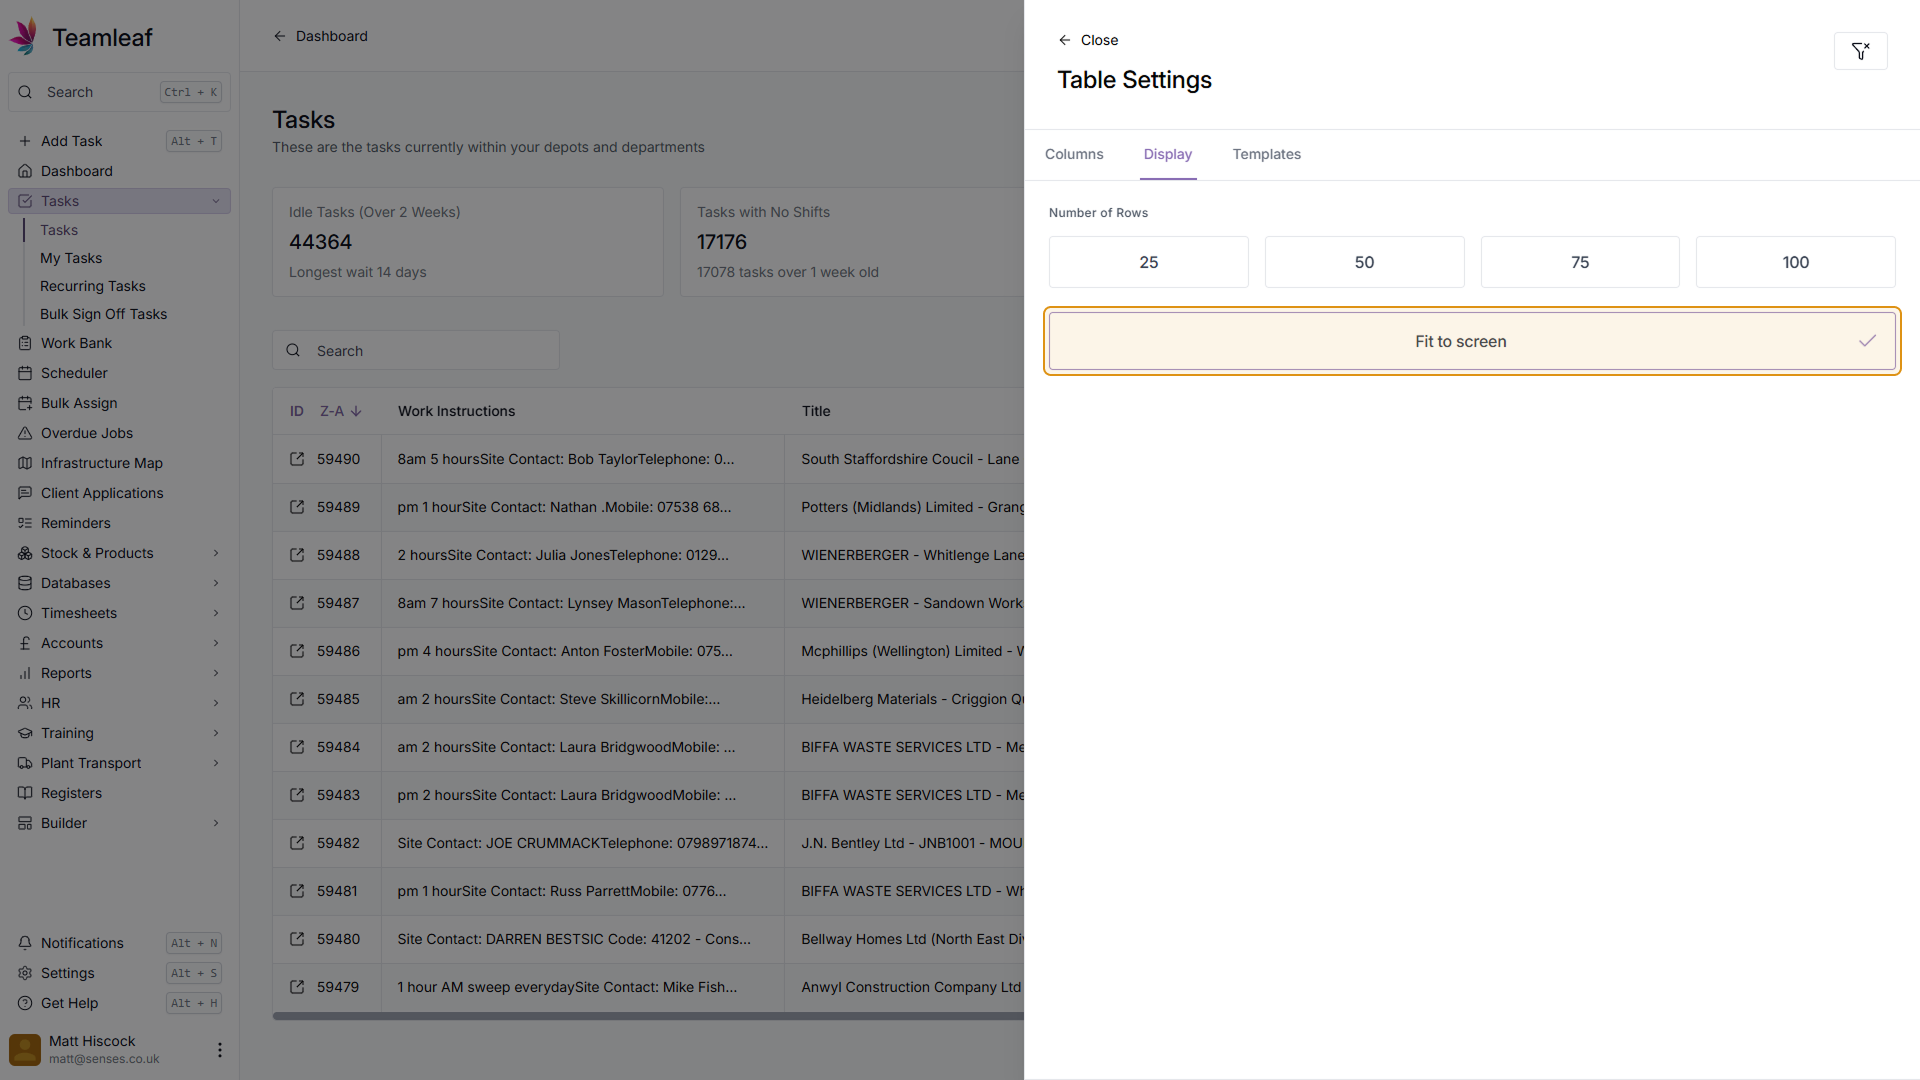
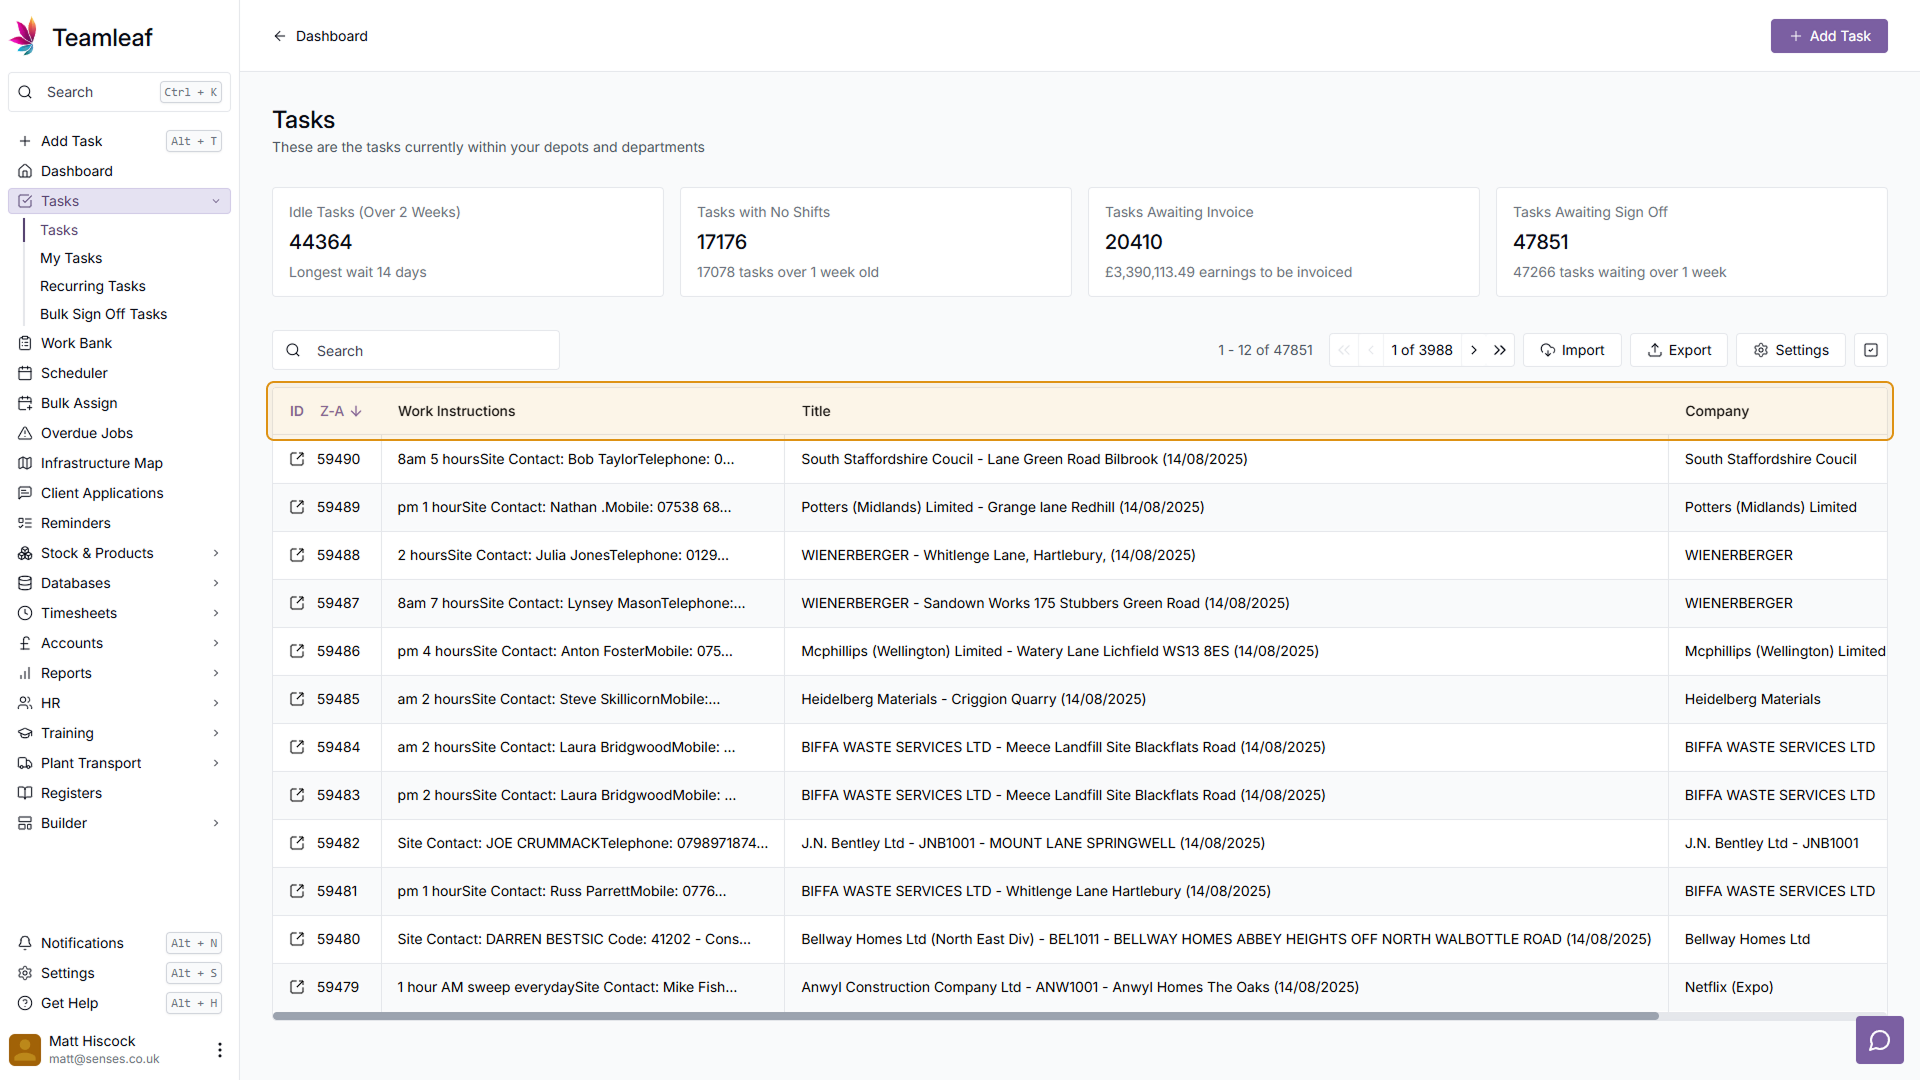
Step 10
Return to Task Table
Your Task table will now be set up with your Column and Display settings
Related Courses
Intracompany
Invoicing
Scheduler
Shifts
Tasks
Drains Direct Essentials
Understand the Essentials for Drains Direct, Scheduling, Intracompany, Invoicing and more...
View Course
→
Intracompany
Invoicing
Scheduler
Shifts
Tasks
EVCSL Essentials
Understand the Essentials for EVCSL, Scheduling, Intracompany, Invoicing and more...
View Course
→
Intracompany
Invoicing
Scheduler
Shifts
Tasks
Lanes Group Essentials
Understand the Essentials for Lanes Group, Scheduling, Intracompany, Invoicing and more...
View Course
→
Related Tutorials
Setup
Adding a Company
Learn how to add a Company to your Teamleaf System
View Tutorials
→
Finance
Setup
Adding and Updating Rates
In this tutorial you will learn how to add new rates, and update existing rates.
View Tutorials
→
Setup
Approving a Company
Understand the Company Approval process in Teamleaf.
View Tutorials
→
Forms
Setup
Creating a Form Structure
Learn how to create new Form Structure, so you can set up what data needs to be collected on Tasks
View Tutorials
→
Tasks
Creating a new Task
Learn how to add a Task to Teamleaf, using handy shortcuts to get all the data you need, entered quickly
View Tutorials
→
Reports
Setup
Creating a Report Layout
Learn how to create a custom Report Layout so you can see your KPIs, your way.
View Tutorials
→
Scheduler
Setup
Customising the Scheduler
In this tutorial you will learn how to customise the scheduler to suit your workflow, allowing you to select your layout and create templates
View Tutorials
→
Scheduler
Setup
Setting up the Scheduler
In this tutorial you will learn how to set up the Scheduler. You will learn how to filter and add the Users and Assets you want to see, and how you can see those crews easily on the scheduler
View Tutorials
→
Tasks
Signing Off a Task
In this tutorial you will learn how to sign off a Task and how it affects the Task's flow through Departments
View Tutorials
→
Tasks
Understanding the Task Page
Learn how to find and add all the information you need on the task page
View Tutorials
→
Tasks
Using the Task Table
In this tutorial you will learn how to use the Task Table to effectively navigate your work
View Tutorials
→