Understanding the Scheduler
Get to grips with how information is represented on the Teamleaf scheduler, so you can quickly get the info you need in a simple visual format
Step-by-Step Guide
Scheduler
Step 1
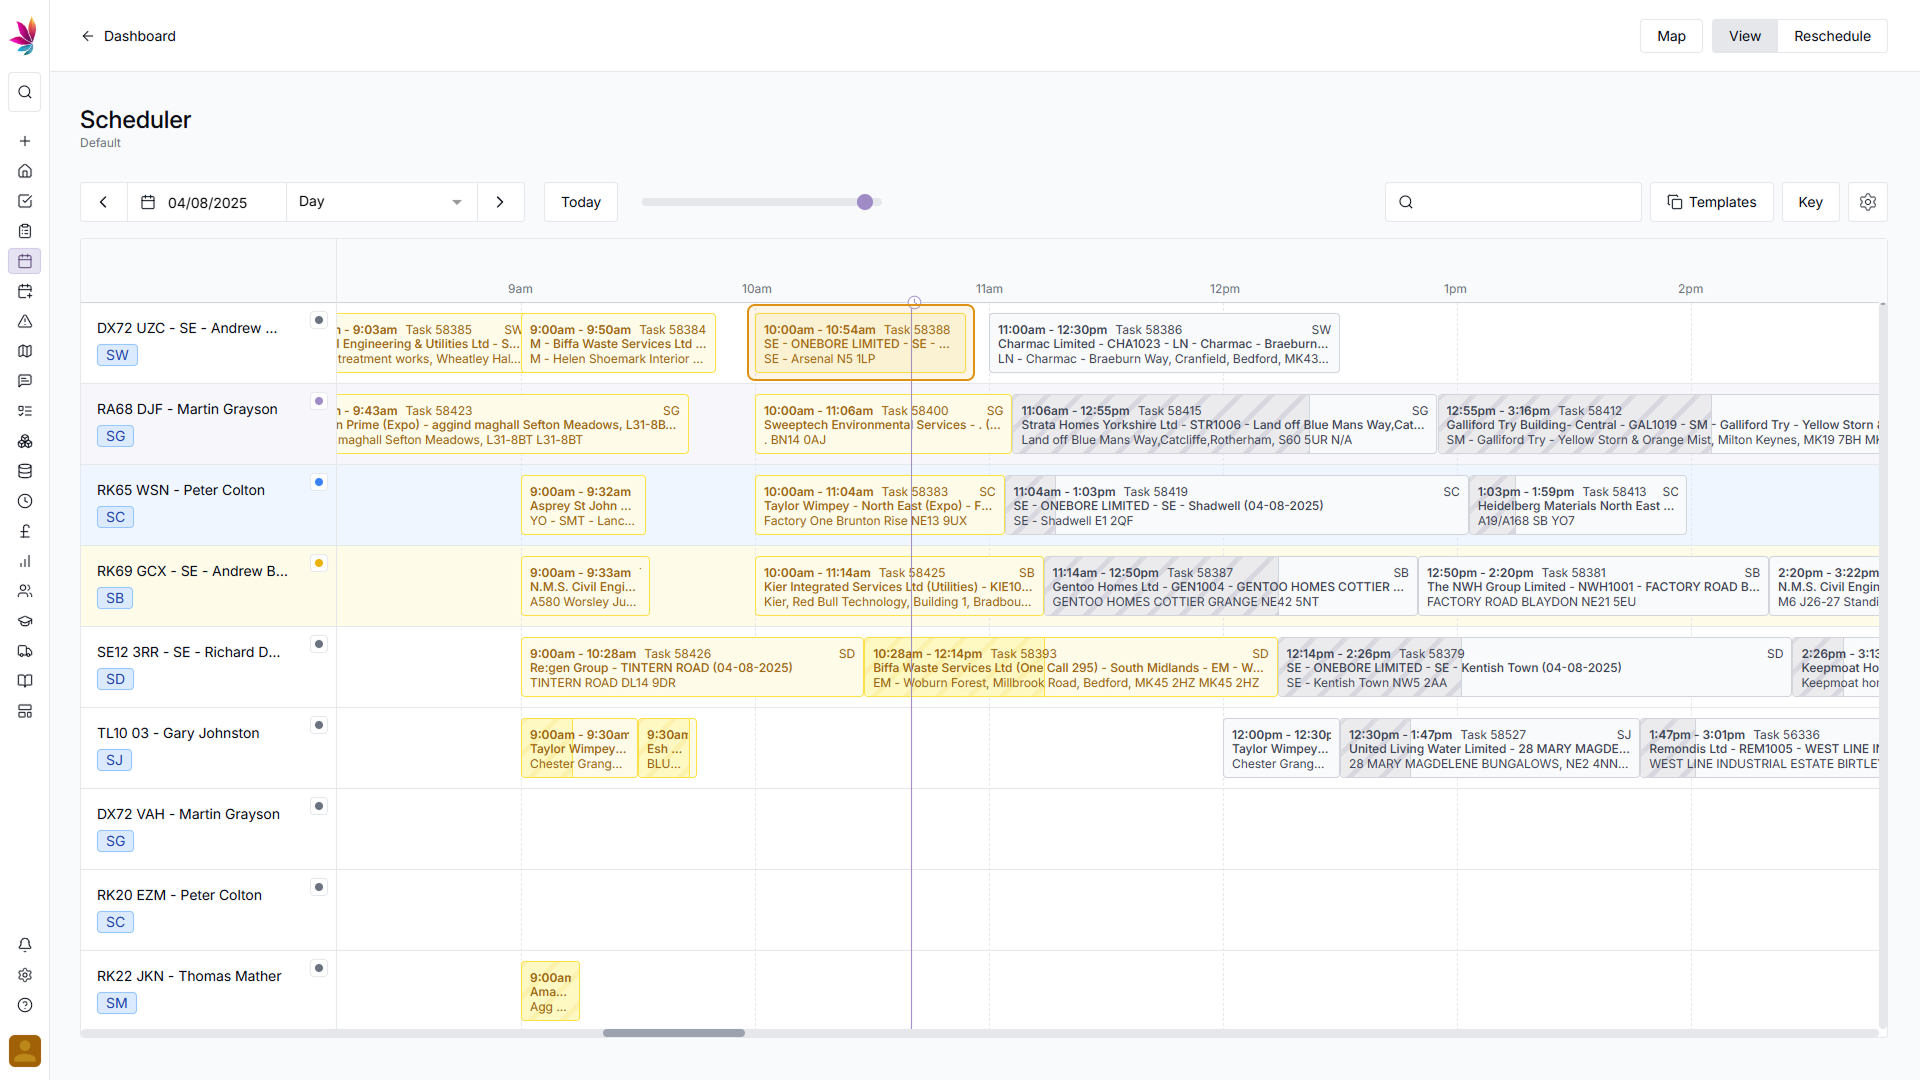
View Mode
In View mode, shifts will typically be one of two colours. Yellow shifts represent those which are unfinished, typically shifts are yellow while crews are still on-site. Grey shifts are allocated shifts, meaning work has not started on them, but they are on the schedule
Step 2
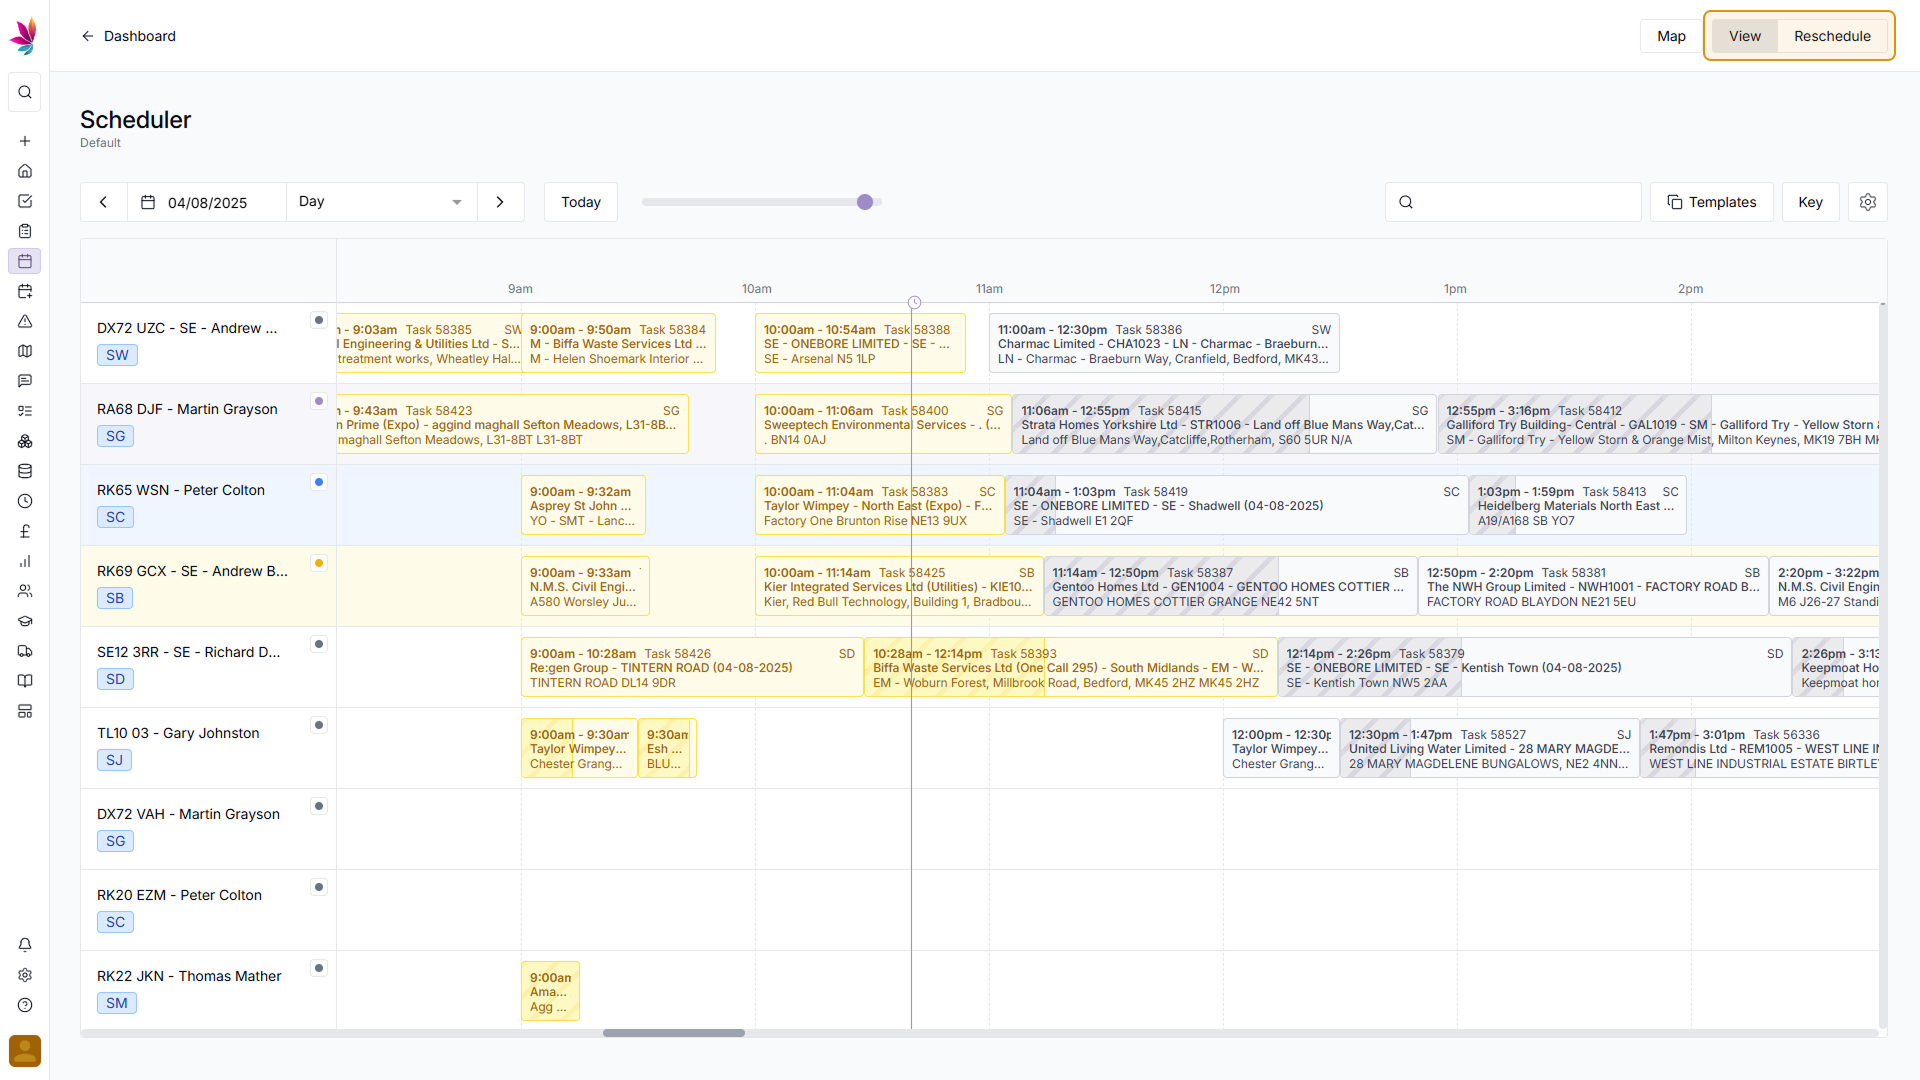
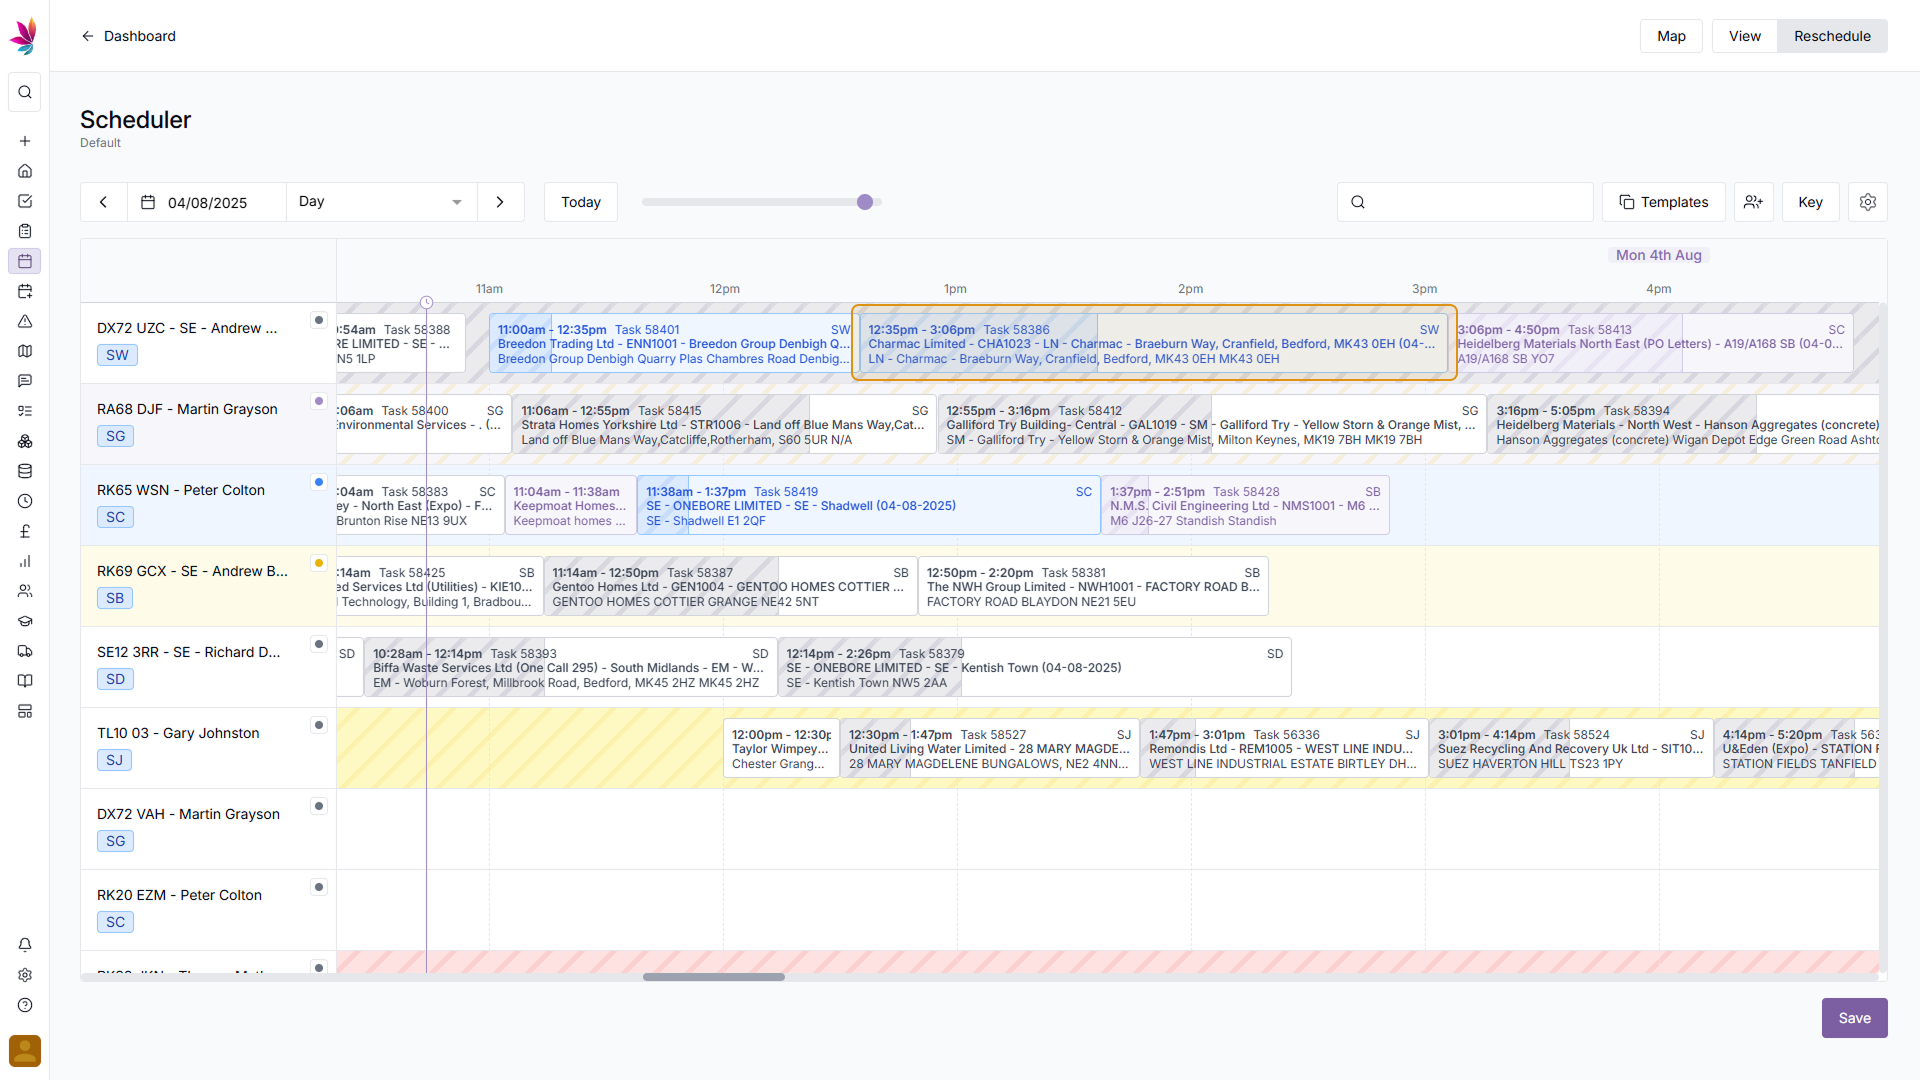
Reschedule Mode
Switching to Reschedule mode makes the shift colours different. Grey shifts represent shifts which have not had any changes made to them, purple shifts represent shifts which have been directly changed by either manually rescheduling or Ai rescheduling, and blue shifts are those which have been changed, but not directly. Typically, shifts turn blue due to the travel time changing, thanks to a shift on the same day being rescheduled.


Step 3
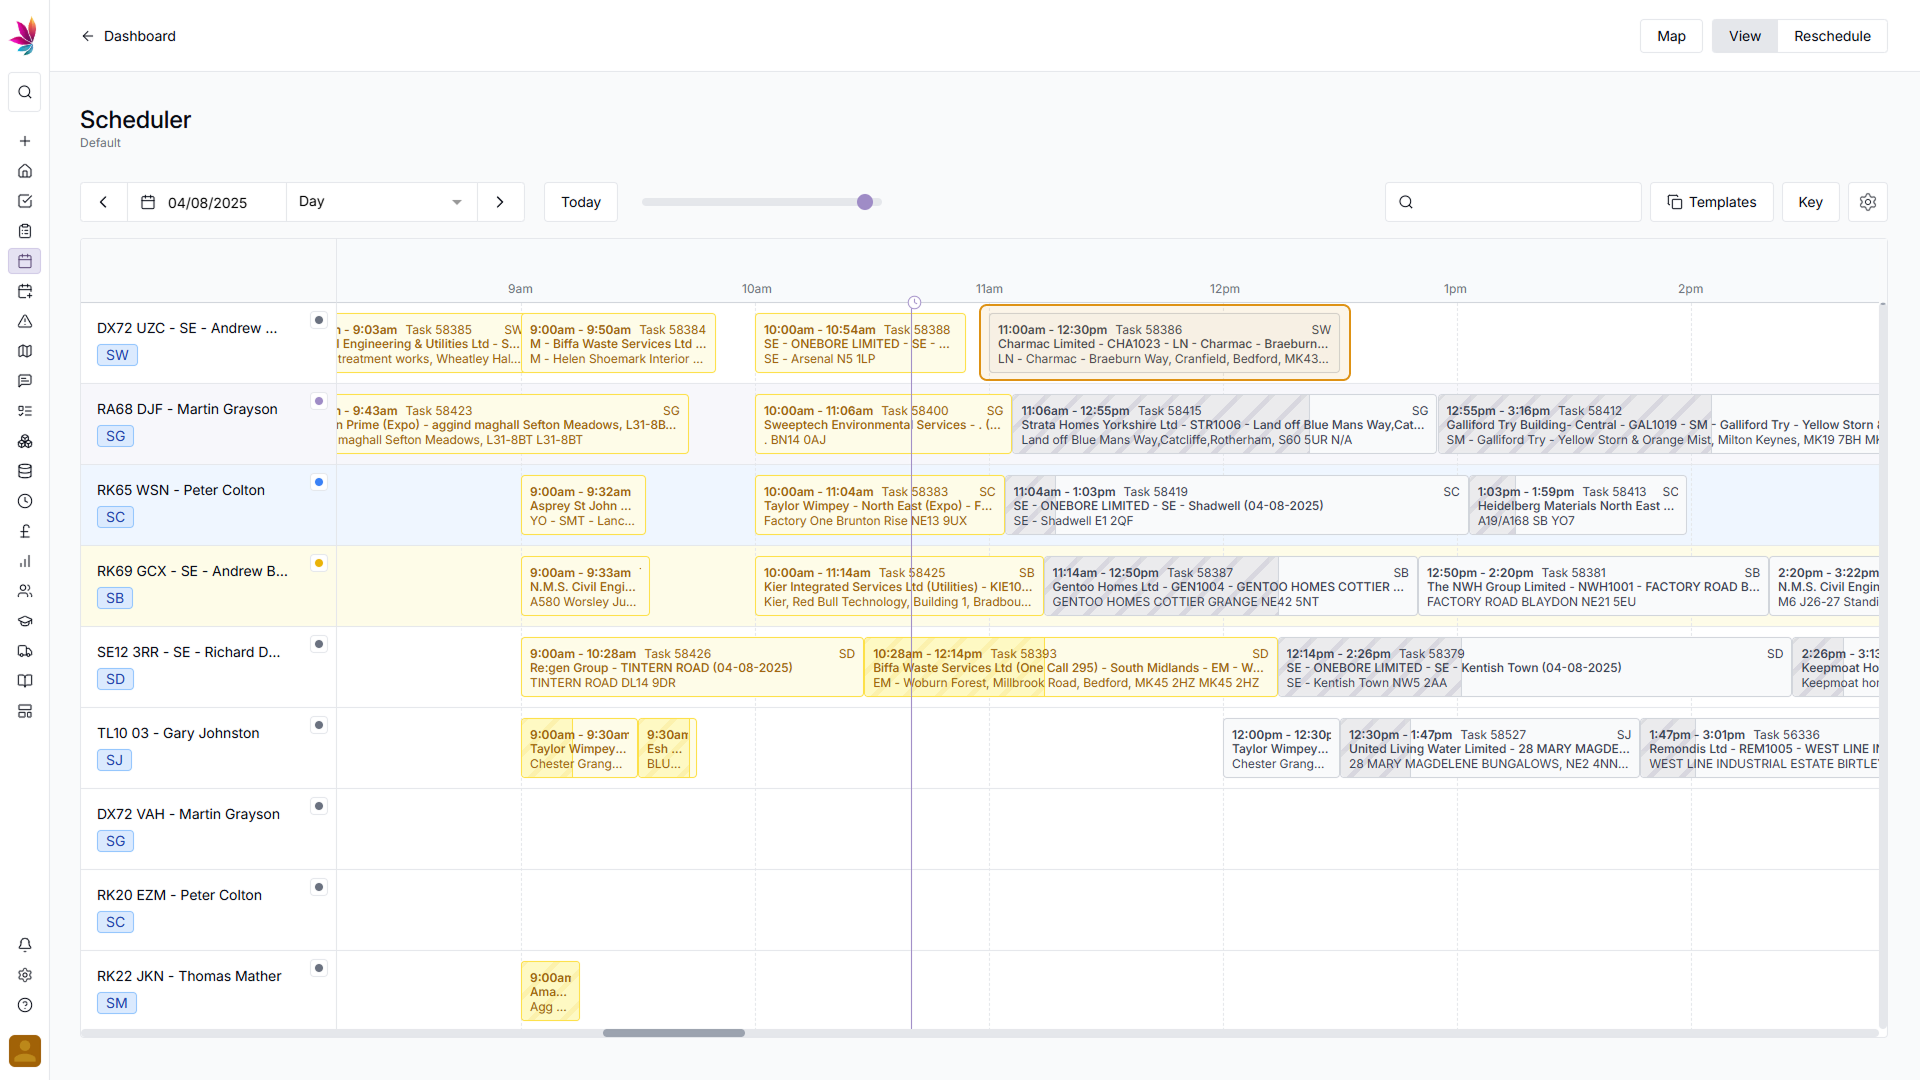
Time Icons
At the top of the scheduler, next to where the time of each block is shown, there are additional icons. The small purple clock represents the current date and time, with a purple line coming down from it covering the rest of the scheduler. The yellow sun icon represents where day shifts start, and the blue moon icon (with shaded scheduler blocks after it) represent where the night shifts are

Step 4
Shift Colour Key
In the top right corner of the scheduler, there is a button which says 'Key', clicking this button will give you a list of what each shift colour represents, so if at any point you need a reminder, they can all be seen here.

Related Courses
Intracompany
Invoicing
Scheduler
Shifts
Tasks
Drains Direct Essentials
Understand the Essentials for Drains Direct, Scheduling, Intracompany, Invoicing and more...
View Course
→
Intracompany
Invoicing
Scheduler
Shifts
Tasks
EVCSL Essentials
Understand the Essentials for EVCSL, Scheduling, Intracompany, Invoicing and more...
View Course
→
Intracompany
Invoicing
Scheduler
Shifts
Tasks
Lanes Group Essentials
Understand the Essentials for Lanes Group, Scheduling, Intracompany, Invoicing and more...
View Course
→
Scheduler
Mastering the Scheduler
Prove your understanding of the Teamleaf Scheduler, including Ai scheduling, adding new crews, and more
View Course
→
Related Tutorials
Scheduler
Setup
Customising the Scheduler
In this tutorial you will learn how to customise the scheduler to suit your workflow, allowing you to select your layout and create templates
View Tutorials
→
Scheduler
Setup
Setting up the Scheduler
In this tutorial you will learn how to set up the Scheduler. You will learn how to filter and add the Users and Assets you want to see, and how you can see those crews easily on the scheduler
View Tutorials
→
Scheduler
Shifts
Using the Scheduler
In this tutorial you will learn how to reschedule shifts, assign shifts to new crews, use Teamleaf Ai, and organise your scheduler with row colours
View Tutorials
→